
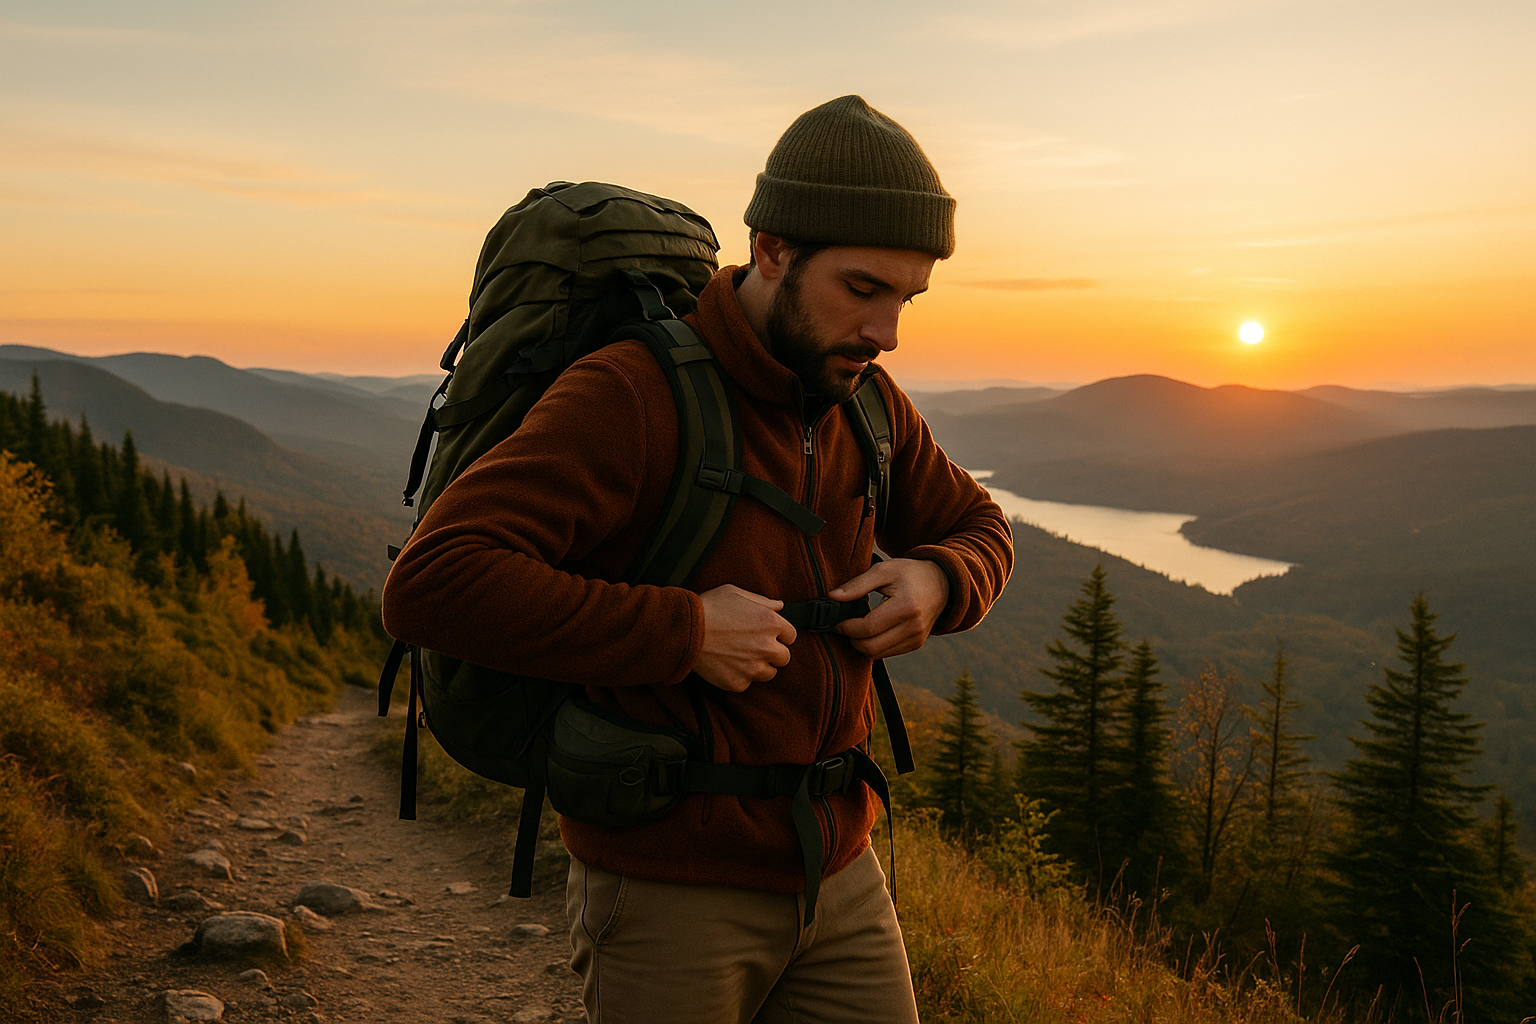
Do you remember your first hike with that old school bag that cut into your shoulders? I do! I hiked kilometers with an unsuitable pack before understanding that a good hiking backpack can completely transform your trail experience. How to choose a hiking backpack that fits your needs is THE question that constantly comes up in my conversations with hikers. After 15 years exploring Quebec's trails and beyond, I've tested dozens of packs and seen too many people abandon outings because of poor equipment. Today, I'm going to share everything I've learned so you can choose THE pack that will faithfully accompany you on your adventures.
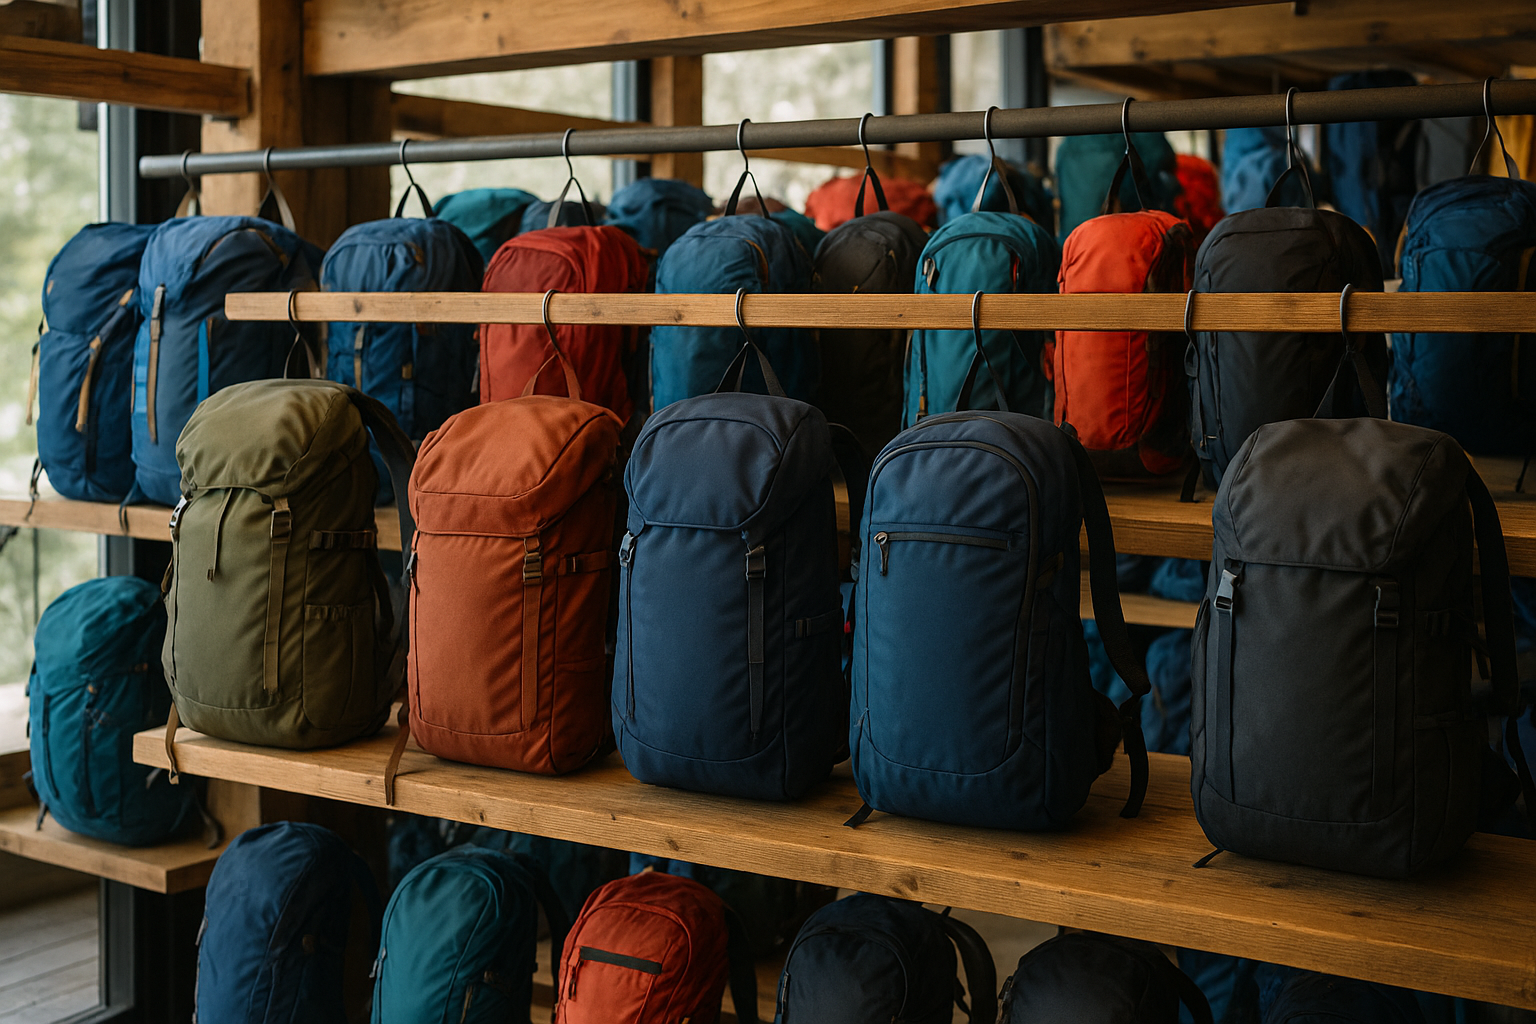
🎒 What pack capacity really matches your outings?
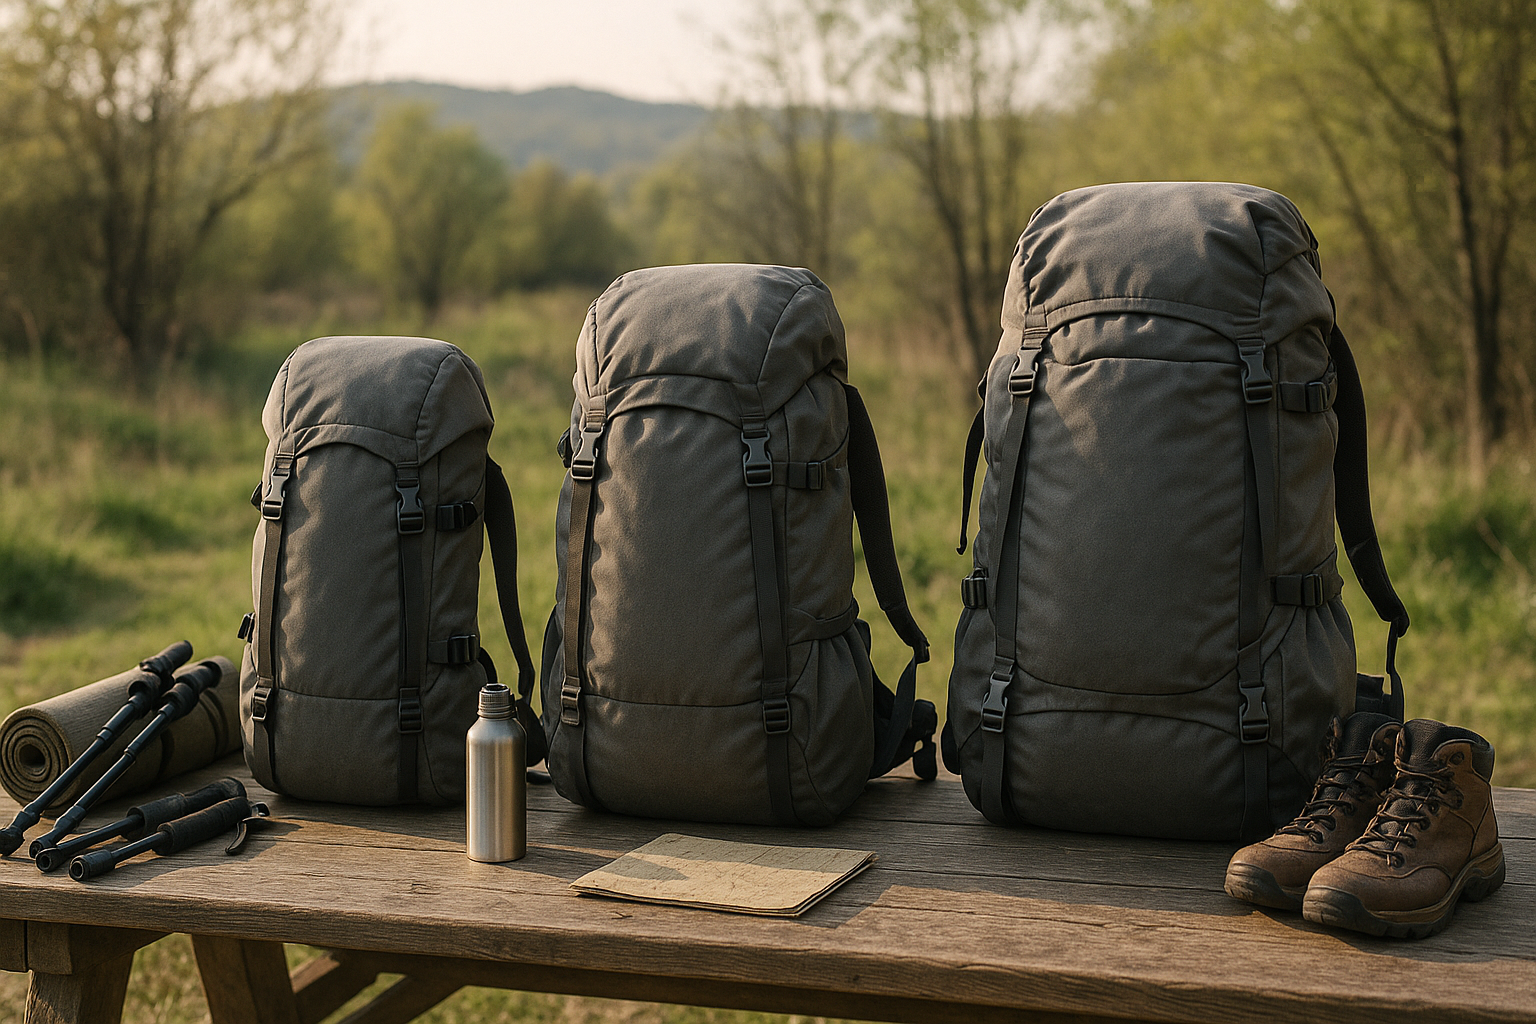
The first mistake I constantly see? Leaving with a pack that's too big "just in case." I made this mistake for years, dragging a 65-liter pack for day hikes! Your pack's capacity should match exactly your needs, not your adventurer fantasies.
For a day hike, a 20 to 30-liter pack is more than enough. You'll slip in your water, snacks, an extra layer and your basic kit. I personally use a 25-liter for my outings to Mont Yamaska or Parc National du Mont Saint-Bruno.
For 2-3 day hikes, aim for 40 to 50 liters. It's the sweet spot for carrying your sleeping gear, change of clothes and food without turning into a pack mule. Expeditions of more than 4 days generally require 60 liters and more, but let's be honest: if you're reading this article, you're probably starting with shorter outings!
| Type of outing | Recommended capacity | Example use |
|---|---|---|
| Day trip | 20-30L | Local hike, picnic |
| 2-3 days | 40-50L | Weekend camping, hut |
| 4-7 days | 60-70L | Multi-day trek |
| Expedition | 70L+ | Long journey, extreme conditions |
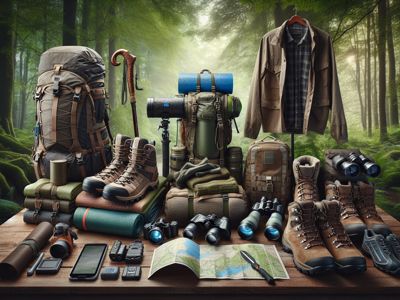
🏔️ The 5 features that really make the difference
After testing dozens of packs, I can tell you that certain features separate good packs from excellent ones. Comfort tops the list, closely followed by durability and practicality.
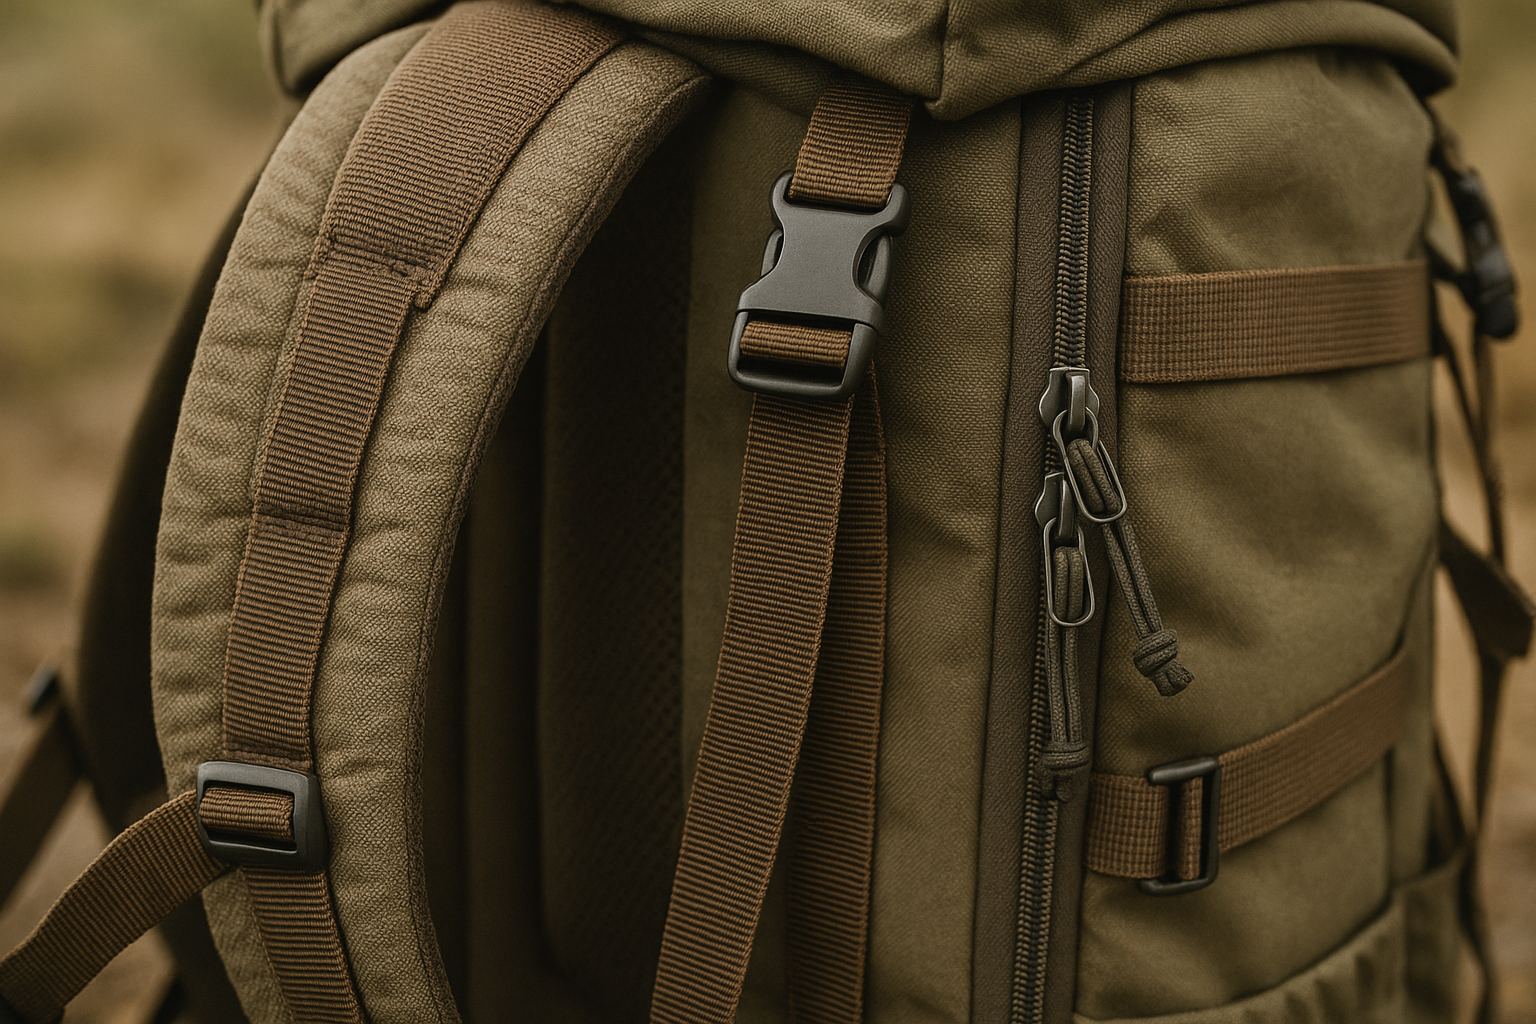
The carrying system: your best friend or worst enemy
A good carrying system is like a good pair of shoes: you forget about it when it works well. Padded and adjustable shoulder straps are non-negotiable. They should hug your shoulders without creating pressure points. The hip belt is crucial: it transfers a good portion of the weight to your hips, relieving your shoulders.
Materials: when quality makes the difference
I've seen too many hikers return soaked because their "waterproof" pack wasn't really waterproof. Ripstop nylon or polyester fabrics offer the best compromise between weight and resistance. For waterproofing, beware of promises: even the best packs have their limits. I always use a pack cover in really nasty weather.
Organization: everything in its place
A well-organized pack is the difference between a smooth outing and constant hassle. Look for side pockets for your water bottles, a front pocket for frequently used gear, and compression straps to stabilize your load.
"The best pack is the one you forget on your back because it does its job perfectly."
📏 How to properly adjust your pack (the technique nobody explains)
Here's the trick I wish I'd known from the start: 90% of comfort problems come from poor adjustment, not a bad pack. I've seen people complain about high-end packs simply because they didn't know how to adjust them correctly.
Start by measuring your torso length. This is the distance between your 7th cervical vertebra (the bump at the base of your neck) and the top of your hips. This measurement determines the pack size you need: S (38-43 cm), M (43-48 cm), L (48-53 cm), or XL (53+ cm).
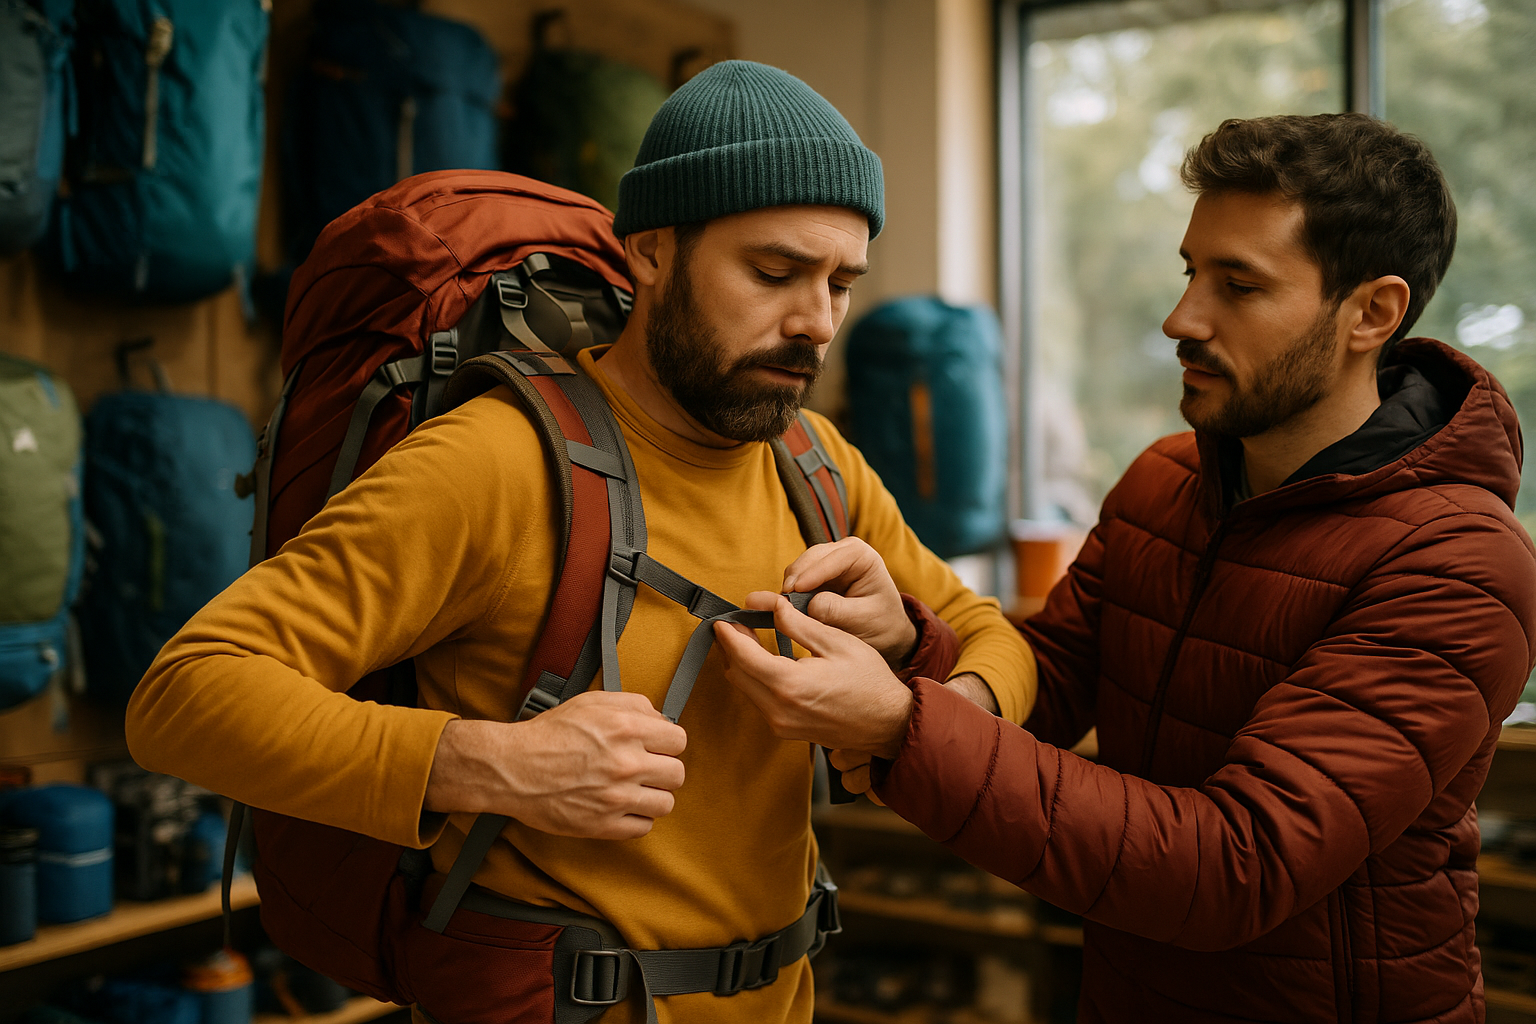
Adjustment follows a precise sequence. First, loosen all straps and load your pack with the intended weight. Place the hip belt on your hips (not your waist!) and tighten firmly. It should carry 70-80% of the weight.
Next, adjust the shoulder straps so they hug your shoulders without creating gaps. They shouldn't carry all the weight, just stabilize the pack. Finally, tighten the load lifter straps (those that start from the top of the shoulder straps) to pull the top of the pack toward your back.
Test your adjustment by walking a few minutes. If you feel pressure points or the pack sways, readjust. When it's perfect, you can walk for hours without discomfort, as I did on the trails of Parc National des Hautes-Gorges de la Rivière Malbaie.
Get my gifts →
🛡️ Men's vs women's packs: marketing or real difference?
Excellent question that I wondered about for a long time! After comparing dozens of models, I can tell you that the differences are real and important. It's not just pink and blue marketing.
Women's packs generally have a shorter torso, closer shoulder straps (to fit narrower shoulders), and a different curve at the hip belt level. Since women's hips are generally wider and positioned differently, the belt is designed accordingly.
But beware: morphology trumps gender! I've seen small men be more comfortable with "women's" packs, and vice versa. What matters is that the pack fits YOUR body, not conventions.
My advice? Try both versions if you're in a borderline zone. Comfort should always trump the label. I have a guide friend who swears by a "men's" model because it perfectly fits her athletic build.
💰 Budget vs quality: where to set the bar?
Let's talk money, because it's often the crux of the matter! I started with a $40 pack that failed after 6 months. Result: I spent more in the end than buying a good pack directly. A hiking backpack is a long-term investment.
To start, a budget of $100-150 gets you a decent pack that will last several years of moderate use. Between $150-300, you access the really good brands with solid warranties and quality materials. Beyond $300, you pay for ultra-specialized features or premium materials.
| Budget | Expected quality | Lifespan |
|---|---|---|
| $50-100 | Basic, beginner | 1-2 years light use |
| $100-200 | Good quality | 3-5 years regular use |
| $200-400 | Very good quality | 5-10 years intensive use |
| $400+ | High-end | 10+ years, lifetime warranty |
Don't forget to calculate the cost per use. A $200 pack used 50 times per year for 5 years costs you 80 cents per outing. That's less than a coffee! And unlike coffee, your pack will still be there tomorrow morning.
🔧 The little extras that change everything
After years on the trail, it's often the small details that make the difference between a good pack and an exceptional pack. These "little extras" can transform your hiking experience.
Practical access
A bottom access (U-zip) is fantastic for retrieving your sleeping gear without emptying everything. Stretchy side pockets adapt to your bottles, whether full or empty. A hip belt pocket keeps your phone and snacks within reach.
External attachment systems
Well-placed loops and bungees let you attach bulky gear externally. Trekking poles, sleeping pad, or that jacket you constantly take off and put on: everything finds its place without opening the pack.
An integrated hydration system (water bladder with tube) is a game-changer for long outings. No more stopping to drink, you stay naturally hydrated. I use it systematically on demanding trails like those of Mont du Lac des Cygnes.
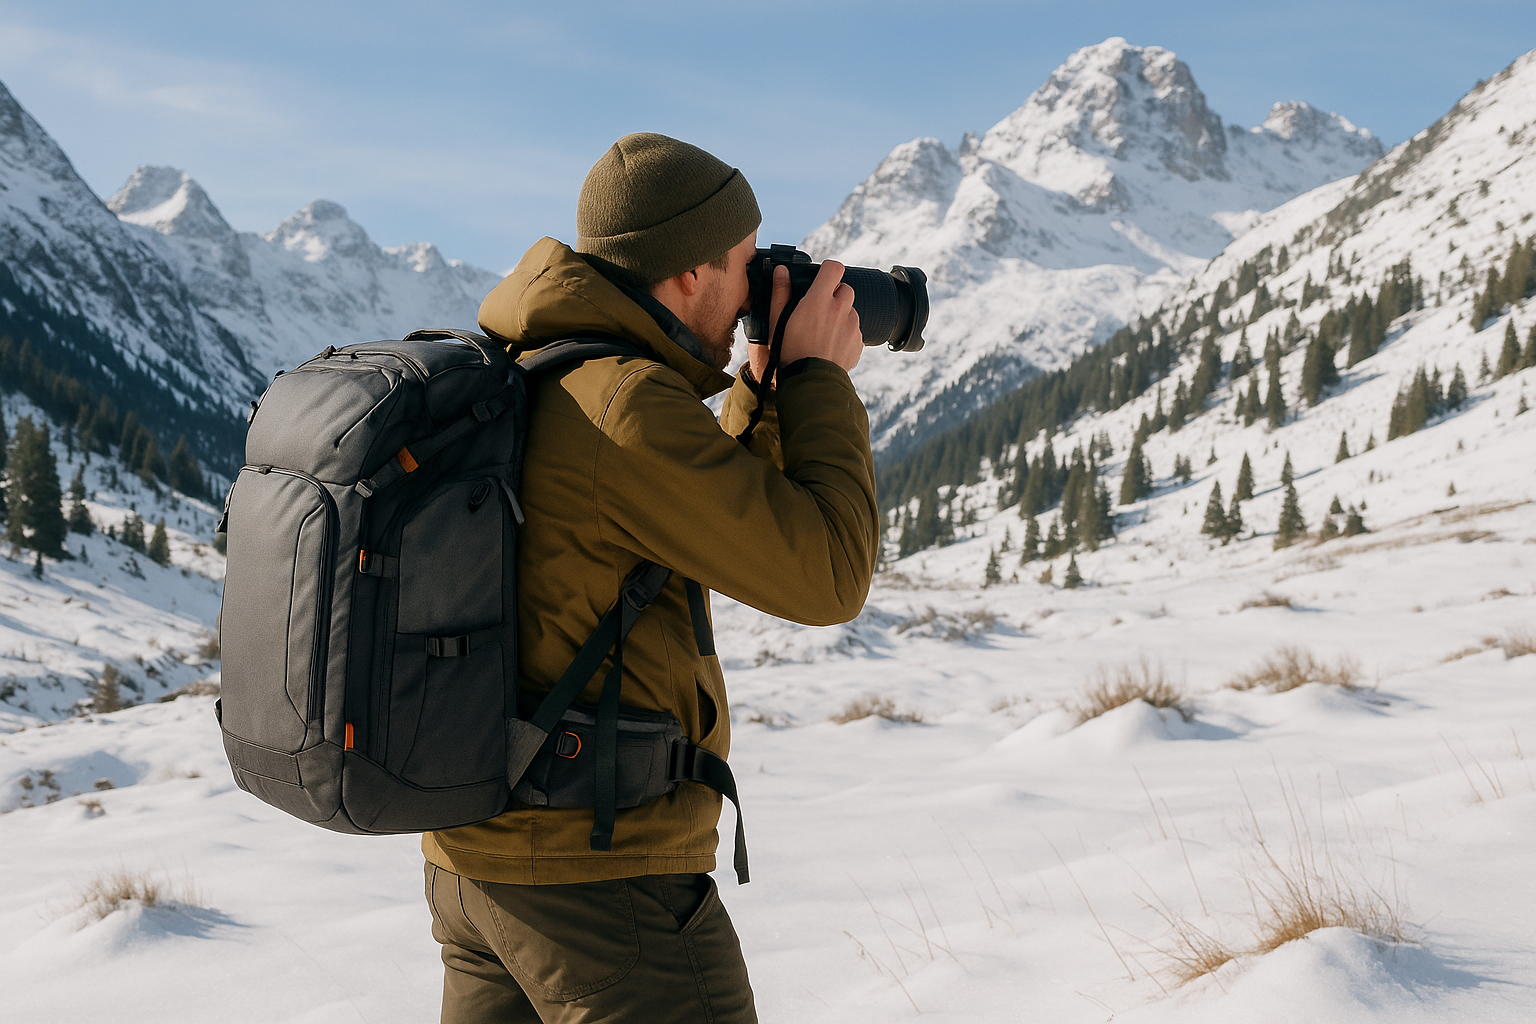
🌦️ Specialized packs: when to go off the beaten path?
Classic hiking is great, but sometimes we want to vary our pleasures! Certain activities require specialized packs that may seem excessive at first, but become indispensable once you try them.
For winter hiking, look for a pack with materials that resist cold and attachments for your snowshoes or skis. Zippers must work with gloves. I learned this the hard way at -20°C (-4°F)!
Trail running or fast hiking packs prioritize lightness and stability. They stick to your body and don't bounce, even while running. Perfect for outings where you want to cover a lot of distance quickly.
For nature photography, some packs have padded compartments specially designed to protect your equipment. An investment worth it if you regularly transport expensive gear.
"Good equipment doesn't make the hiker, but bad equipment can ruin the most beautiful adventures."
🔍 How to test your pack before the big day
Here's the classic mistake: buying a pack and leaving directly for a big adventure without testing it. Always test your pack on short outings before committing to significant distances. It's like new shoes: you need to break them in!
Start with a 2-3 hour outing with the load you plan to carry. This lets you detect friction points, imbalances, or necessary adjustments. If all goes well, move to a full day outing.
During your tests, note everything that bothers you, even small details. That pocket that closes poorly, that strap that slips, that noise that annoys you: everything becomes unbearable on a long outing. Better to discover it near home than 20 km (12 miles) from your car!
Take advantage of your test outings to think about essential questions before leaving for a hike. It's the perfect time to refine your system and develop your reflexes.
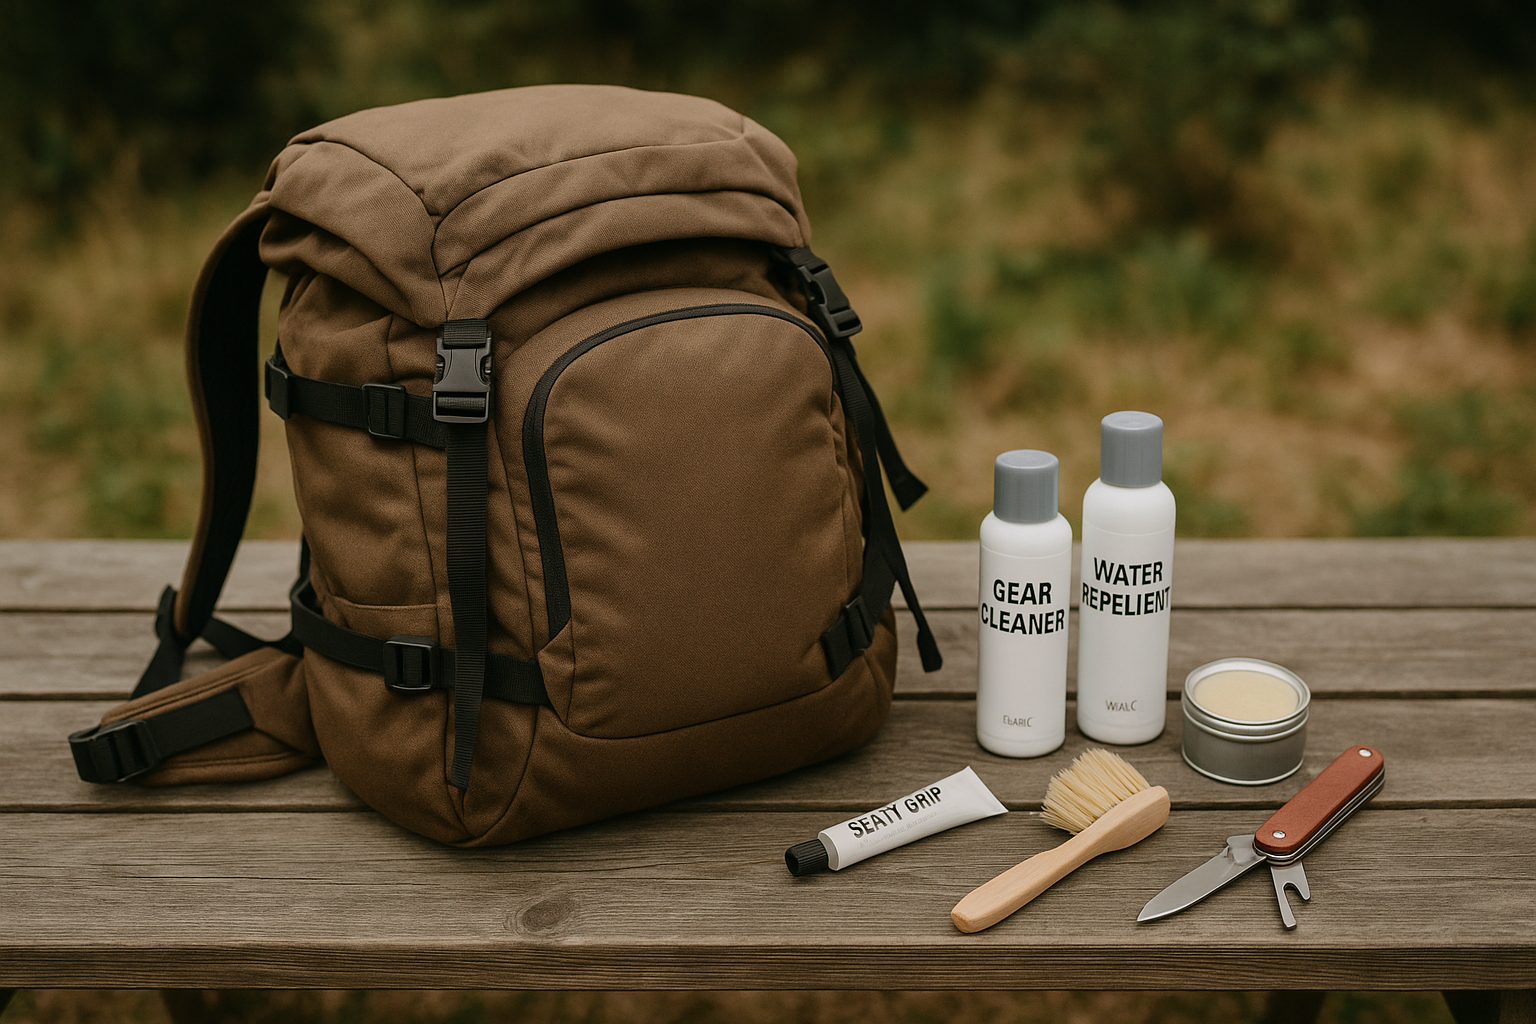
🛠️ Maintenance and durability: making your investment last
A good well-maintained pack can last decades. My first "real" pack is 12 years old and still in perfect condition! Regular maintenance is the key to longevity.
After each outing, completely empty your pack and shake it to eliminate debris. Check zippers and seams. A small problem detected early repairs easily, but ignored, it can ruin your pack.
For washing, follow manufacturer instructions, but generally: cold water, mild soap, air drying. Never machine wash technical packs! The drum can damage seams and technical materials.
Store your pack in a dry place, away from direct light. UV degrades technical fabrics over time. If you don't use it for several months, leave it slightly open so air circulates.
🎯 My personal selection (field-tested)
After all these years testing packs, people often ask for my concrete recommendations. Here are the packs I recommend with my eyes closed, based on my personal experience and feedback from hundreds of hikers.
For beginners, it's hard to beat the quality-price ratio of mid-range packs from major brands. They offer the essentials without frills, and most importantly, they last. I've seen beginners progress for years with the same well-chosen entry-level pack.
For day outings, prioritize lightness and comfort. You don't need all the bells and whistles of an expedition pack. A good 25-30L with a decent carrying system will work perfectly for discovering the beauties of Canyon Sainte-Anne or Parc du Mont Arthabaska.
For multi-day trips, invest in a pack that will grow with your experience. Advanced features like multiple access points, integrated hydration systems, and ultra-resistant materials make all their sense over long distances.
Don't forget to also consider after-sales service. Some brands offer free lifetime repairs, others have spare parts available for years. This is particularly important if you plan to use your pack intensively.
Conclusion: your next pack awaits!
Choosing the right hiking backpack is like choosing an adventure partner: you need to click! After covering all these aspects, here are the essential points to remember:
- Capacity should match exactly your outings - neither too small nor too big
- Fit trumps everything else - a poorly adjusted pack will ruin your most beautiful hikes
- Test before investing - a few trial outings are worth more than long-term regrets
- Quality costs more upfront, but not in use - calculate cost per outing over several years
- Maintenance drastically extends lifespan - regular small care beats major repairs
Most importantly? Get out and test your equipment! The world's best pack is worthless if it stays in your closet. Start with short outings near home, learn to know your gear, and let yourself be won over by the passion for the outdoors.
Quebec's trails are just waiting for you, and with the right pack on your back, every outing can become a memorable adventure. So, ready to find your perfect adventure companion and discover what our magnificent natural spaces have to offer you?
Newsletter
Content that makes you want to go outside
Every week, a trail idea, a reflection on nature, or a tip worth the detour. Zero spam. Only the essentials.
Joined by 12,000+ outdoor enthusiasts
Read next