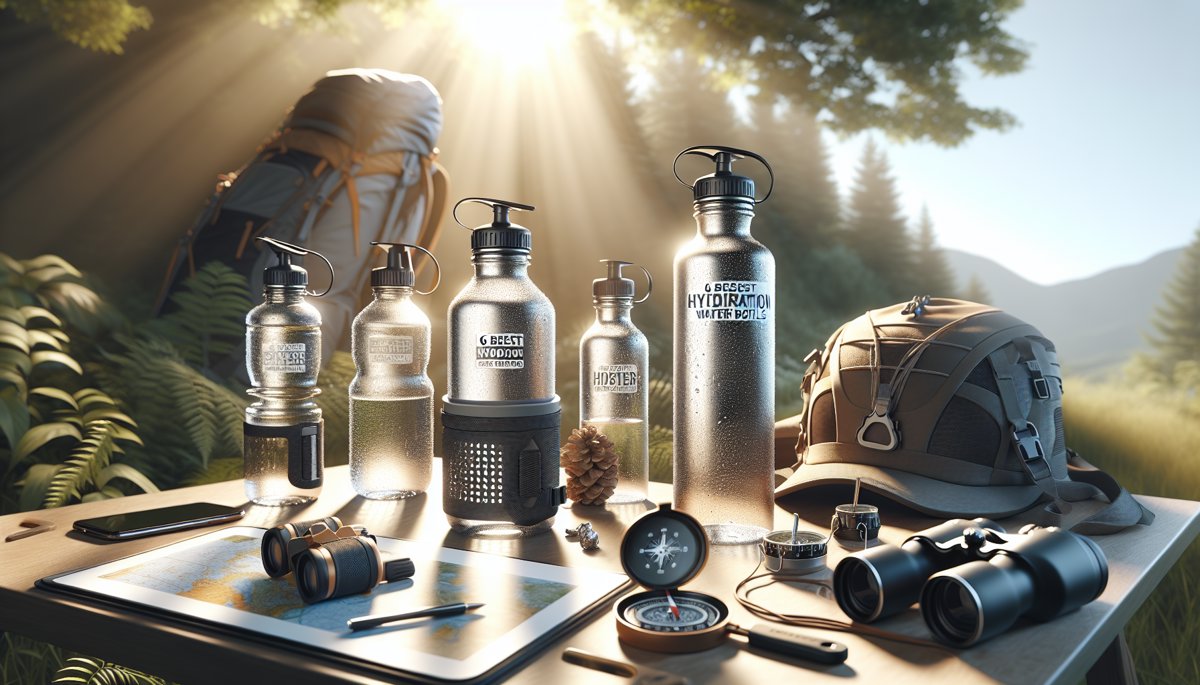

💡 Pro tip — After 15 years of carrying my water bottle on every trail in Quebec, I've learned one thing: poor hydration can turn your most beautiful outing into hell. The right hydration system is like good boots: you forget about it when it does its job well.
You know what can ruin a magnificent hike at Mont Yamaska? A bottle that leaks in your pack, a hydration system that fails you mid-effort, or worse: realizing halfway through that your water tastes like plastic and makes you nauseous. I've tested dozens of best hiking hydration bottles over the years, and believe me, they're not all created equal.
In this guide, I share my 6 favorite choices for 2026, based on hundreds of kilometers on the trail and feedback from our LGPO community. Whether you're looking for a lightweight bottle for your day trips or a complete hydration system for your multi-day adventures, you'll find what you need here.
🥤 Why your bottle choice can make or break your hike
Let me tell you an anecdote that will help you understand the importance of a good hydration system. Last summer, during an outing at Parc National des Hautes-Gorges de la Rivière Malbaie, I was accompanying a group of beginners. One of them had brought an old recycled plastic bottle. Result: it cracked in his pack, soaking all his equipment, and he spent half the day dehydrated. A good bottle should:
📥 Download our free gifts — Equipment checklists, preparation guides and tools to optimize your outdoor outings.
Get my gifts →
Get my gifts →
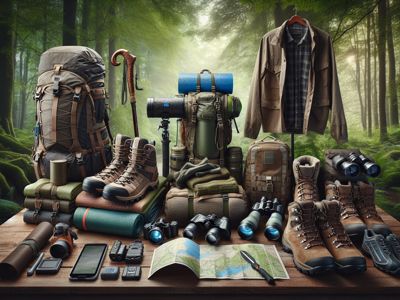
🏆 The 6 best bottles and hydration systems for 2026
After months of testing on different terrains - from the icy trails of Charlevoix mountains to the stifling heat of Montreal summers - here are my choices for this year.1. Hydro Flask Standard Mouth - The insulation reference
Capacities: 532 ml, 621 ml, 946 ml Price: $45-65 Weight: 385g (621 ml) This bottle has been my faithful companion for 3 years. The TempShield vacuum insulation really keeps your water cold for 24h and hot for 12h. I tested this last winter at Canyon Sainte-Anne at -20°C: my tea was still hot after 8 hours outside. Pros:2. Nalgene Wide Mouth - The indestructible
Capacity: 1 liter Price: $15-20 Weight: 180g If you're looking for something robust at a low price, the Nalgene is like concrete. I've had one for over 10 years that has been through hundreds of hikes. No insulation, but it does the basic job perfectly. Pros:3. Platypus SoftBottle - The compressible
Capacities: 500 ml, 1 liter, 2 liters Price: $25-35 Weight: 30g (1 liter) The genius of this bottle is that it compresses as you empty it. Perfect for long hikes where every gram counts. I often use it for my multi-day outings. Pros:| Model | Weight | Insulation | Price | Best for |
|---|---|---|---|---|
| Hydro Flask | 385g | 24h cold | $45-65 | All seasons |
| Nalgene | 180g | None | $15-20 | Tight budget |
| Platypus SoftBottle | 30g | None | $25-35 | Ultralight |
4. Camelbak Crux Reservoir - The hydration system
Capacities: 1.5L, 2L, 3L Price: $50-70 Weight: 280g (2L) For long hikes where you want to drink without stopping, the Camelbak hydration system remains the reference. The new Crux system offers 20% more flow than the old model. Pros:
⚠️ Warning — In very cold weather, the hydration system tube can freeze. I learned this the hard way during a winter outing! Keep the tube close to your body or use an insulating sleeve.
5. Klean Kanteen Classic - The eco-responsible
Capacities: 532 ml, 800 ml, 1182 ml Price: $35-45 Weight: 231g (800 ml) If the environmental aspect matters to you, Klean Kanteen does very good work. 18/8 stainless steel, durable construction, and the company is committed to the planet. Pros:6. Yeti Rambler - The premium
Capacities: 532 ml, 650 ml, 946 ml Price: $55-75 Weight: 454g (650 ml) Yeti is high-end. More expensive, but the quality is there. The DuraCoat insulation really delivers on its promises, and the construction is impeccable. Pros:💧 What capacity to choose according to your type of outing
After years of seeing hikers leave with either too much or not enough water, here are my recommendations based on experience:2-4 hour outings (e.g., Mont Saint-Bruno)
500-750 ml is enough if you have access to water points along the way. Otherwise, go up to 1 liter for safety.Full day hikes
1.5 to 2 liters minimum. I've seen too many people underestimate their needs. In hot weather or on difficult terrain, it can go up to 3-4 liters.Multi-day with filtration
2-3 liters total capacity distributed between bottles and hydration system. You can filter along the way, but always keep a reserve.Winter outings
Less volume needed (we sweat less), but prioritize insulation to prevent freezing.
📌 Good to know — Rule of thumb: 250 ml per hour of moderate activity, 500 ml per hour of intense effort. Add 500 ml safety margin, and you're good.
🧼 How to properly maintain your bottle so it lasts for years
A poorly maintained bottle is a breeding ground for bacteria. And believe me, you don't want to know what it can taste like after a few weeks of neglect. Here's my proven cleaning routine:Daily cleaning
After each outing:Weekly intensive cleaning
Once a week if you use it regularly:Monthly disinfection
To eliminate stubborn bacteria:"A clean bottle is a bottle that will faithfully follow you on all trails. Neglect maintenance, and you'll quickly understand why some prefer to buy new rather than clean."
🌡️ Insulation vs weight: how to make the right choice
It's the eternal hiker's dilemma: do you want your water at the right temperature or do you prefer to save weight? Let me help you decide based on your profile.If you prioritize comfort
Choose insulation. A sip of fresh water after 3 hours of climbing in the sun is worth the extra 200g. My choices: Hydro Flask or Yeti.If every gram counts
Go ultralight. The Platypus SoftBottle at 30g is unbeatable. Or the classic Nalgene which remains reasonable at 180g.If you're undecided
Test both approaches. Start with an insulated bottle for your easy outings, then invest in an ultralight option for your more ambitious challenges.My personal trick
I often use two complementary systems: a small insulated bottle (500ml) for water I want to keep cool, and a SoftBottle (1L) for volume. Total: less than 400g for 1.5L capacity with guaranteed cold.🔧 Essential accessories to optimize your hydration system
Over the years, I've discovered some accessories that transform a good bottle into a perfect system. Here are those that are really worth the investment:Replacement caps and sport caps
Essential if you use your bottle intensively. Caps wear out, get lost, break. Having a spare gives peace of mind. Sport caps allow one-handed drinking without unscrewing.Insulating sleeves
To transform a classic bottle into an insulated model. Less effective than true vacuum insulation, but it helps and costs less.Specialized cleaning kit
Long bottle brush, cleaning tablets, dryer. A complete kit costs $20-25 and will extend your bottle's life by several years.Carabiners and clips
To attach your bottle to the outside of the pack. Practical for quick access, but watch out for drops and snags on branches.
💡 Pro tip — Invest in a good cleaning kit when you buy your bottle. It's like buying oil at the same time as your car: essential for it to last.
❄️ Winter hiking hydration specifics in Quebec
Quebec winter really tests your hydration equipment. After dozens of outings at -20°C and below, here's what I've learned:The freezing problem
Your water will freeze, it's mathematical. A classic bottle becomes a block of ice in 2-3 hours at -15°C. Tested solutions:Hydration systems in winter
The tube freezes first. If you use a Camelbak in winter, invest in an insulating sleeve for the tube or keep it under your jacket.My favorite winter system
Wide-mouth thermos + small backup bottle. The thermos keeps your liquid hot for 8-10h, the small bottle serves for quick sips before it freezes.Hot vs cold liquids
Tea, broth, hot chocolate: it warms and hydrates. Avoid coffee which dehydrates. My favorite mix: green tea + honey + lemon.🎒 Integration into your carrying system: backpack and accessibility
An excellent bottle poorly positioned is like having quality boots with laces that come undone: it ruins the experience. Here's how to properly integrate your hydration into your carrying system:Placement in the pack
External side pocket: easy access, but risk of loss and exposure to impacts Inside the pack, close to the back: protected but less accessible Front pocket of the pack: good compromise if your pack has oneIntegrated hydration systems
Most modern packs have a dedicated compartment and tube passage. If you often use a hydration system, make sure your pack is compatible.Weight distribution
A full 1L bottle = 1kg additional. Place this weight near your center of gravity, not at the bottom or top of the pack.Accessibility while walking
Crucial test: can you reach your bottle without removing your pack? If not, you'll drink less, and that's dangerous on long outings.🌟 My final recommendations according to your hiker profile
After presenting all these models and considerations, here are my direct recommendations according to your profile:The beginner discovering
Nalgene Wide Mouth (1L) + insulating sleeve Reasonable budget, nearly unbreakable, you learn the basics without breaking the bank. Upgrade later according to your needs.The regular all-season hiker
Hydro Flask Standard Mouth (621ml) The perfect sweet spot. Excellent insulation, proven durability, versatile size. It's been my personal choice for 3 years.The ultralight obsessed with grams
Platypus SoftBottle (1L) + purification tablets 30g for 1L, no argument. Perfect for long distances where every gram counts.The long hike enthusiast
Camelbak Crux 2L + Hydro Flask 500ml The Camelbak for continuous hydration, the Hydro Flask for fresh water during breaks. Complete and efficient system.The winter hiker
Yeti Rambler 650ml + wide-mouth thermos Yeti insulation resists cold better, the thermos keeps your liquids hot. Essential for our Quebec winters. Listen, after 15 years of hiking Quebec trails and testing everything drinkable, I can tell you one thing: the best bottle is the one you'll use. Not the one with the best reviews or the sexiest design, but the one that matches YOUR outings, YOUR budget, YOUR priorities. Here are my key takeaways:Newsletter
Content that makes you want to go outside
Every week, a trail idea, a reflection on nature, or a tip worth the detour. Zero spam. Only the essentials.
Joined by 12,000+ outdoor enthusiasts
Read next