
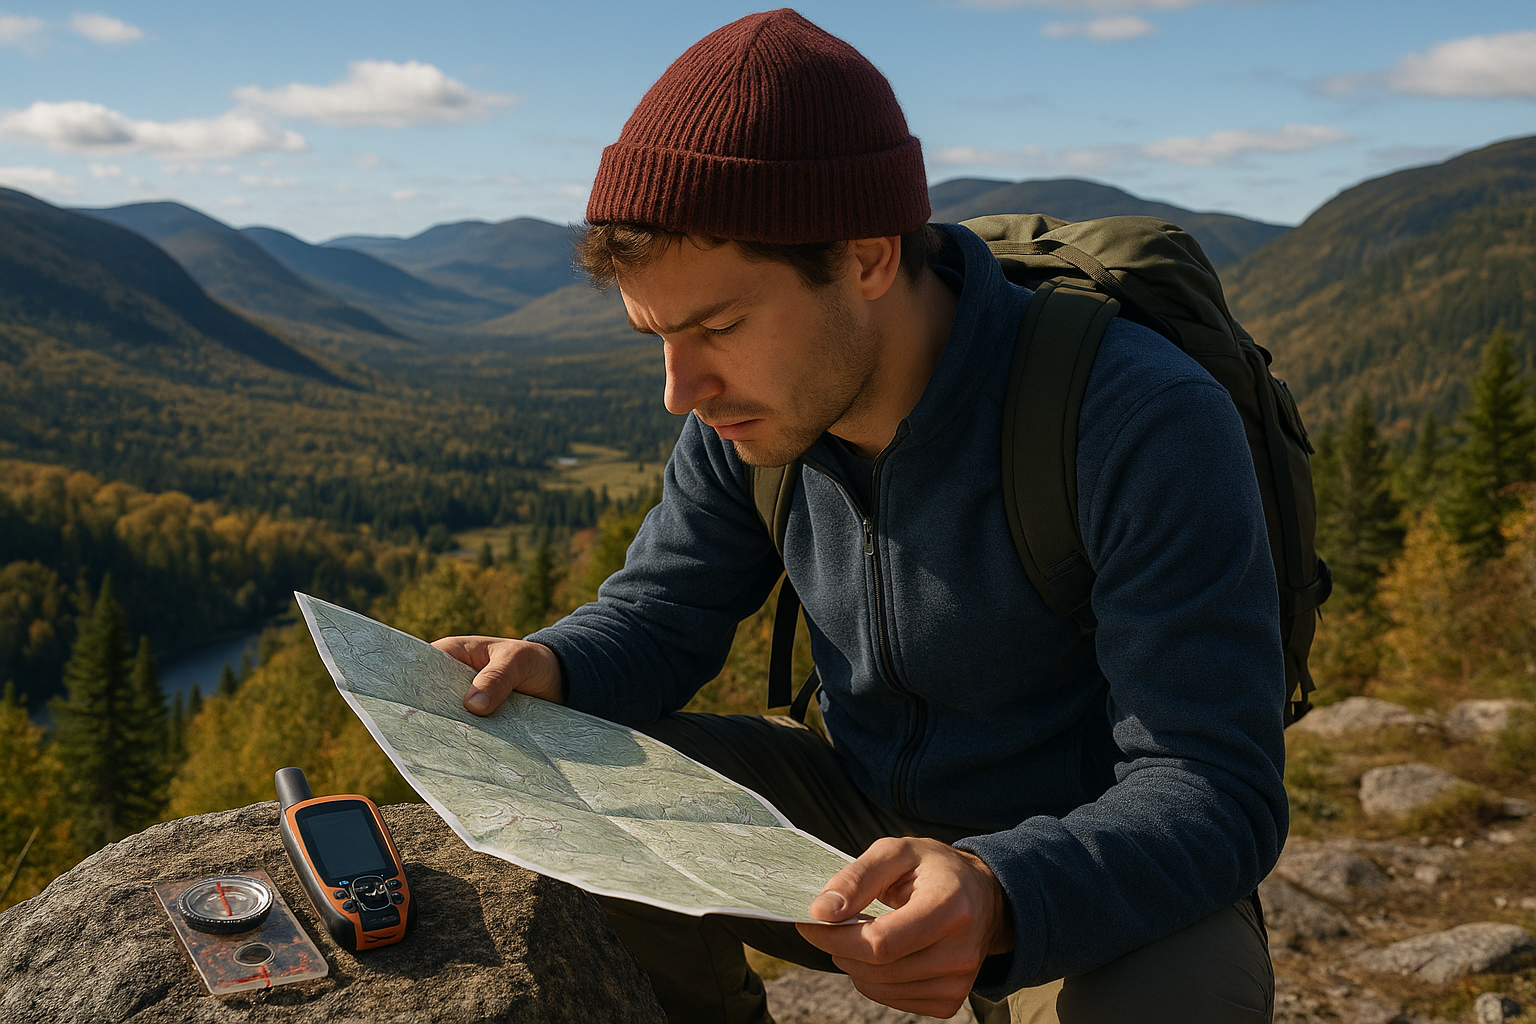
Have you ever found yourself lost in the forest with a topographic map in your hands, wondering how to decode all those mysterious symbols? Or maybe your GPS displays coordinates that mean nothing to you? I've been there, and trust me, knowing how to read a topographic map and use a GPS for hiking can transform your outdoor adventures — and even save your life.
After covering hundreds of trails in Quebec and beyond, I've learned that good navigation is like having a superpower in the mountains. You can explore remote areas with confidence, discover hidden gems, and most importantly, always find your way back to the parking lot!
In this guide, I'll share everything I've learned in the field: how to decode a topo map, master your GPS, and most importantly, how to combine both to become self-sufficient in nature.
Get my gifts →
🗺️ Why the topographic map remains your best friend in the mountains
Even in the age of GPS and smartphones, the topographic map remains the most reliable navigation tool. Why? Because it never breaks down, never loses its signal, and gives you an overview that your little phone screen can't offer.
A topo map is like an X-ray of the terrain. It reveals everything you can't see on the horizon: the slope waiting for you in 2 km, the stream you'll need to cross, or that beautiful ridge that could make an interesting detour.
Basic elements to recognize
Let's start with the fundamentals. On your map, you'll find:
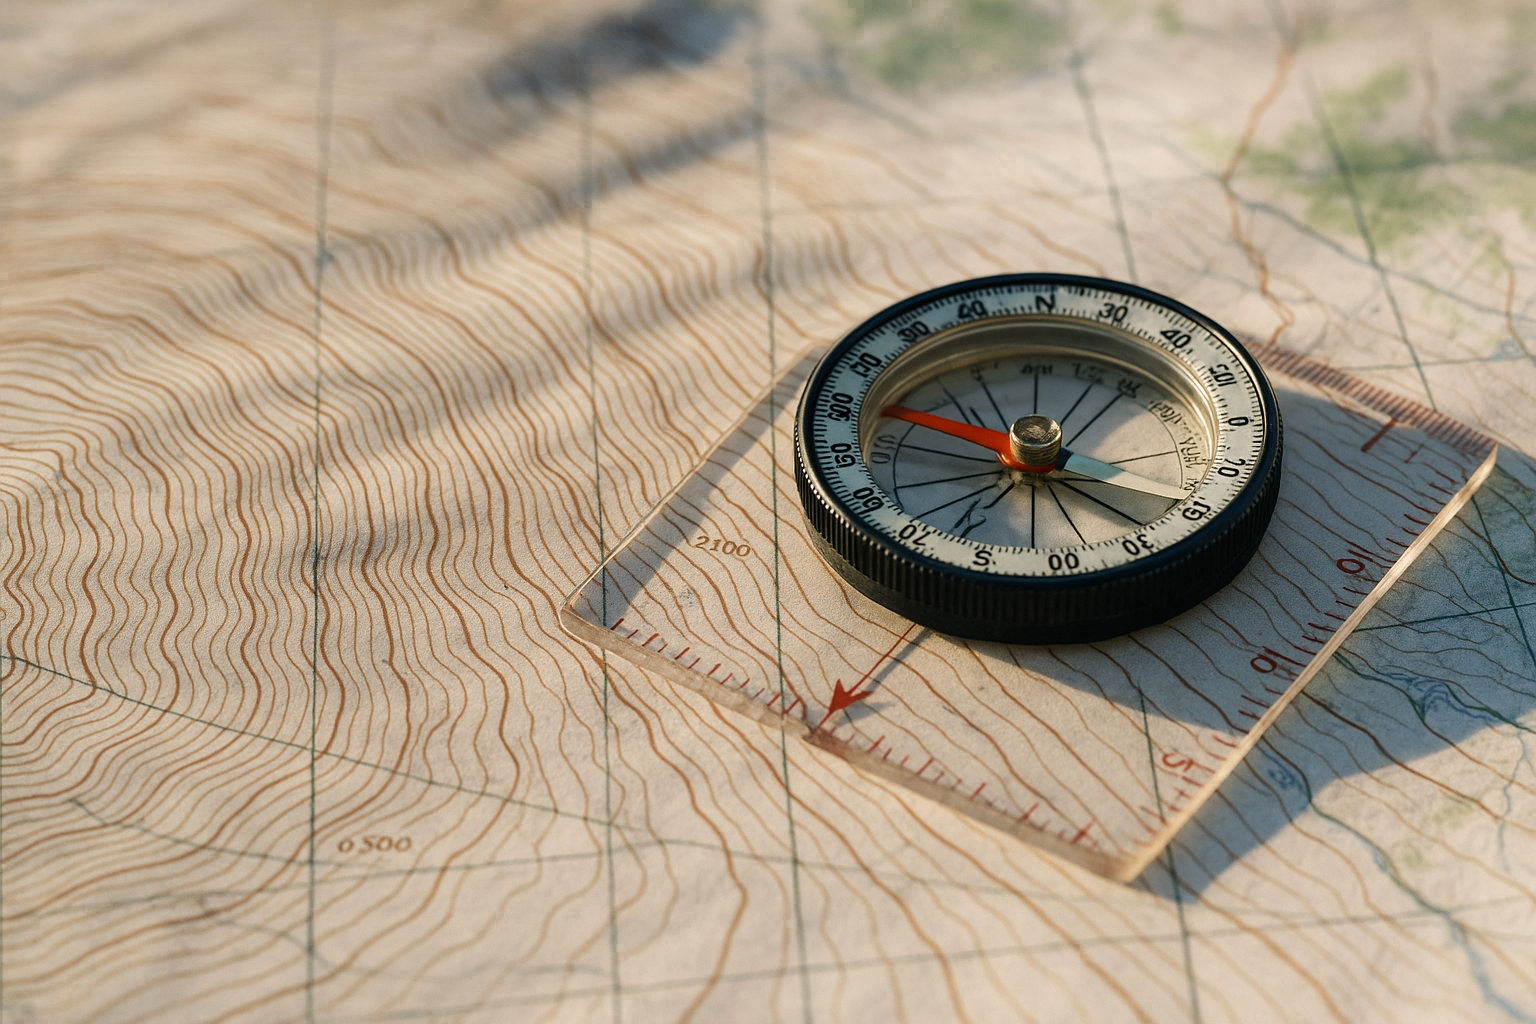
- Contour lines: those brown lines that seem to snake everywhere
- Scale: generally 1:50,000 in Canada (1 cm = 500 m in reality)
- Magnetic vs geographic north: crucial for using your compass correctly
- Legend: your dictionary for decoding all symbols
Contour lines are probably the most important element to master. Each line represents a constant elevation. The closer the lines are together, the steeper the slope. The more spaced out they are, the flatter the terrain. Simple, but revolutionary when you understand it!
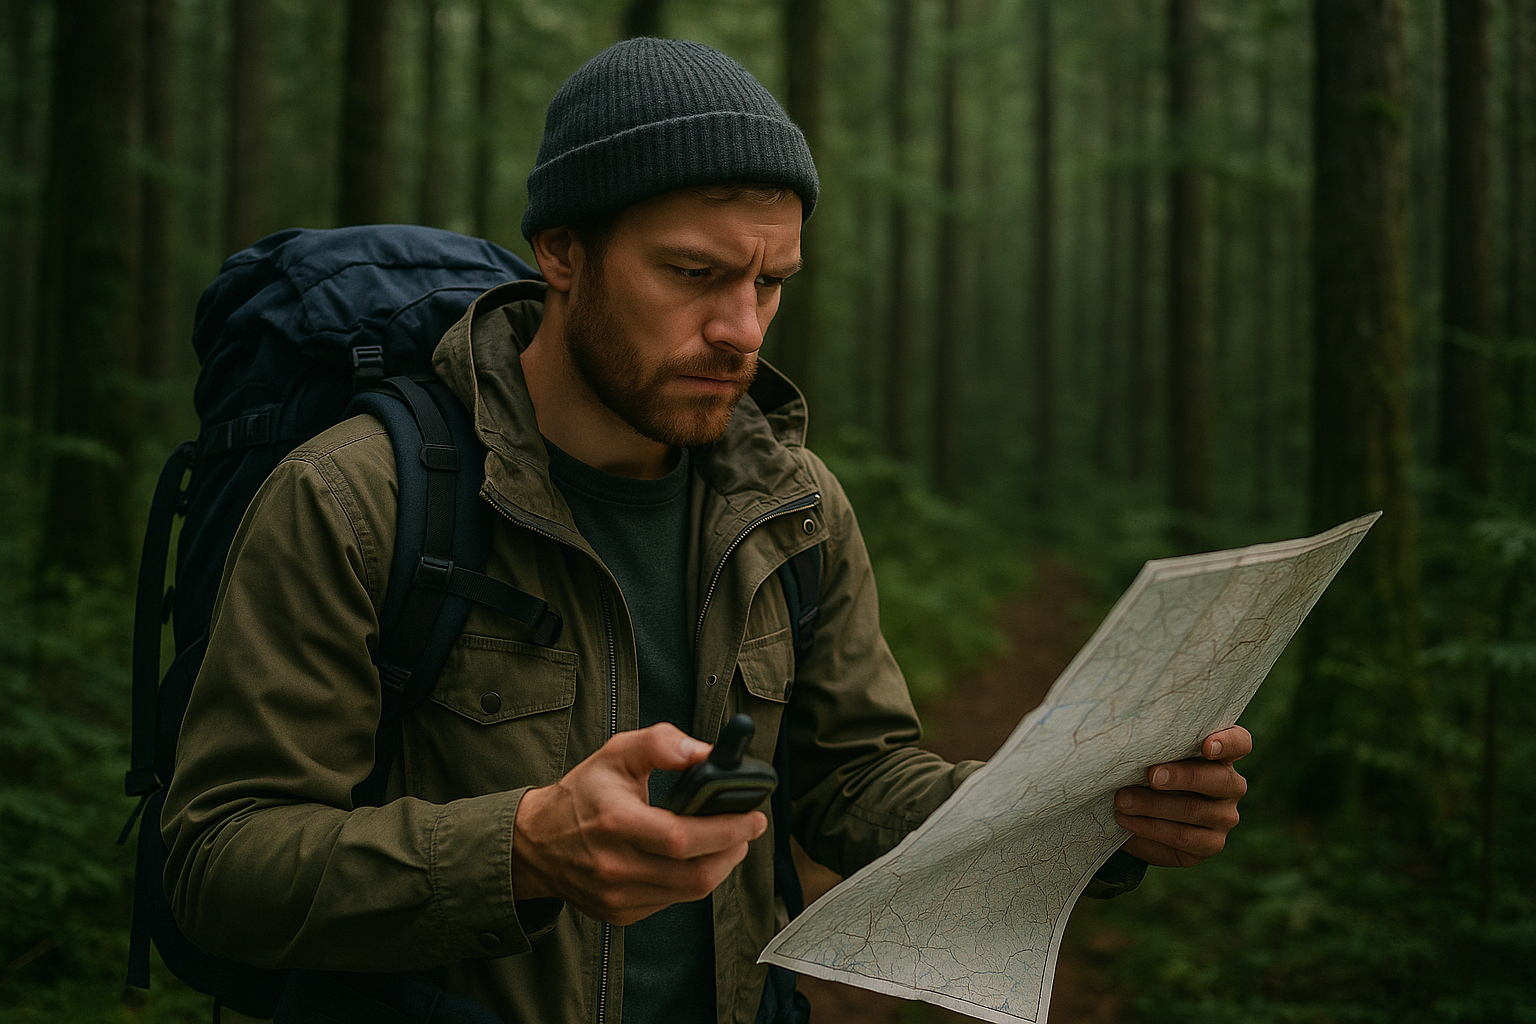
📱 GPS for hiking: your digital co-pilot (but not your pilot!)
GPS is fantastic, but it's a complementary tool to the map, not a replacement. I've seen too many hikers rely blindly on their GPS only to find themselves in trouble when the battery dies or the signal disappears.
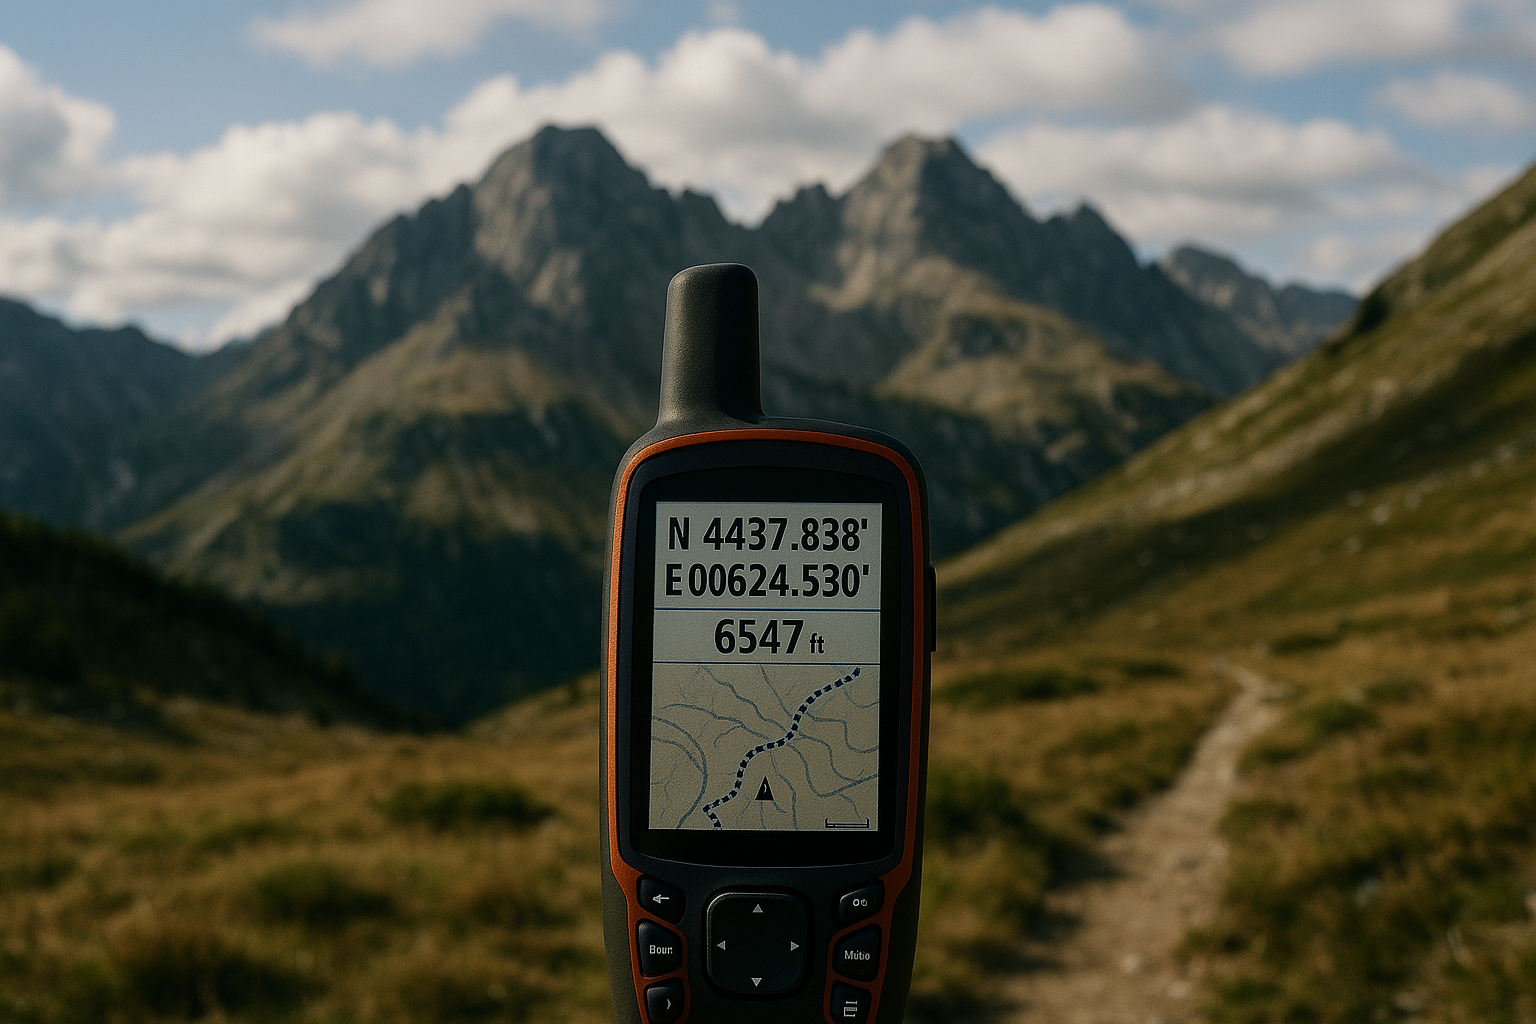
Your GPS excels at:
- Confirming your exact position on the map
- Recording your route to repeat it or share it
- Guiding you to a precise point (coordinates of a summit, for example)
- Calculating distances and times in real time
Coordinates: decoding the language of position
In Quebec, we mainly use two coordinate systems: UTM and latitude/longitude. UTM coordinates are more practical in the field (example: 18T 0321456 5180234), while lat/long are universal (example: 45.5017° N, 73.5673° W).
| System | Advantages | Recommended use |
|---|---|---|
| UTM | Easy to read on map, precise | Terrain navigation, rescue |
| Lat/Long | Universal, compatible everywhere | Position sharing, mobile apps |
| MGRS | Very precise, military | Precision operations |
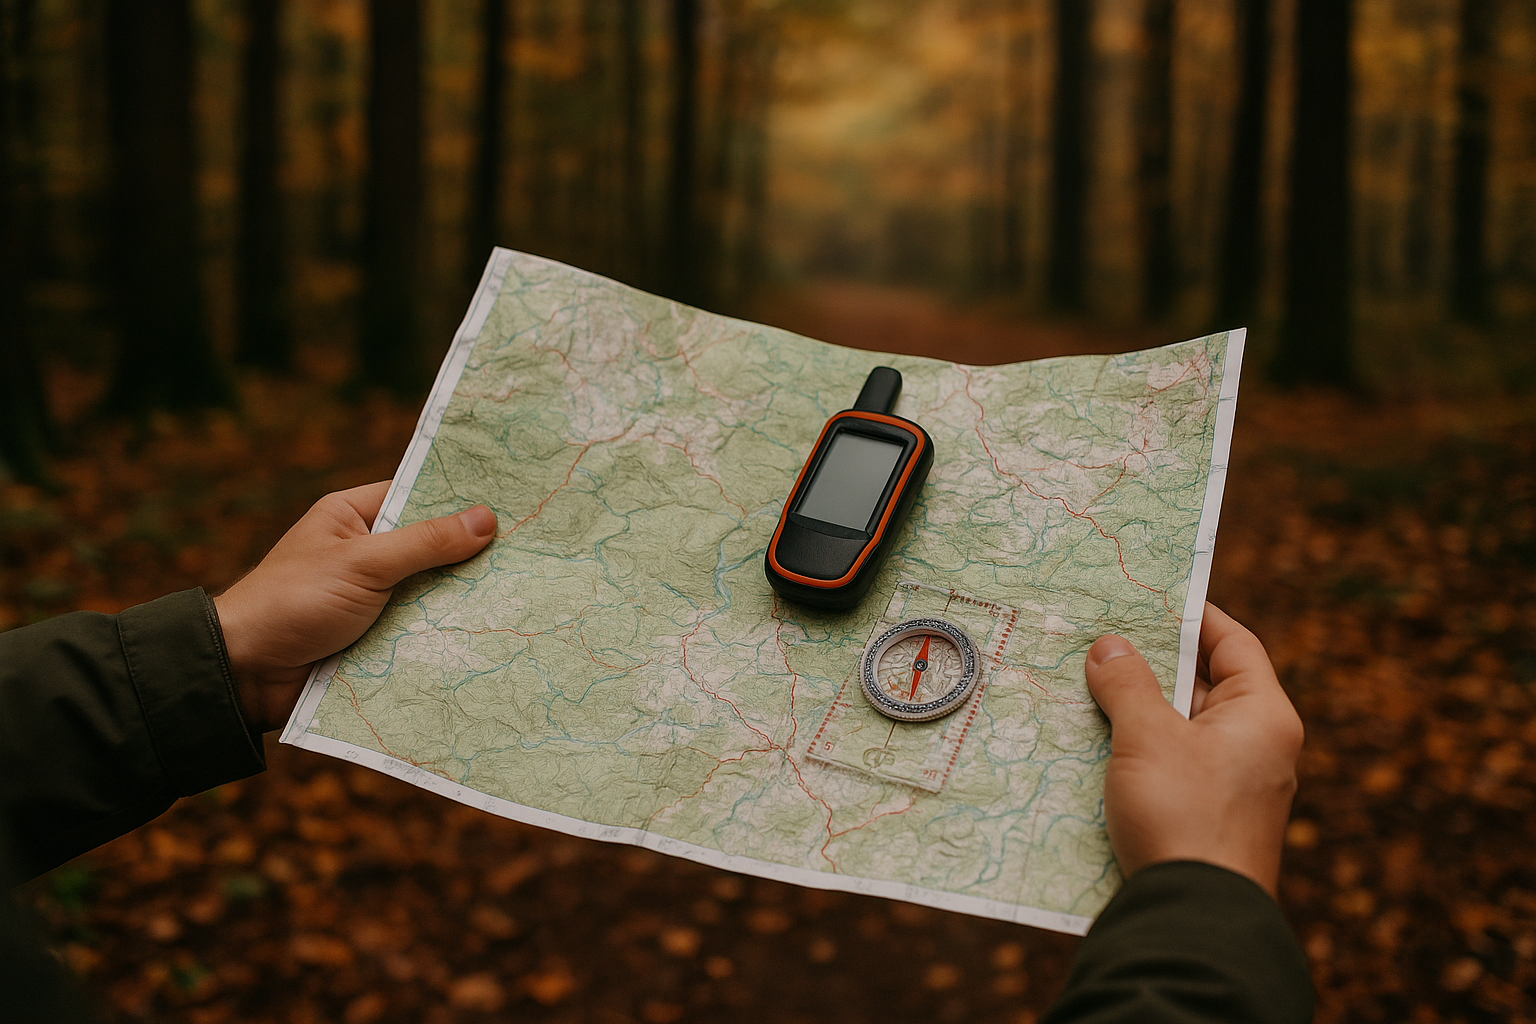
🧭 How to combine map and GPS like a pro
Here's where it gets interesting! The real magic happens when you intelligently combine topographic map and GPS. This is what I call hybrid navigation, and it's what has gotten me out of trouble more than once.
My 4-step method:
1. Planning at home
Before leaving, I study my map and mark key points: start, finish, important landmarks (lake, summit, trail intersection). I also note the coordinates of these points in my GPS.
2. Orientation in the field
Once on site, I orient my map to north (with my compass) and confirm my position with GPS. This double verification gives me total confidence in my starting position.
3. Active navigation
While walking, I regularly consult my map to anticipate the terrain, and I check my GPS position at landmarks. This habit helps me avoid unpleasant surprises and stay constantly oriented.
4. Cross-checks
When something doesn't seem to match between what I see, what my map says, and what my GPS indicates, I stop. Better to lose 5 minutes clarifying your position than 2 hours looking for your way!
This approach was particularly useful during my last outing at Parc National des Hautes-Gorges de la Rivière Malbaie, where fog had reduced visibility to a few meters.
🎯 Navigation mistakes that can ruin your outing
After 15 years on trails, I've made (and seen made) quite a few navigation mistakes. Here are the most common ones and how to avoid them:
The "all-powerful GPS" mistake
Relying solely on your GPS without looking at the map is like driving with your eyes closed while only listening to voice instructions. It works... until it doesn't.
I once met a group religiously following their GPS up a steep and rocky climb, when the map would have shown them that a gentler trail existed 200 meters away.
Neglecting weather conditions
Your GPS can lose its signal in deep valleys, under thick cloud cover, or during storms. Your map always works!
Not considering battery life
GPS batteries drain faster in cold weather. I always carry spare batteries and a power bank. And of course, my paper map remains my ultimate backup.
"Navigation is like cooking: the best results come when you combine several ingredients rather than relying on just one."
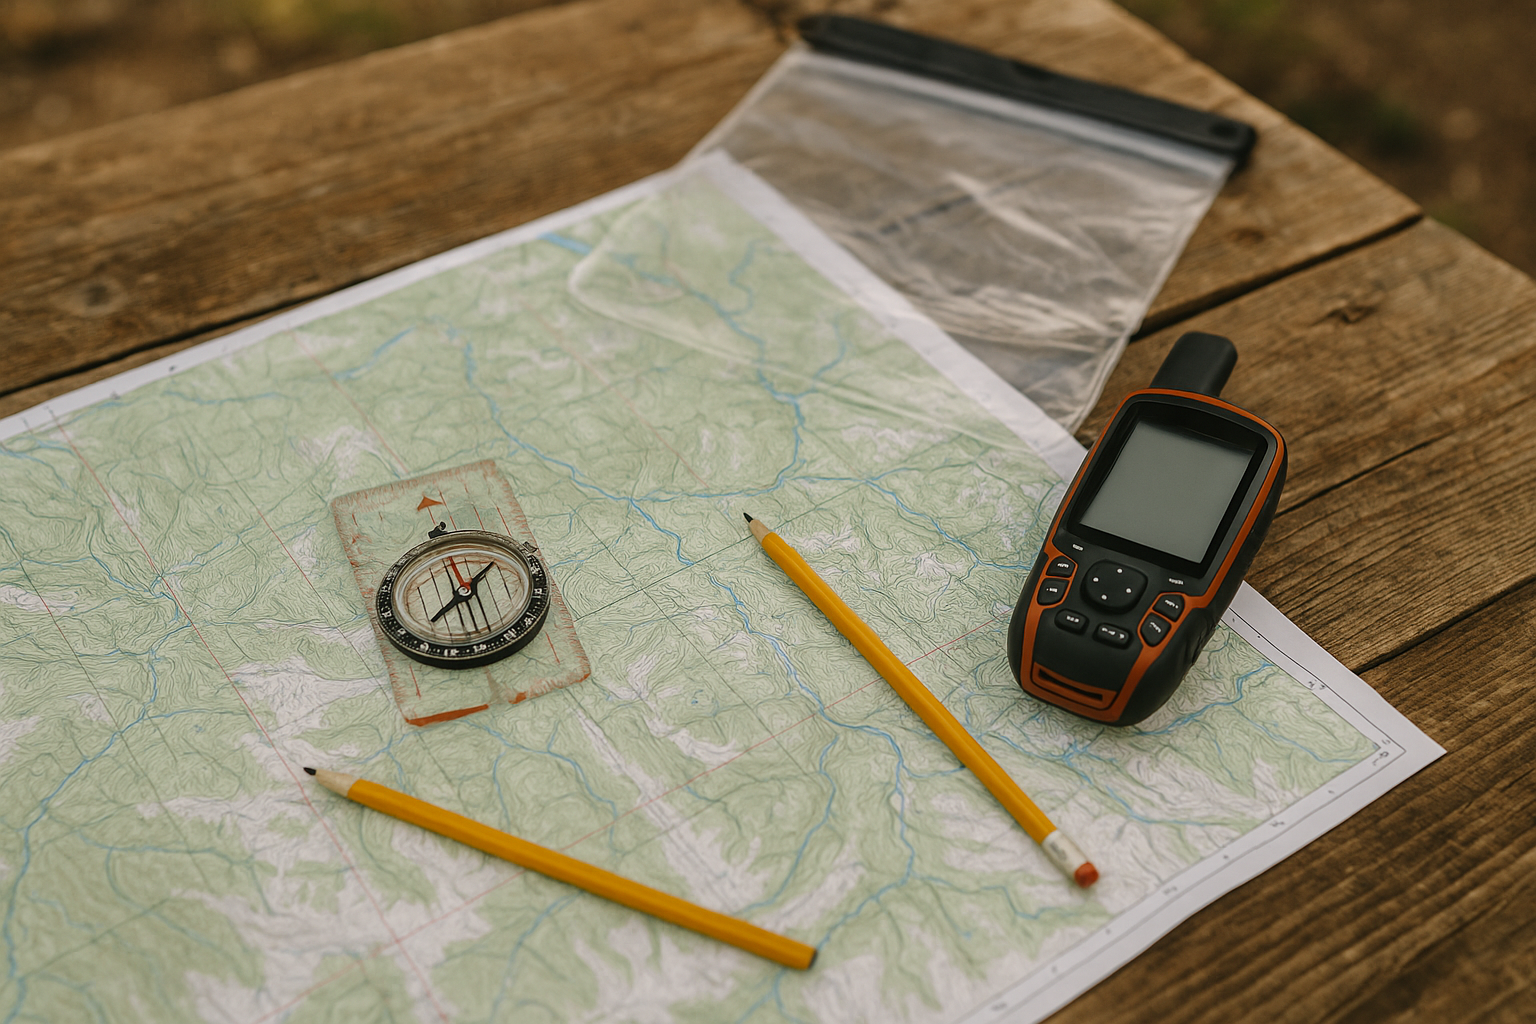
🔧 Essential equipment for top-notch navigation
Let's talk gear! No need to break your budget, but a few quality tools will make all the difference:
For topographic maps
- Quality compass with mirror and ruler (Silva or Suunto are my favorites)
- Waterproof case to protect your map
- Pencil to mark your route (ink can run!)
For GPS
- Dedicated hiking GPS (Garmin eTrex or GPSMAP series) more reliable than a smartphone
- Spare batteries alkaline or lithium for cold weather
- Lanyard to avoid dropping it in a ravine
| Tool | Budget | Durability | Ease of use |
|---|---|---|---|
| Smartphone + app | Free-$20 | Low | Very easy |
| Basic GPS | $150-300 | Excellent | Easy |
| Advanced GPS | $400-800 | Excellent | Complex |
If you're starting out, I recommend beginning with a good compass and topographic maps of your favorite regions. You can add a GPS later, once you master the basics. By the way, my ultimate guide to start hiking in Quebec covers all the essentials to get started right.
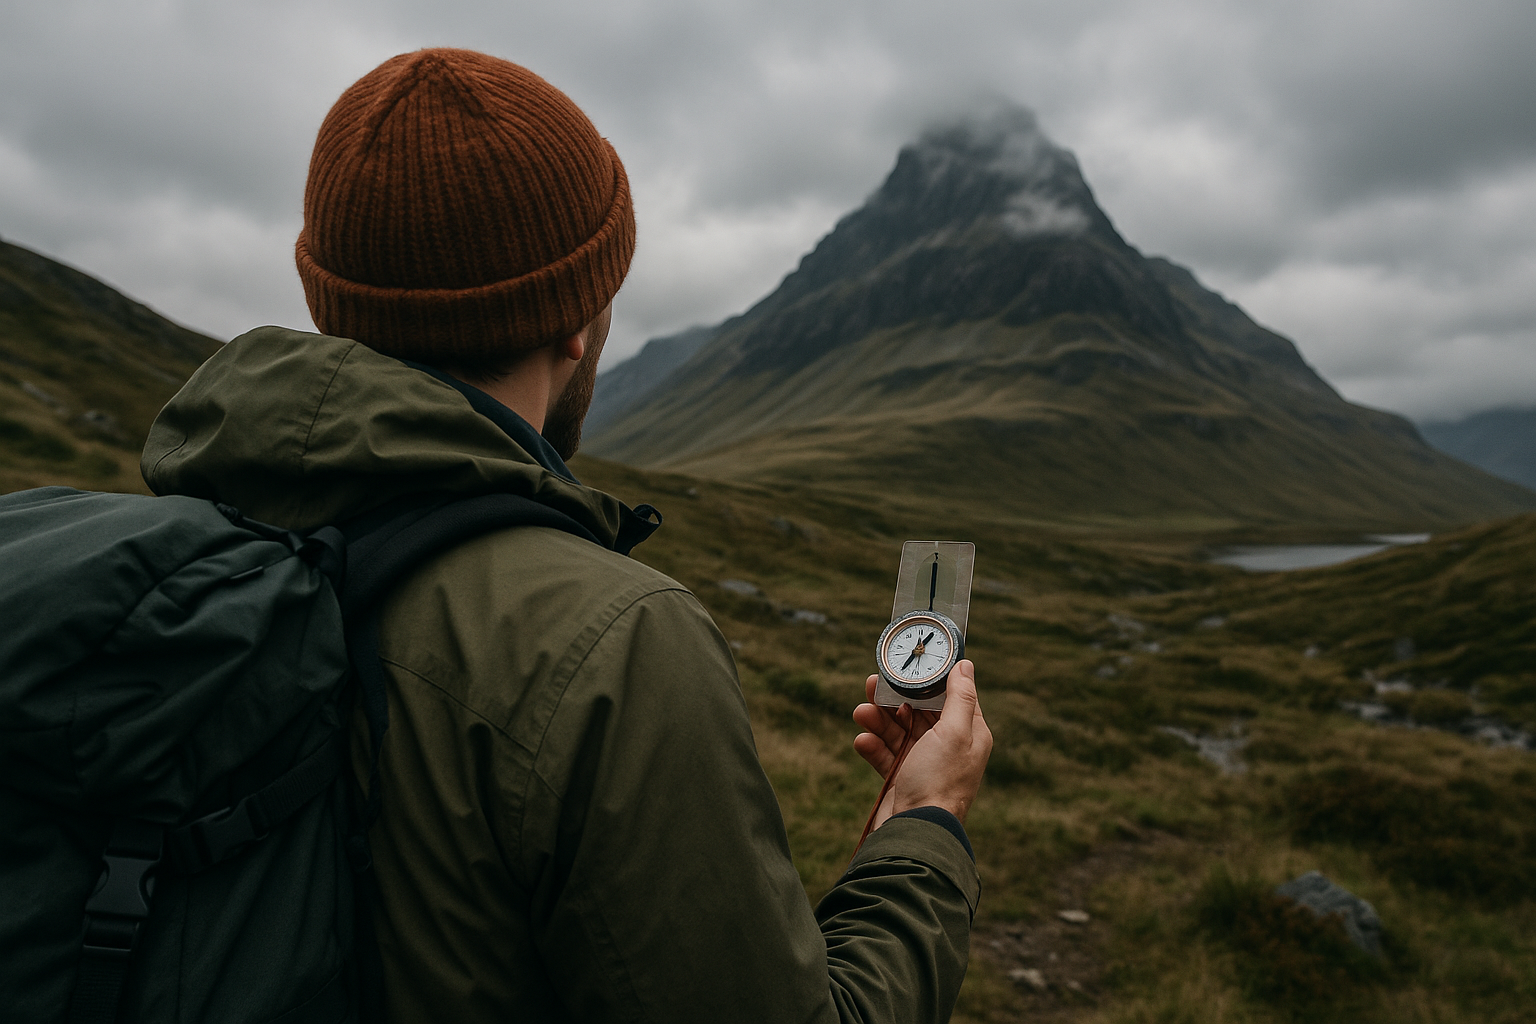
🏔️ Advanced techniques: triangulation and bearing
Once you master the basics, here are some techniques that will make you a seasoned navigator:
Triangulation
This technique allows you to determine your exact position using three visible reference points (summits, antennas, buildings). You take a compass bearing to each point, draw these lines on your map, and voilà! You're at the intersection of the three lines.
I used this last summer at Mont Yamaska when fog prevented me from seeing the trail clearly.
Back bearing
You see a landmark on your map but want to confirm it's the one you're observing? Take a compass bearing, then check if it matches the azimuth calculated from your position on the map.
Bad weather navigation
When visibility is reduced, navigation becomes critical. I then use the bearing and distance technique: I determine the azimuth to my objective, count my steps (or time my walk), and regularly check my GPS position.
This method saved me during a winter outing when a snowstorm had erased all trail traces.
📲 Mobile apps: your digital allies
Even though I advocate for paper maps and dedicated GPS, I'm not against technology! Several apps can complement your navigation arsenal:
Must-haves in Quebec
- Gaia GPS: detailed maps, offline mode, excellent for planning
- AllTrails: huge database of trails with user reviews
- Avenza Maps: allows using official topographic maps on your phone
- What3Words: simplified coordinate system, perfect for rescue
These apps are particularly useful for discovering new trails, like those at Parc National du Mont-Saint-Bruno where numerous intersections can be confusing.
Optimizing your smartphone for hiking
If you use your phone as backup GPS:
- Activate airplane mode with GPS only (saves battery)
- Lower screen brightness
- Carry a waterproof power bank
- Protect your phone in a waterproof case
I learned the hard way about the importance of this protection during a rainy hike when my phone got water damage. Fortunately, I had my paper map!
🚨 Emergency navigation: when everything goes wrong
Let's talk reality: sometimes, despite all your preparation, you can find yourself lost. It's happened to the best of us, myself included. The important thing is knowing how to react.
The STOP protocol
When you realize you don't know where you are:
- Stop: stop moving, don't panic
- Think: think about your last known landmarks
- Observe: look around you, consult map and GPS
- Plan: decide on your next action
Relocation techniques
If you're really lost, here are my proven techniques:
- Retrace your steps to the last known point (this is why I always activate track recording on my GPS)
- Find high ground to get an overview of the terrain
- Use linear features: rivers, power lines, roads will lead you back to civilization
- Signal your position: whistle, mirror, colorful clothing
This basic safety rule is detailed in my guide on essential questions to ask yourself before leaving.
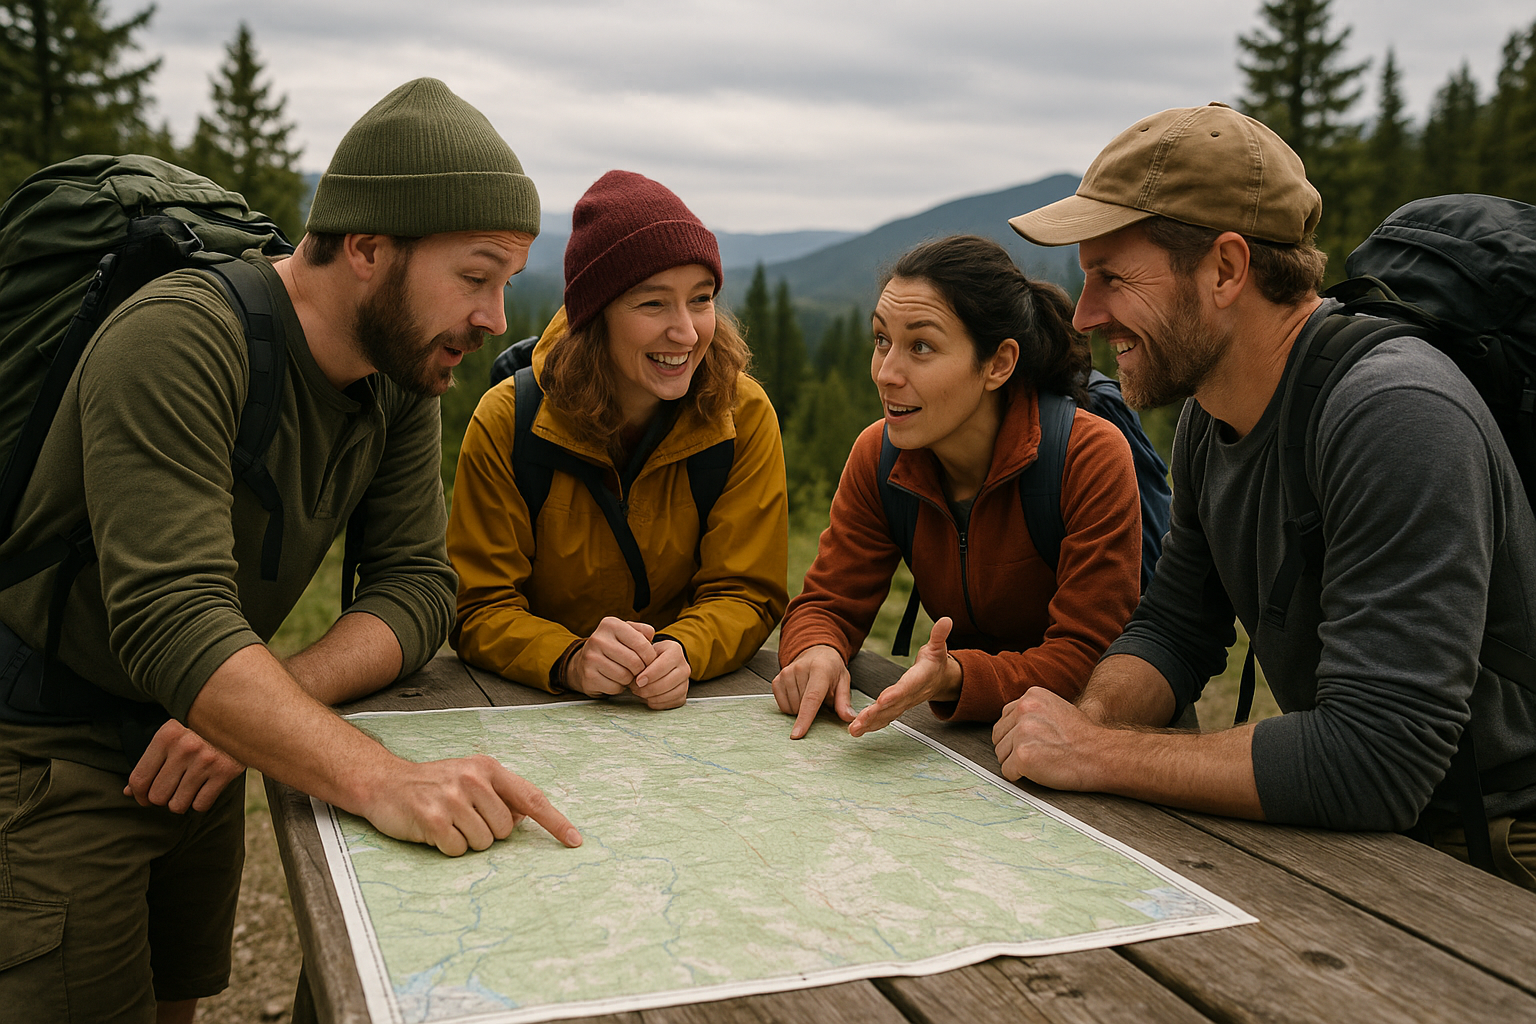
🎓 Practice and improvement: becoming a navigation expert
Navigation is learned in the field! Here's how I recommend developing your skills:
Start small
Begin with well-marked and popular trails like those in the top 15 easy trails around Montreal. Even on these trails, practice your techniques: orient your map, check your GPS position, identify contour lines.
Practical exercises
- Distance estimation: guess the distance to a landmark, then check with your GPS
- Terrain reading: before a turn, anticipate what you'll see according to your map
- Blind navigation: ask a friend to choose a point on the map and guide yourself only with compass and GPS
Progressive challenges
Once comfortable, gradually complicate:
- Less frequented trails
- Navigation in bad weather
- Off-trail hiking (with appropriate experience)
- Night navigation (with adequate equipment)
My favorite training ground remains Parc du Mont-Arthabaska with its multiple trails and intersections that offer numerous navigation challenges.
🌟 Conclusion: your freedom starts with good navigation
Mastering topographic map reading and GPS use is much more than learning techniques — it's gaining your freedom in nature. Here are the essential points to remember:
- The topographic map remains your main tool: it never breaks down and gives you a global view of the terrain
- GPS is an excellent complement: use it to confirm your position and record your tracks, not as the sole navigation source
- Regular practice is key: start on easy trails and gradually increase difficulty
- Safety first: always inform someone of your itinerary and carry emergency equipment
- Hybrid navigation wins: combine map, compass, GPS and even mobile apps for a complete approach
Every time I see a hiker master their first complex navigation, their eyes light up. They just realized that an immense world opens before them — all those remote trails, isolated summits, secret spots that only confident navigators dare to explore.
Navigation is your passport to authentic adventure. So grab your map, charge your GPS, and go discover what our magnificent Quebec mountains have to offer you. Adventure awaits at the next bend in the trail!
"Getting lost sometimes is normal. Knowing how to find yourself again is what makes the difference between a hiker and a true explorer."
Newsletter
Content that makes you want to go outside
Every week, a trail idea, a reflection on nature, or a tip worth the detour. Zero spam. Only the essentials.
Joined by 12,000+ outdoor enthusiasts
Read next