
⚠️ Warning — River crossing is one of the most dangerous situations in hiking. Every year, serious accidents occur due to poor risk assessment.
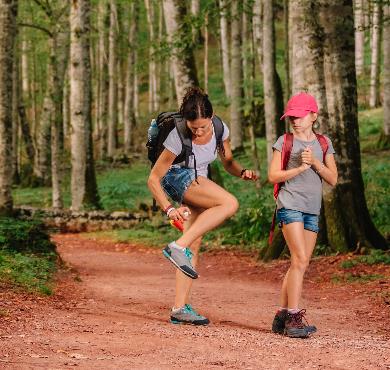
You're walking peacefully on your favorite trail when suddenly, you come face to face with a stream blocking your path. The water looks calm, but is it really safe to cross? Knowing how to safely cross a watercourse can literally save your life. After 15 years on trails and a few memorable scares, I'm going to share the 9 essential things every hiker should know to cross water safely.
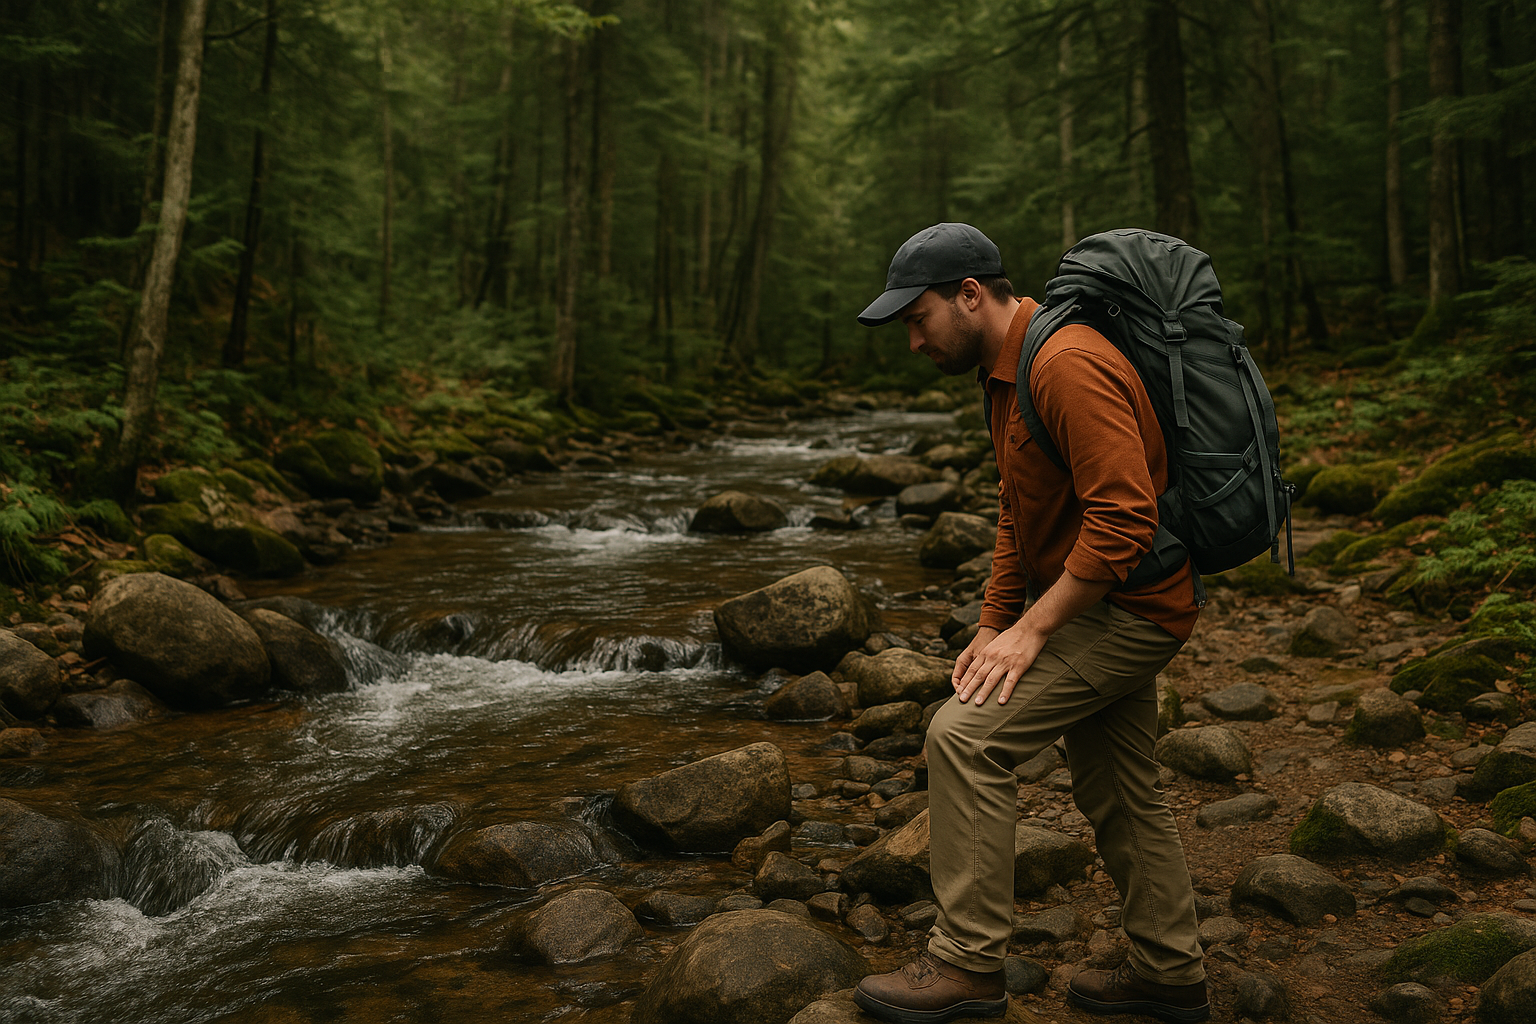
🌊 How to assess if a watercourse is crossable?
Before even dipping a toe in the water, you need to make a complete assessment of the situation. This is the difference between a successful crossing and a call for rescue.
First observe the water color. Clear water allows you to see the bottom and assess the depth. If the water is brown or muddy, be wary: it's probably hiding obstacles or indicates significant flow caused by recent rains. Listen to the sound of the water. A silent watercourse is generally safer than a roaring torrent. If you have to raise your voice to be heard, that's already a warning signal. Assess the width and look for alternatives. Sometimes, going up or down the watercourse a few hundred meters reveals a narrower or safer passage. I once walked 30 minutes along the Malbaie River to find a spot where the water didn't exceed my knees instead of my hips.💡 Pro tip — Use a branch or your hiking pole to test the depth before committing. If the water exceeds your knees, look for another passage.
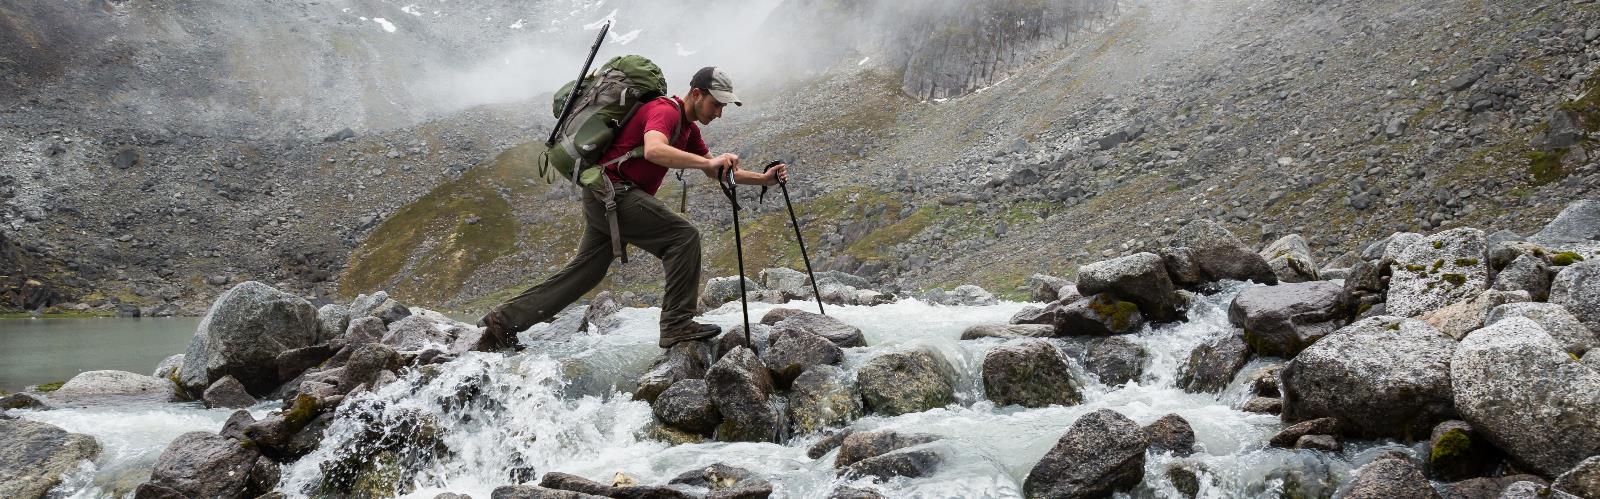
🥾 What's the best technique for crossing safely?
Once you've determined that crossing is possible, technique becomes crucial. I learned these methods the hard way, and they've saved me from more than one icy fall.
Unfasten the chest and hip straps of your backpack. In case of a fall, you need to be able to quickly get rid of your pack to prevent it from dragging you down. This is a reflex that can save your life. Cross diagonally, facing upstream. This position gives you better stability and allows you to see debris that the current might carry. Move one foot at a time, always keeping three points of contact: your two feet and your pole.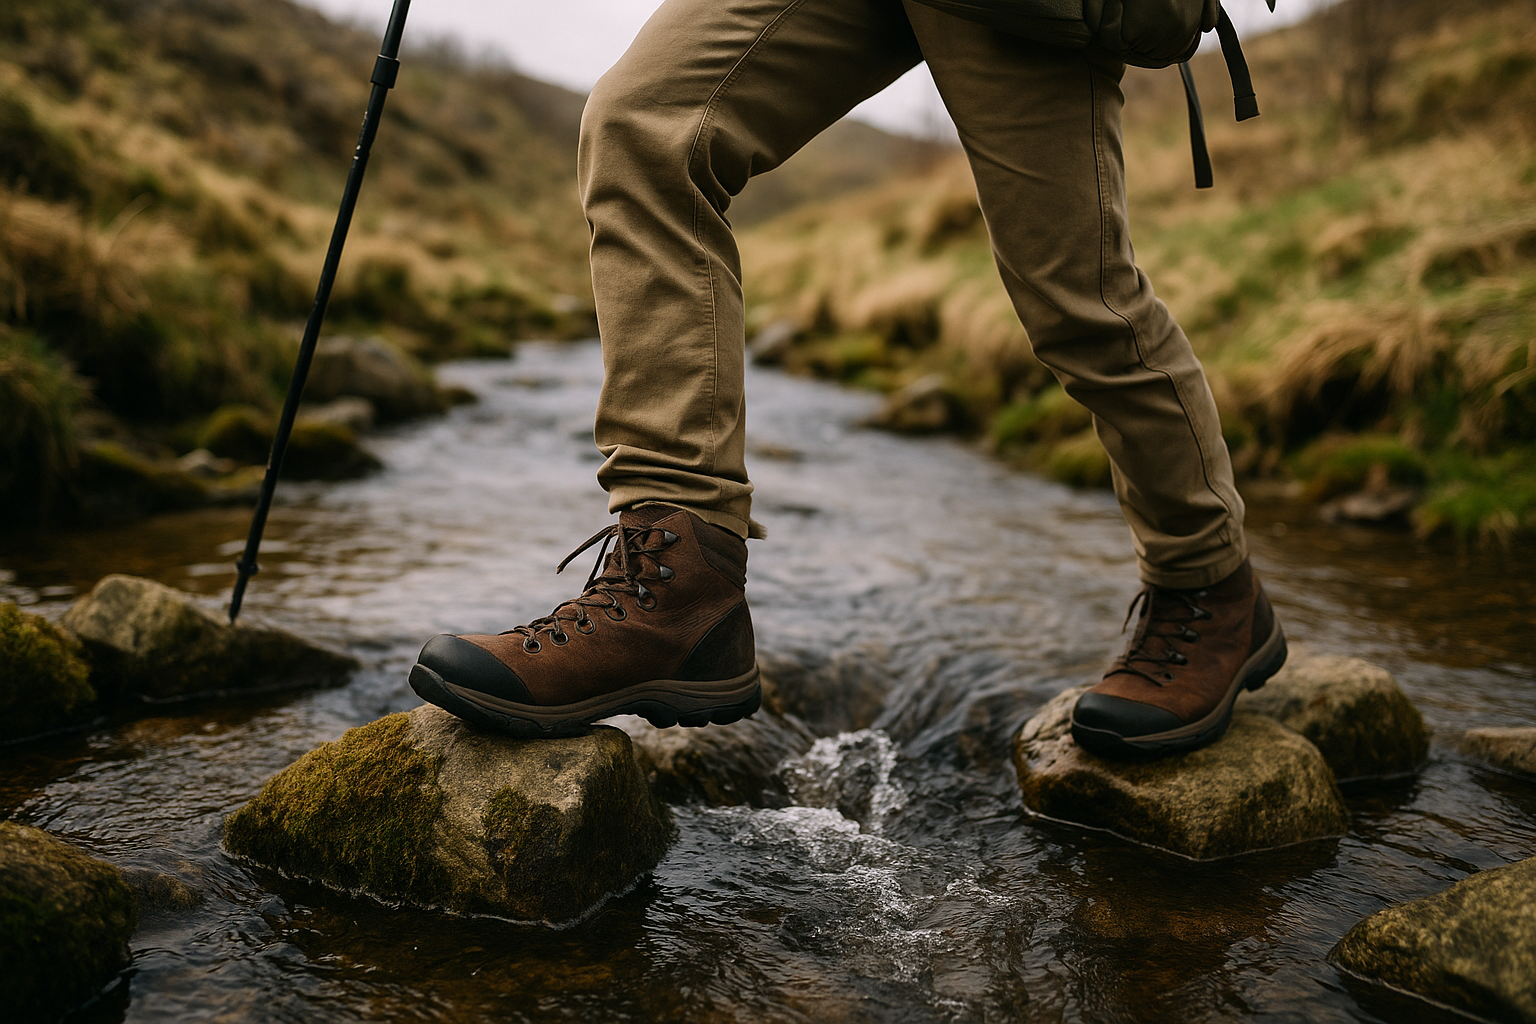
| Water depth | Recommended technique | Required equipment |
|---|---|---|
| Up to ankles | Normal, careful walking | Poles optional |
| Up to knees | Slow diagonal crossing | Poles mandatory |
| Higher than knees | Find another passage | N/A - avoid |
👟 Should you keep your boots on or take them off?
This is THE question everyone asks, and the answer isn't so simple. It depends on several factors I've learned to consider with experience.
Keep your boots if the bottom is rocky or slippery. The sole of your hiking shoes offers much better grip than your bare feet on wet rocks. I once saw a guy seriously cut his foot on sharp rocks at Canyon Sainte-Anne because he had removed his boots. Remove them if the bottom is muddy or sandy and the crossing is short. Your bare feet will give you better feel of the terrain and prevent your boots from filling with mud.📌 Good to know — Always bring a spare pair of socks in a waterproof bag. Walking with wet feet for hours is a guarantee of getting blisters.
⚡ When should you absolutely turn back?
There are situations where pride can cost you dearly. After seeing spectacular rescues and experiencing a few moments of panic, I can tell you it's better to turn back than end up in a newspaper.
If the water exceeds your hips, don't even try. The force of a current reaching your waist can easily knock down an adult. It's pure physics: the larger the surface of your body in contact with water, the stronger the push. After heavy rains or during snowmelt, watercourses can be unpredictable. That little stream you easily crossed last summer can become a dangerous torrent. I once had to cancel a trip to Mont Yamaska because of this.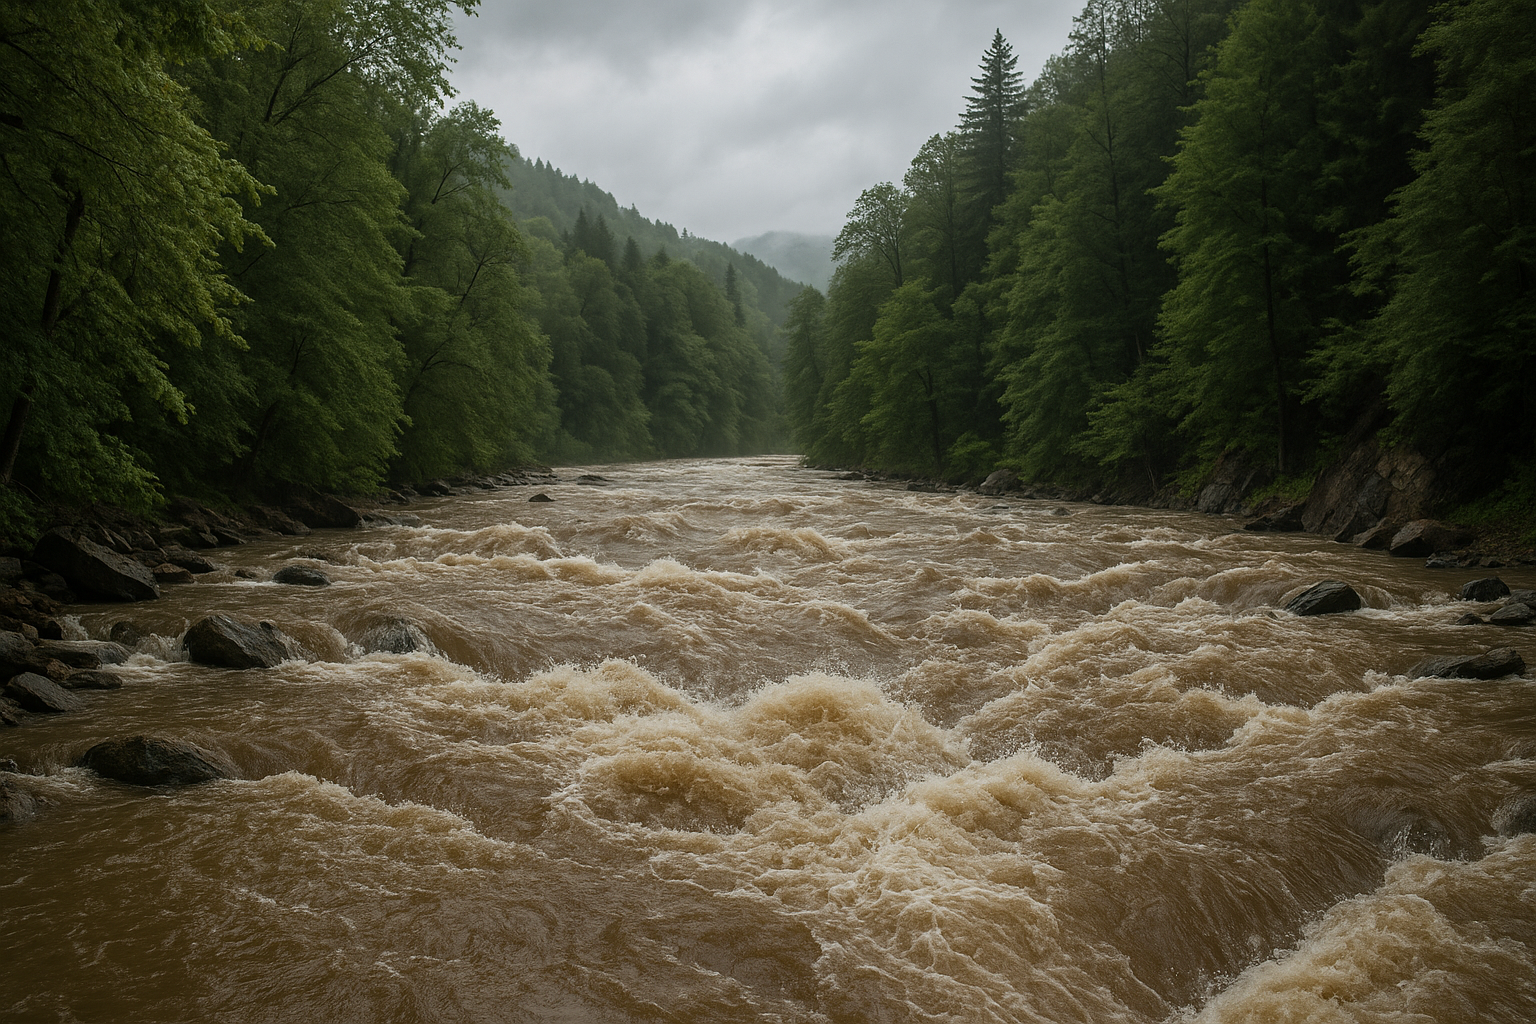
⚠️ Warning — Water temperature also plays a crucial role. Very cold water can cause thermal shock and prevent you from coordinating your movements.
🎒 What equipment to have for safe crossing?
Equipment can make the difference between a controlled crossing and an accident. Here's what I recommend after testing different configurations in the field.
Telescopic hiking poles are essential. They give you a third point of support and allow you to test depth before each step. Invest in models with tungsten tips for better grip on rocks. A safety rope if you're traveling in a group and need to regularly cross watercourses. One person crosses first and secures the others. It's specialized equipment, but it can save lives in certain conditions. Waterproof gaiters to protect your legs and prevent water from entering your boots. This is particularly useful for multiple crossings in the same day.💡 Pro tip — Always keep a dry bag with spare clothes in your main pack. Even the best-planned crossing can go wrong.
📥 Download our free checklist — The complete list of all safety equipment to bring hiking, including watercourse crossings.
Get my freebies →
🧭 How to choose the right place to cross?
Not all crossing points are equal. With experience, you develop an eye for spotting the safest places. Here are my selection criteria.
Look for wide and shallow sections. Counter-intuitively, a wide watercourse is often shallower and slower than a narrow passage where water is channeled. Fluid physics works in your favor. Avoid outer curves where water naturally digs the bed and creates more depth. Favor inner curves or straight sections where flow is more regular. Look upstream and downstream to anticipate obstacles. A waterfall 50 meters downstream can make an innocuous fall very dangerous. Conversely, a calm pool upstream can indicate more manageable flow.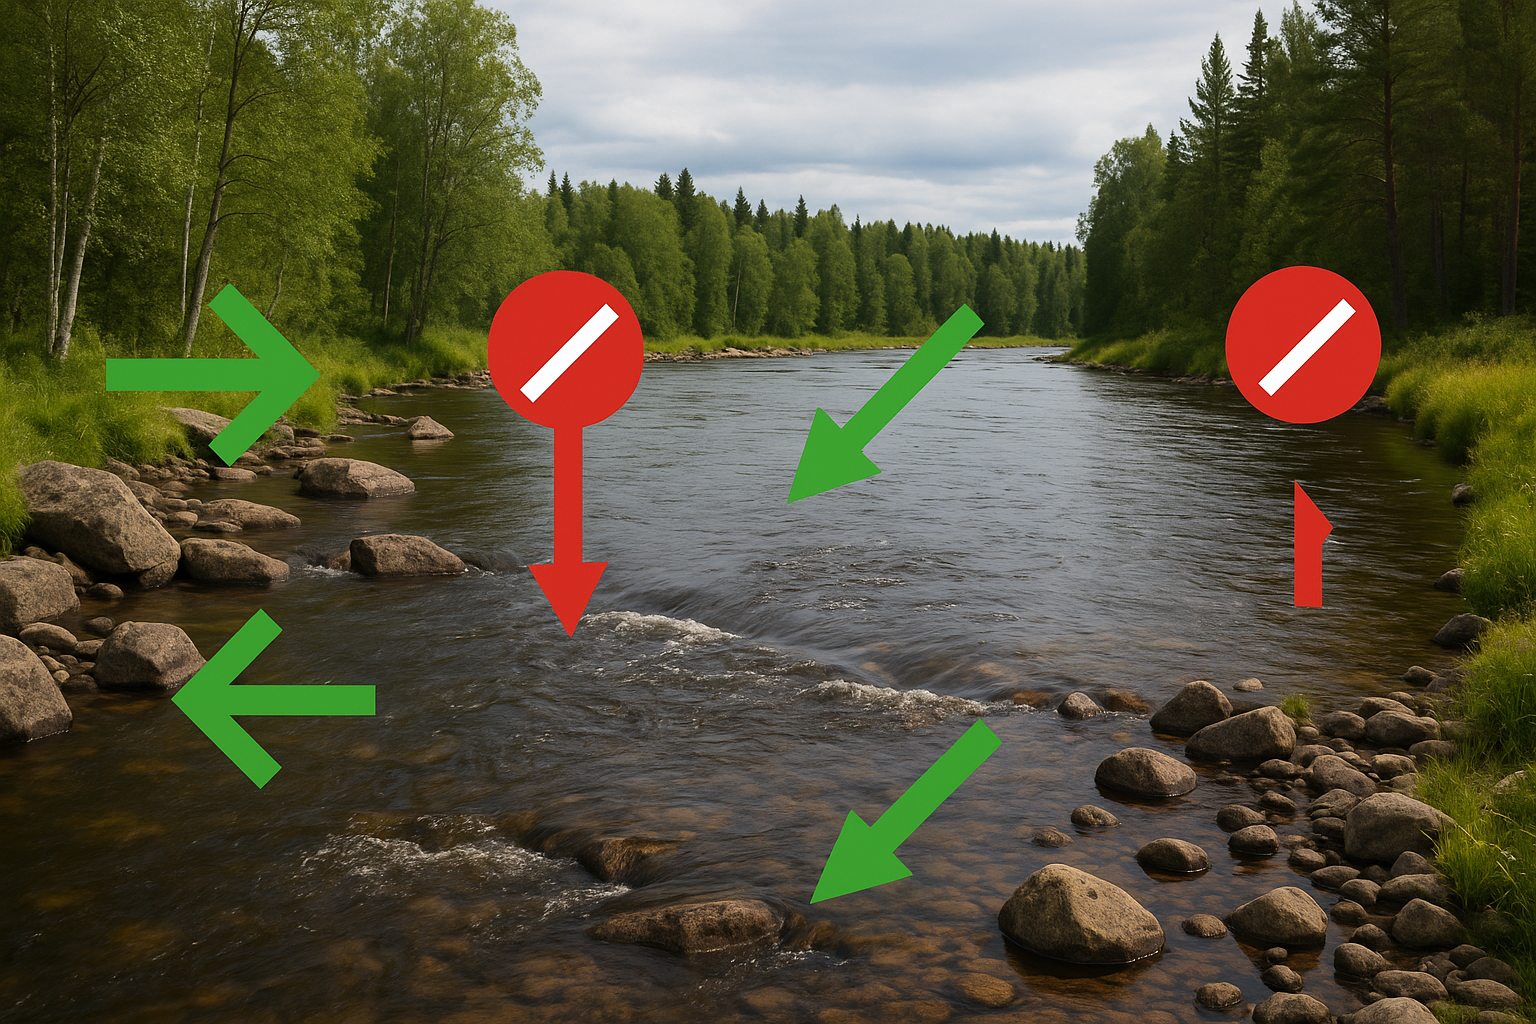
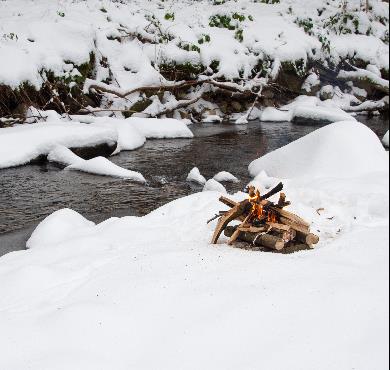
🌡️ How to manage cold water and its effects?
Cold water is a silent killer in hiking. I personally experienced its effects during a spring crossing, and it's something you never forget.
Prepare yourself mentally before entering cold water. The initial shock can make you lose your breath and reflexes. Breathe deeply and enter the water gradually. Limit exposure time. In very cold water (less than 10°C), you have about 10-15 minutes before your muscles start not responding properly. Plan your crossing to last less than 5 minutes. Warm up immediately after crossing. Change socks, put on dry clothes, and move to restart circulation. I always have a hot drink in my thermos for these moments.📌 Good to know — Signs of hypothermia start with uncontrollable shivering and difficulty coordinating movements. If you feel this, stop everything and warm up immediately.
👥 Group crossing: techniques and responsibilities
Group crossing requires special coordination. It's safer if done well, but can become chaotic without organization.
Designate an experienced leader who will cross first to assess real conditions and choose the best route. This person stays on the other side to help the followers. Cross one at a time to avoid destabilizing others. If someone falls, they shouldn't drag the whole team. Leave at least 5 meters between each person. Help less experienced members by explaining the technique before they commit. On trails like those at Parc National du Mont-Saint-Bruno, I've often helped beginners safely cross small watercourses.Communicate constantly. The person crossing warns of hidden obstacles, real depth, and guides followers on the best route. "Watch out for the slippery rock on your right" can prevent a fall."Group safety is everyone's responsibility. The most experienced guides, but everyone must know the basics."
🚨 What to do in case of emergency during a crossing?
Despite all precautions, accidents can happen. Knowing how to react quickly can save a life, and I've unfortunately had the opportunity to put these techniques into practice.
If someone falls in the water, NEVER dive to save them unless you're trained in water rescue. You risk becoming a second victim. Throw them a branch, rope, or your backpack for them to grab onto. Get the person out of water as quickly as possible and assess their condition. Hypothermia can set in within minutes in cold water. Remove their wet clothes and cover them with everything dry and warm you have.
⚠️ Warning — Never warm a hypothermic person too quickly (hot bath, vigorous rubbing). This can cause cardiac arrest. Warm gradually with dry clothes and lukewarm drinks.
Conclusion: Safety first
Crossing a watercourse while hiking is an art learned through experience. Here are the essential points to remember:
• Always assess conditions before committing - water color, flow, depth
• Use the right technique - diagonal crossing, three points of support, pack detached
• Never hesitate to turn back if conditions seem dangerous
• Equip yourself properly - poles, spare clothes, safety equipment
• Know emergency procedures and always travel with a rescue plan
Mountain water can be unpredictable, but with the right knowledge and respect for the elements, you can fully enjoy your adventures safely. Each successful crossing builds your confidence and experience for the next ones.
So, ready to face your next watercourse with serenity? Quebec's most beautiful trails await you, and now you have the keys to explore them safely!
Newsletter
Content that makes you want to go outside
Every week, a trail idea, a reflection on nature, or a tip worth the detour. Zero spam. Only the essentials.
Joined by 12,000+ outdoor enthusiasts
Read next