
🥾 Why Proper Difficulty Assessment Can Save Your Hike
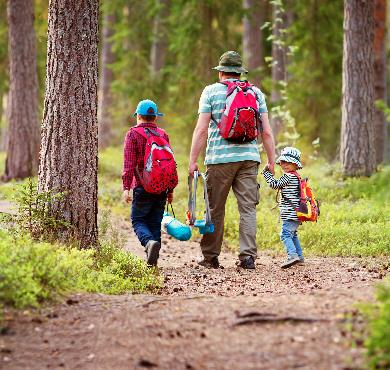
I still remember that hike at Mont-Tremblant where I brought my sister, a complete beginner. The website said "intermediate." Two hours later, she was sitting on a rock with aching feet, asking me why I was trying to kill her! That's when I realized how crucial assessing trail difficulty level is to avoid nasty surprises.
Whether you're new to hiking or planning an outing with friends of different skill levels, knowing how to decode the real difficulty of a route will transform your adventures. You'll learn to look beyond simple "easy-moderate-difficult" labels and assess like a pro what really awaits you on the trail.
📥 Download our free guides — The complete guide to assess any trail before you go, with all the criteria to check to avoid unpleasant surprises.
Get my guides →
🏔️ The 5 Criteria That Really Matter (Not Just Distance)
Most people just look at distance and think 5 km is easy. Wrong! I've done 3 km hikes that destroyed my legs and 12 km walks that were pure relaxation. Here's what you really need to look at:
Elevation Gain: The Real Boss of Hiking
Positive elevation gain is how many meters you climb in total. It's THE factor that determines your outing's intensity. My basic rules after hundreds of hikes:- 0-200m: Easy stroll, perfect for beginners
- 200-500m: You'll feel your thighs, but it's manageable
- 500-800m: Getting serious, prepare to sweat
- 800m+: Territory for experienced hikers
These classifications are general benchmarks. Real difficulty also depends on total distance, terrain type, and weather conditions. A 3 km trail with 500m elevation gain is very different from a 15 km trail with the same elevation gain.
💡 Pro tip — My rule of thumb: count 1 hour for every 300m of elevation gain, regardless of distance. A 4 km hike with 600m elevation will take as long as an 8 km flat walk.
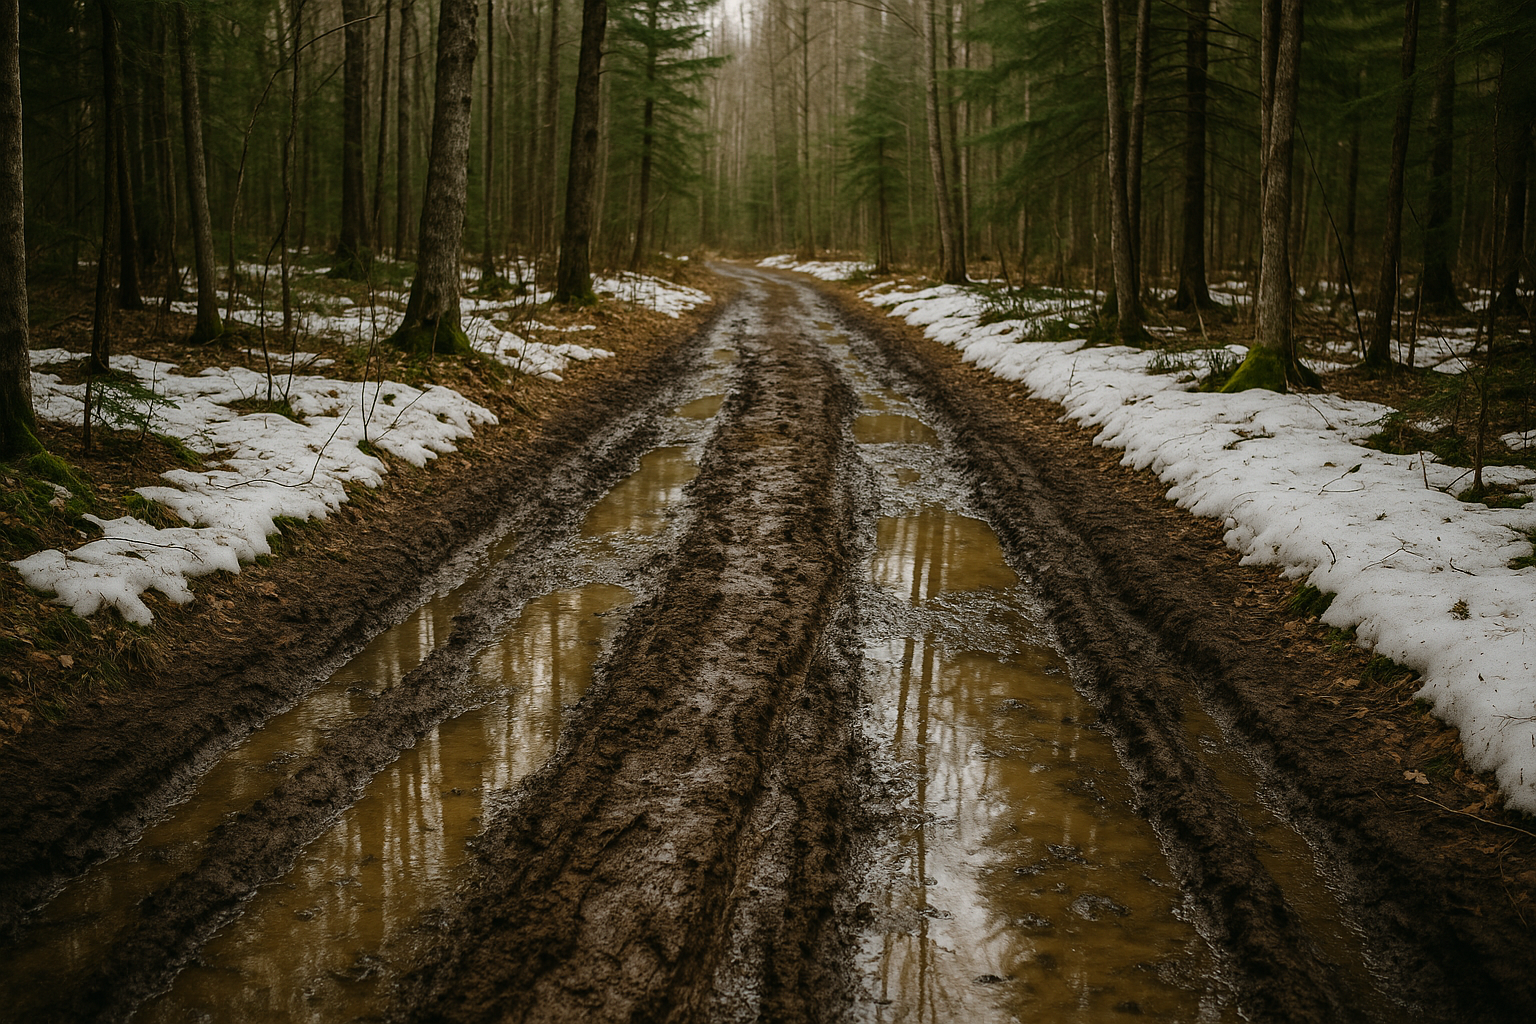
Terrain Type: Where Your Feet Will Suffer
A well-maintained trail with wooden steps isn't the same game as a pile of slippery rocks. Here's how I classify terrain:
- Developed trail: Steps, boardwalks, stable surface
- Natural trail: Roots, rocks, but walkable
- Off-trail: Now it's adventure, need to be comfortable
| Terrain Type | Difficulty | Quebec Example |
|---|---|---|
| Paved/boardwalk trail | Easy | Parc du Mont-Saint-Bruno |
| Packed earth with roots | Moderate | Mont Yamaska |
| Rocks and scree | Difficult | Hautes-Gorges de la Malbaie |
Weather and Season: The X Factor
An "easy" trail in July can become hell in April with mud, or in November with ice. Always adjust your assessment based on conditions.
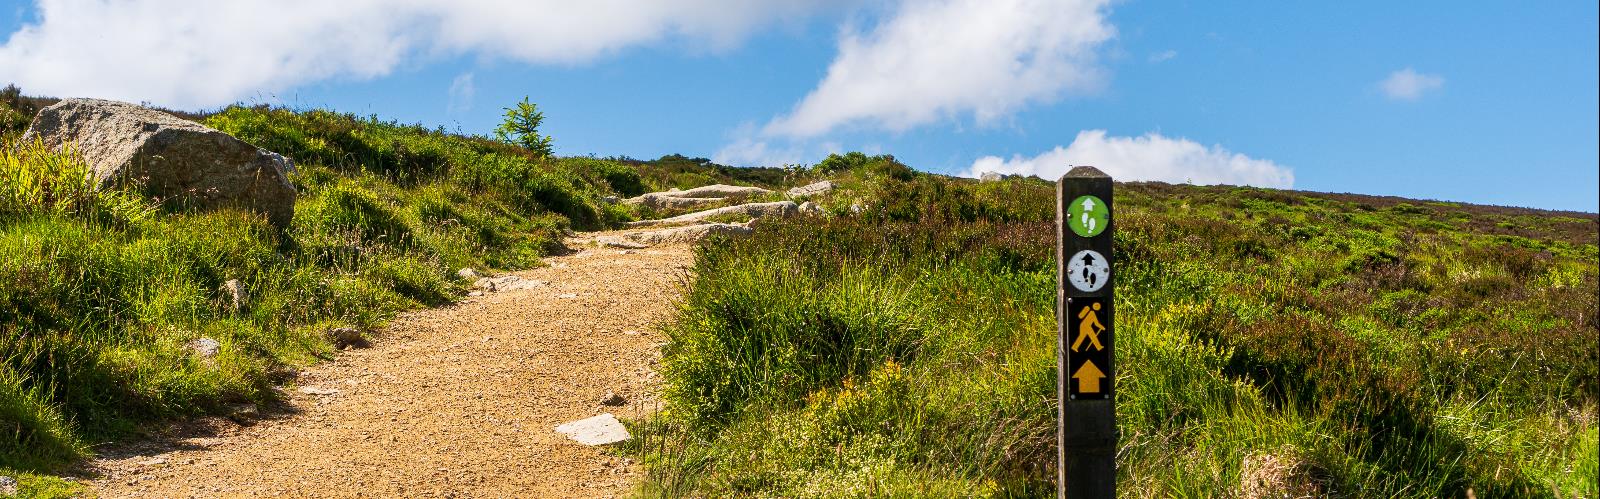
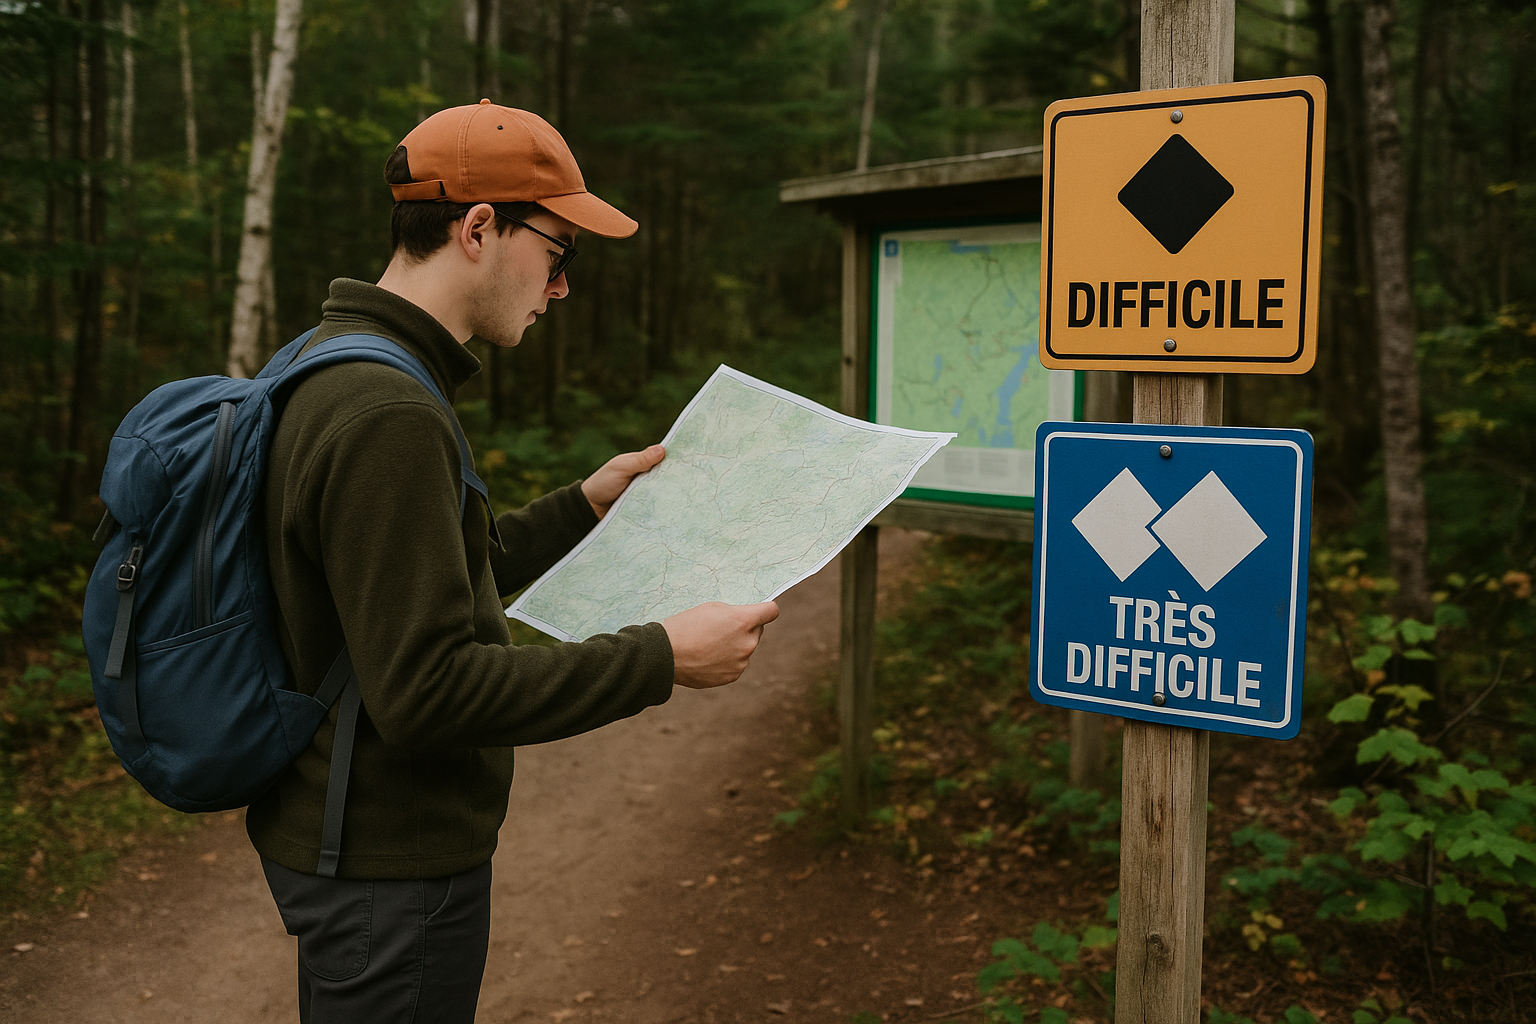
🗺️ How to Decode Classification Systems (They're All Different!)
Every park, every website, every guide uses its own system. It's total chaos! Here's how to navigate it:
Government Systems
Parks Canada uses a 4-level system. SÉPAQ uses classifications that vary by park, but generally with these levels:- Easy: Accessible to all
- Intermediate: Good fitness required
- Difficult: Experience recommended
- Very difficult: Experts only
Community Sites
On AllTrails, ratings are often too optimistic. A "moderate" there can easily be "difficult" in real life. Why? Because people who post are often regulars who underestimate difficulty.
⚠️ Warning — Never rely on just one source to assess difficulty. Always cross-reference multiple opinions and check recent comments for accurate info.
My Cross-Reference Technique
Here's my 3-step method for reliable assessment:
1. Check at least 3 sources (official site, AllTrails, forums)
2. Read comments from the last 3 months
3. Compare with a trail you already know
If you've already done Mont Arthabaska and found it manageable, use it as a reference to compare other hikes of the same level.
⏱️ Calculate Real Time: My Field-Tested Formula
Time estimates on trail signs are often nonsense. Either calculated for Olympians or for turtles. Here's my personal formula, refined after 15 years on trails:
The Basic Formula
Time = (Distance in km ÷ 4) + (Elevation in m ÷ 300) hoursConcrete example: 6 km with 450m elevation gain
⚠️ Important note: this formula calculates one-way time only. For a loop or round trip, double the time and add 15-20 minutes of breaks per hour of hiking.
- Distance: 6 ÷ 4 = 1.5h
- Elevation: 450 ÷ 300 = 1.5h
- Total: 3h of hiking
Adjustments Based on Your Profile
Now apply these multipliers based on your level:
- Beginner: × 1.3 to 1.5
- Intermediate: × 1.0 to 1.2
- Advanced: × 0.8 to 1.0
📌 Good to know — Always add 30 minutes for photo breaks, snacks, and contemplation. A hike isn't a marathon!

🎒 Adapt Equipment Based on Assessed Level
Once you have a good idea of difficulty, you can adjust your gear accordingly. No need to pack an expedition bag for a 2-hour walk!
Easy Outing (1-3h, <300m elevation)
- Running shoes or light boots
- Small water bottle (500ml-1L)
- Energy snack
- Light windbreaker
Moderate Outing (3-5h, 300-600m elevation)
- High-top hiking boots
- 1.5-2L water minimum
- Meal or several snacks
- Multiple layers depending on weather
- Basic first aid kit
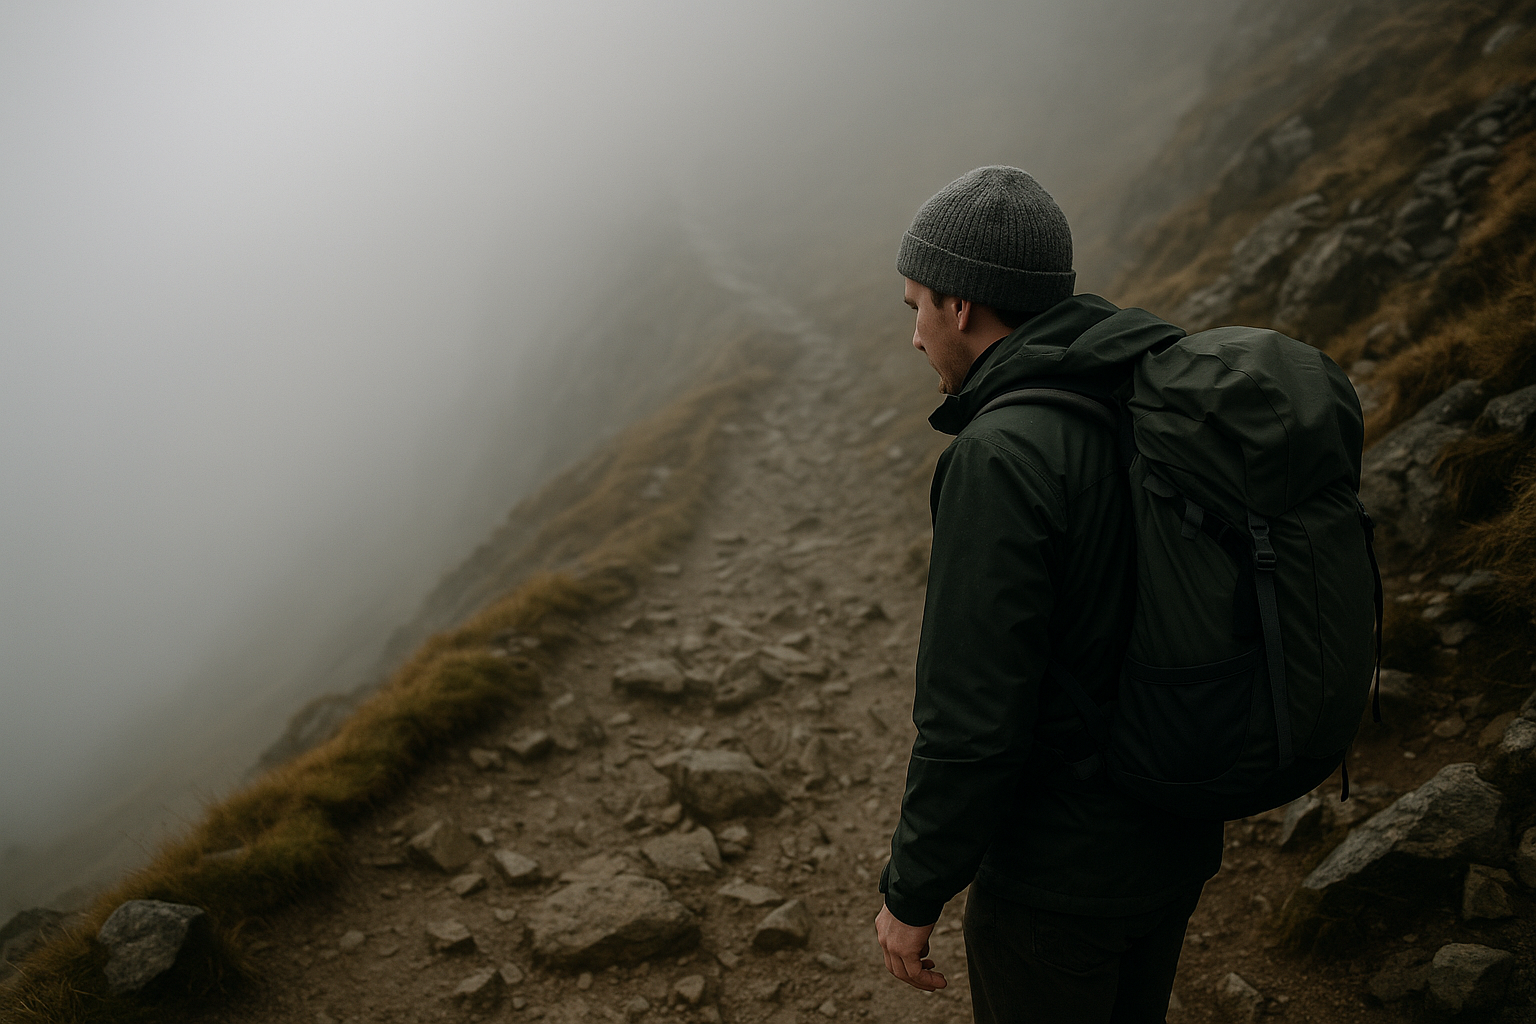
Difficult Outing (5h+, 600m+ elevation)
- Complete hiking equipment
- 2-3L water + purification system
- Food for the entire day
- Safety equipment (whistle, headlamp)
- Change of clothes
« Perfect equipment is what's adapted to YOUR outing, not the guy on Instagram climbing Everest. »
I remember seeing a group heading out for a 2-hour walk at Canyon Sainte-Anne with 40L packs each. They looked like they were heading on an Arctic expedition!
🧭 Warning Signs That Should Make You Turn Back
Even with the best assessment in the world, sometimes reality on the ground is different. Here are my warning signs that always make me reconsider:
Physical Signals
- Excessive breathlessness in the first third
- Unusual joint pain
- Cramps or dizziness
Environmental Signals
- Trail more degraded than expected
- Weather conditions deteriorating
- Later time than planned
⚠️ Warning — There's no shame in turning back. I've turned around dozens of times, and I've always been happy with my decision the next day.
The mountain will still be there next week. You, if you push too hard, maybe not.
📱 My Secret Tools for Pro-Level Assessment
After all these years, I've developed my toolkit to assess any trail. Here are my essentials:
Must-Have Apps
- AllTrails: For recent reviews and photos
- iPhiGéNie: Detailed Quebec topo maps
- Windy: Precise mountain weather
My Pre-Hike Checklist
Before each new hike, I systematically check:
- Trail conditions (closed? construction?)
- Weather from the last 3 days (for trail condition)
- Recent comments on social media
- Water levels of streams if any
The Local Facebook Groups Trick
Local hiking groups in your area are gold mines. Ask a simple question like "Anyone done trail X recently?" and you'll get ultra-precise answers about current conditions.
For trails like those at Mont du Lac-des-Cygnes, locals know all the little secrets and seasonal variations.
Summary: Your 5-Step Assessment Method
After all that, here's your simple and effective method to assess any trail:
- Step 1: Collect basic data (distance, elevation gain, terrain type)
- Step 2: Cross-reference at least 3 different information sources
- Step 3: Apply my time calculation formula and adjust for your level
- Step 4: Check current conditions (weather, trail state)
- Step 5: Adapt your equipment and expectations accordingly
Now that you know how to assess difficulty level like a pro, you'll be able to choose your adventures with confidence. No more bad surprises, no more outings ruined by poor estimation!
The best part? Even if you're sometimes wrong, each outing will help you better calibrate your assessment for next time. That's mountain school for you.
So, which trail are you going to explore first with your new expertise? 🥾
Newsletter
Content that makes you want to go outside
Every week, a trail idea, a reflection on nature, or a tip worth the detour. Zero spam. Only the essentials.
Joined by 12,000+ outdoor enthusiasts
Read next