
You know what often happens when I meet hikers on the trail? They tell me: "François, I thought it was easy, but I'm completely exhausted!" Or: "The guide said 'difficult' but it was actually fine." That's when I realize how crucial it is to know how to evaluate hiking trail difficulty before heading out. After 15 years exploring hundreds of trails in Quebec and beyond, I've developed my own method for assessing a trail before even setting foot on it. Today, I'm sharing my secrets so you can choose your hikes with confidence and avoid unpleasant surprises.
Get my gifts →
🗺️ The 4 Essential Criteria for Evaluating a Trail (My Field Method)
When I evaluate a new trail, I always look at four elements in this precise order. It's my proven method after making the mistake of relying solely on the distance marked on the sign!
1. Elevation Gain: Your Best Difficulty Indicator
Elevation gain is the king of indicators. A 500-meter climb over 3 km is much tougher than an 8 km flat walk. Here's how I interpret elevation gains:
| Total Elevation Gain | Difficulty Level | Hiker Profile |
|---|---|---|
| 0-200m | Easy | Beginner, family |
| 200-500m | Moderate | Intermediate |
| 500-800m | Difficult | Experienced |
| 800m+ | Very difficult | Expert |
2. Distance: More Than Just Kilometers
Distance is important, but it must be read in context of the terrain. My 5 km on a technical trail in Charlevoix took me longer than my 8 km on the well-maintained trails of Mont Saint-Bruno.
3. Terrain Type: Your Multiplying Factor
Here's how I evaluate terrain impact on difficulty:
- Maintained trail: Normal coefficient
- Natural trail with roots/rocks: +25% difficulty
- Technical terrain/scree: +50% difficulty
- Off-trail/bushwhacking: +100% difficulty
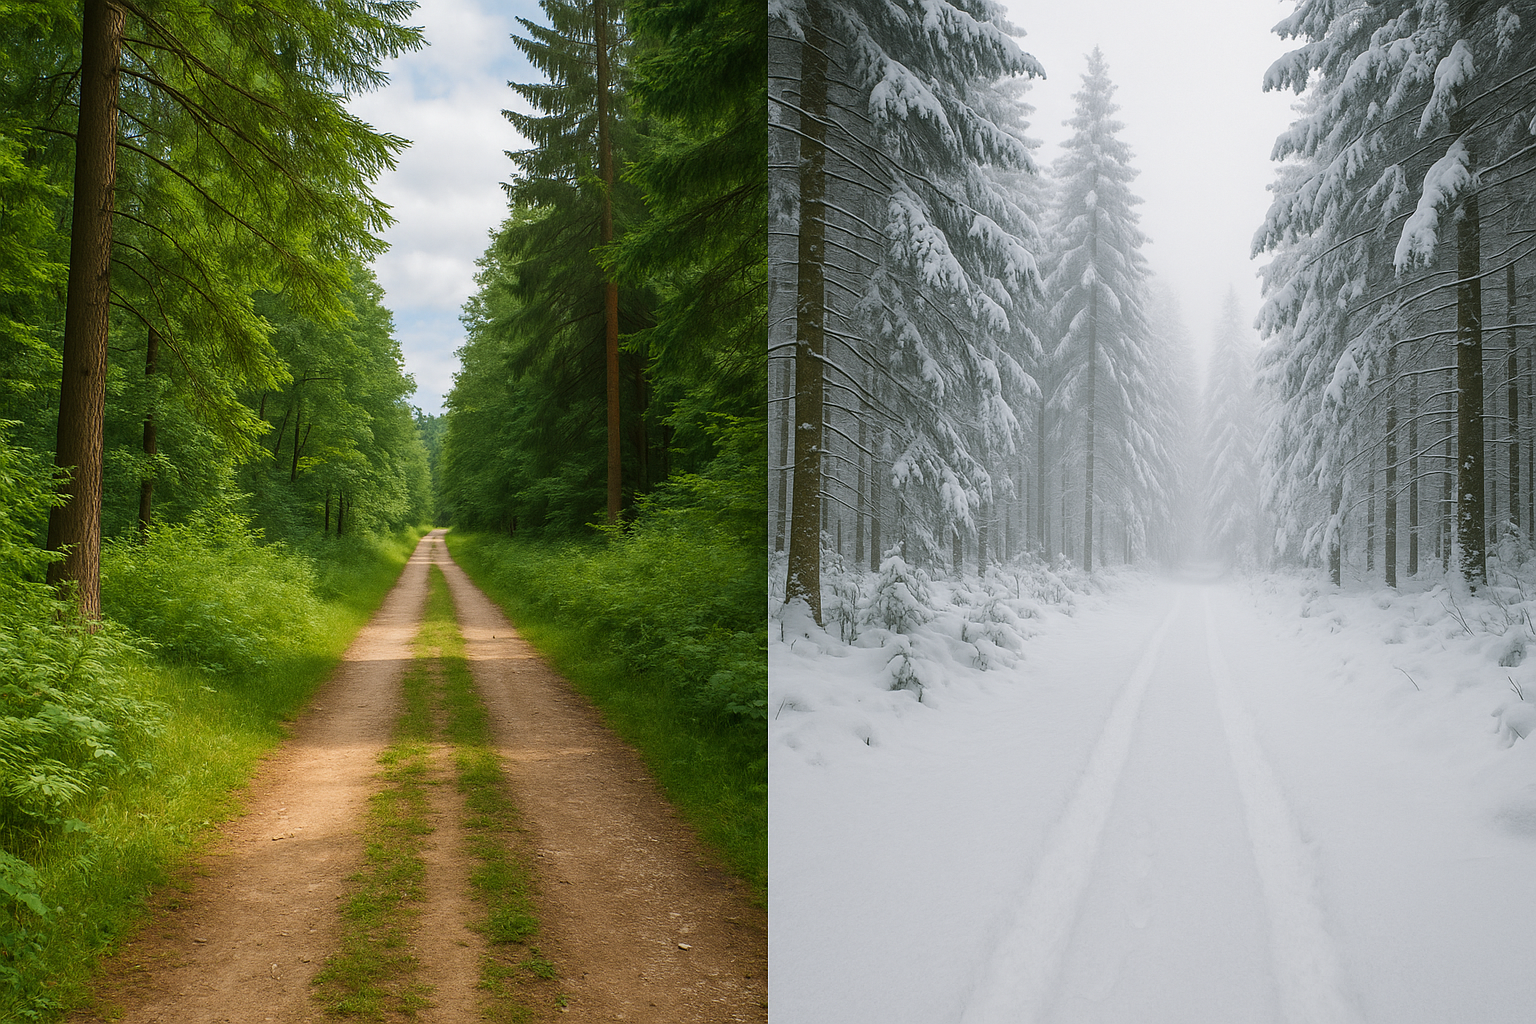
4. Seasonal Conditions: The Forgotten Factor
A trail can completely change personality depending on the season. The same trail you do easily in summer can become a real challenge in winter conditions or during spring melt.
🔍 How to Decode Existing Classification Systems
Each region, each park has its own classification system. After visiting dozens of parks, I've learned to decode these sometimes misleading systems.
Quebec Systems: SÉPAQ vs Municipal Parks
SÉPAQ generally uses a 3-level system (easy, intermediate, difficult), but beware: their "easy" might be a municipal park's "moderate". I've seen families get surprised at Canyon Sainte-Anne because they expected a leisurely walk.
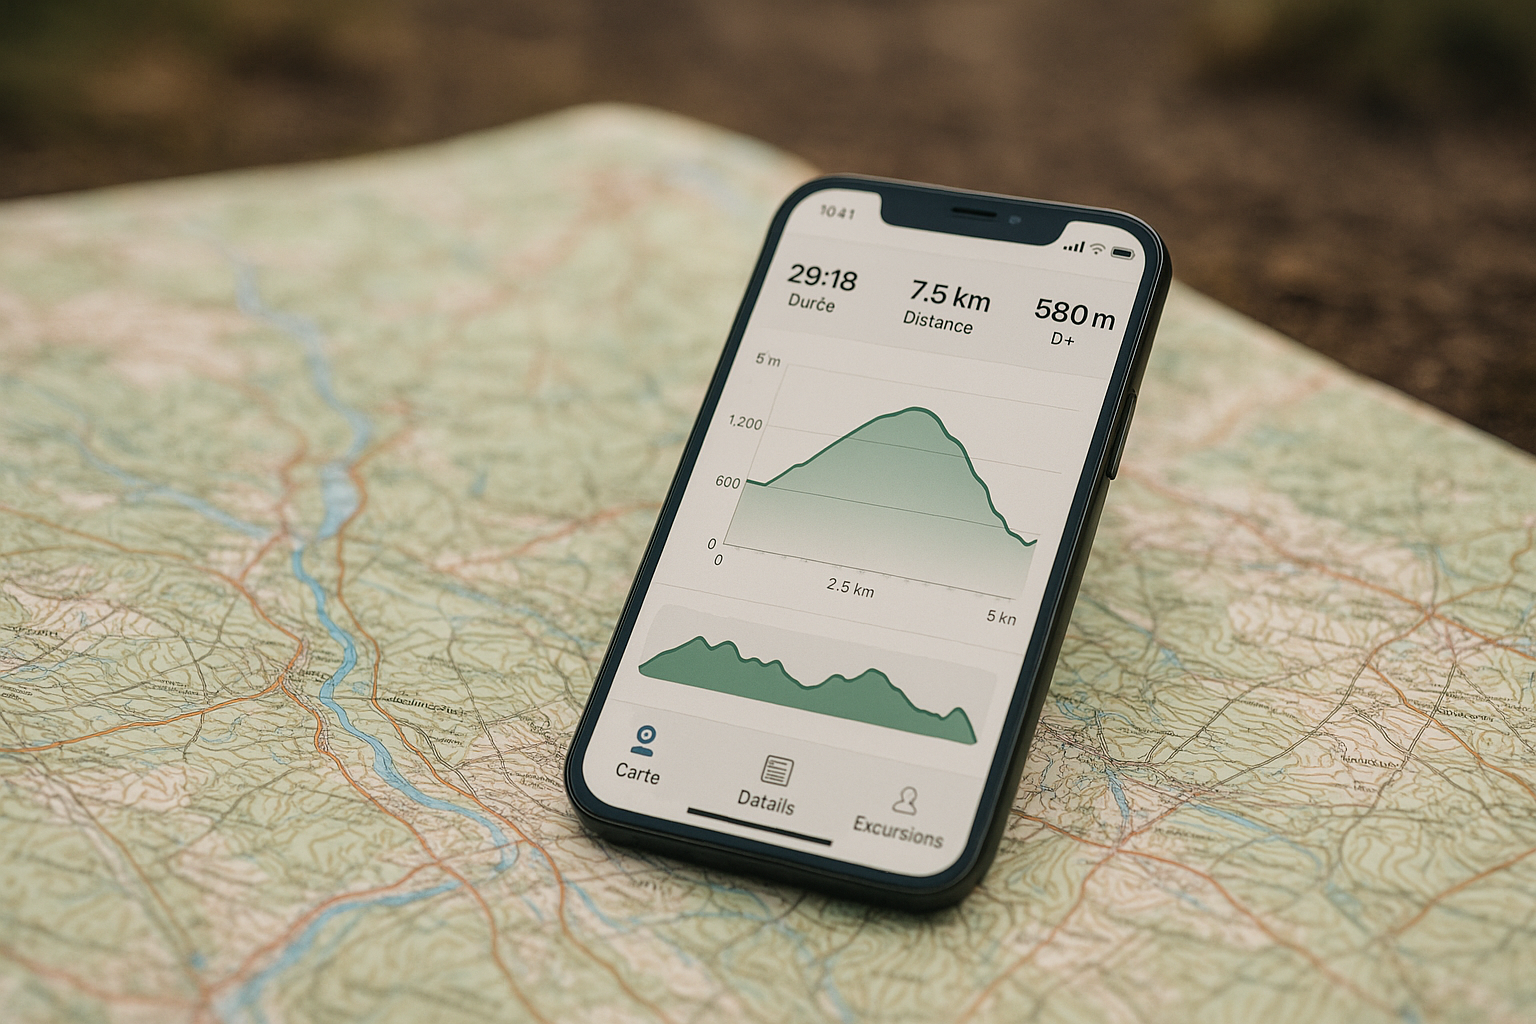
Apps and Websites: My Favorites
Here are the tools I use to validate my evaluations:
- AllTrails: Excellent for recent comments and condition photos
- Gaia GPS: Precise topographic maps with elevation profiles
- iPhiGéNie: Detailed Quebec topographic maps
- LGPO: Our detailed trail descriptions with authentic field evaluations
"A well-evaluated trail means a successful hike. A poorly evaluated trail is often an experience we'd rather forget!"
⏱️ Estimating Travel Time: My Personalized Formula
After years of experimentation, I've developed my own formula for estimating hiking time. It's more accurate than the general rule of "4 km/h on flat terrain".
My Base Formula
Here's how I calculate:
- Horizontal distance: 4 km/h on easy trail, 3 km/h on technical trail
- Ascent: +1 minute per 10m of positive elevation gain
- Descent: +30 seconds per 10m of negative elevation gain (if technical)
- Breaks: +20% of total time for photos and recovery
Factors That Slow You Down (And We Often Forget)
These elements can easily double your travel time:
- Difficult weather conditions: Strong wind, rain, oppressive heat
- Complex navigation: Poorly marked trails or multiple intersections
- Mixed group: The group goes at the pace of the slowest
- Inadequate equipment: Bad shoes = slower pace
- Tourist season: Traffic jams on popular trails

🎯 Adapting Evaluation to Your Personal Level
Here, we get to the heart of the matter. An "easy" trail for me who's been hiking for 15 years might be "difficult" for someone just starting. The art is adjusting the evaluation to YOUR current level.
Honestly Evaluate Your Physical Condition
I meet too many people who overestimate their fitness. Here are my basic questions:
- Can you climb 3 flights of stairs without being out of breath?
- Do you exercise regularly (2x/week minimum)?
- Have you ever done a hike longer than 2 hours?
- Are your knees and ankles in good health?
If you answer "no" to more than one question, start with easy trails like those in the top 15 easy trails around Montreal.
Consider Your Technical Experience
Physical condition is one thing. Technical experience is another. Knowing how to place your feet on wet rocks, managing balance on a technical descent, navigating with a map... that's learned!
| Your Level | Max Recommended Elevation | Max Recommended Distance | Trail Example |
|---|---|---|---|
| Beginner | 200m | 5km | Parc du Mont-Royal |
| Intermediate | 500m | 10km | Mont du Lac des Cygnes |
| Advanced | 800m+ | 15km+ | Hautes-Gorges |
📱 Essential Tools and Resources
Now that we've covered the theory, let's talk about the concrete tools I use to evaluate a trail before heading out. Some are free, others are worth the investment.
Mobile Apps: My Must-Haves
AllTrails remains my first reflex. Recent user comments are a goldmine. I always read the last 10 comments to get a current picture of conditions.
Gaia GPS for precise topographic maps. The premium subscription is worth every penny if you hike regularly. The detailed elevation profile has saved me from many surprises.
Websites and Paper Guides
Ulysse guides remain a solid reference for Quebec. Their evaluations are generally conservative, which is perfect for avoiding unpleasant surprises.
National park websites provide official info, but often incomplete about real difficulty. I use them for practical info (parking, fees, closures), not for evaluating difficulty.
Warning Signs to Never Ignore
After reading hundreds of hiker comments, certain keywords put me on alert:
- "Harder than expected" - The trail is probably under-rated
- "Poorly marked" - Risk of getting lost, plan extra time
- "Variable conditions" - Must check recent conditions
- "Not for beginners" - Even if officially rated "easy"
🧗 Classic Evaluation Mistakes (And How to Avoid Them)
Let me tell you about my biggest evaluation blunders. Because yes, even after 15 years, I still get caught sometimes!
Mistake #1: Relying Only on Distance
My worst mistake? A 6 km trail I thought would take 2 hours. Result: 5 hours of struggle on ultra-technical terrain with 600m elevation gain. I had only looked at distance, not the elevation profile.
"Distance without context is like looking at temperature without the humidex: it doesn't give you the complete picture!"
Mistake #2: Ignoring Seasonal Conditions
An "easy" trail in July can become "expert" in April with mud and swollen streams. I learned this the hard way during my poorly prepared first spring hike.
Mistake #3: Underestimating Group Impact
Hiking alone vs hiking in a group are two different sports. With a mixed group, multiply your estimated time by 1.5 minimum. And if there are children, it's a whole other game!
🎒 Preparing Your Evaluation: My Pre-Hike Checklist
Now that we've covered the theory, here's my concrete checklist that I use before each new hike. It's 15 years of experience condensed into a few essential questions.
Questions to Ask Yourself Before Leaving
Here are the essential questions I systematically ask myself:
- Weather: What's the forecast? Risk of precipitation?
- Group: Who's coming with me? What's the weakest person's level?
- Equipment: Do I have the right hiking shoes?
- Timing: What time am I leaving? When do I want to be back?
- Plan B: Are there emergency exits? Shortcuts?
My Personal Evaluation Grid
I've developed a small point system that I use to objectively evaluate a trail:
| Criteria | Points (1-5) | Weight |
|---|---|---|
| Elevation gain | 1=flat, 5=very steep | x3 |
| Technical terrain | 1=maintained, 5=off-trail | x2 |
| Distance | 1=short, 5=very long | x1 |
| Expected conditions | 1=perfect, 5=difficult | x2 |
Total 8-15: Easy | 16-25: Moderate | 26-35: Difficult | 36+: Expert
Evaluating trail difficulty is an art that improves with experience. But with the right tools and method, you can avoid most unpleasant surprises from your first hikes.
Here are the essential points to remember:
- Elevation gain is your best indicator - much more reliable than distance alone
- Always cross-reference multiple sources - apps, recent comments, official guides
- Adjust according to YOUR level - be honest about your physical condition and experience
- Consider current conditions - a trail changes with season and weather
- Prepare a Plan B - emergency exits and possible shortcuts
Now it's your turn! Choose a trail that matches your level, apply my evaluation method, and go discover the wonders Quebec has to offer. Each well-chosen trail is a positive experience that will give you confidence to explore even further next time.
The mountains are waiting for you, and now you have all the tools to meet them with complete serenity. Happy trails!
Newsletter
Content that makes you want to go outside
Every week, a trail idea, a reflection on nature, or a tip worth the detour. Zero spam. Only the essentials.
Joined by 12,000+ outdoor enthusiasts
Read next