
📌 Good to know — Spring in Quebec is like playing Russian roulette with the weather. You can start your hike in a t-shirt and finish with snow falling!
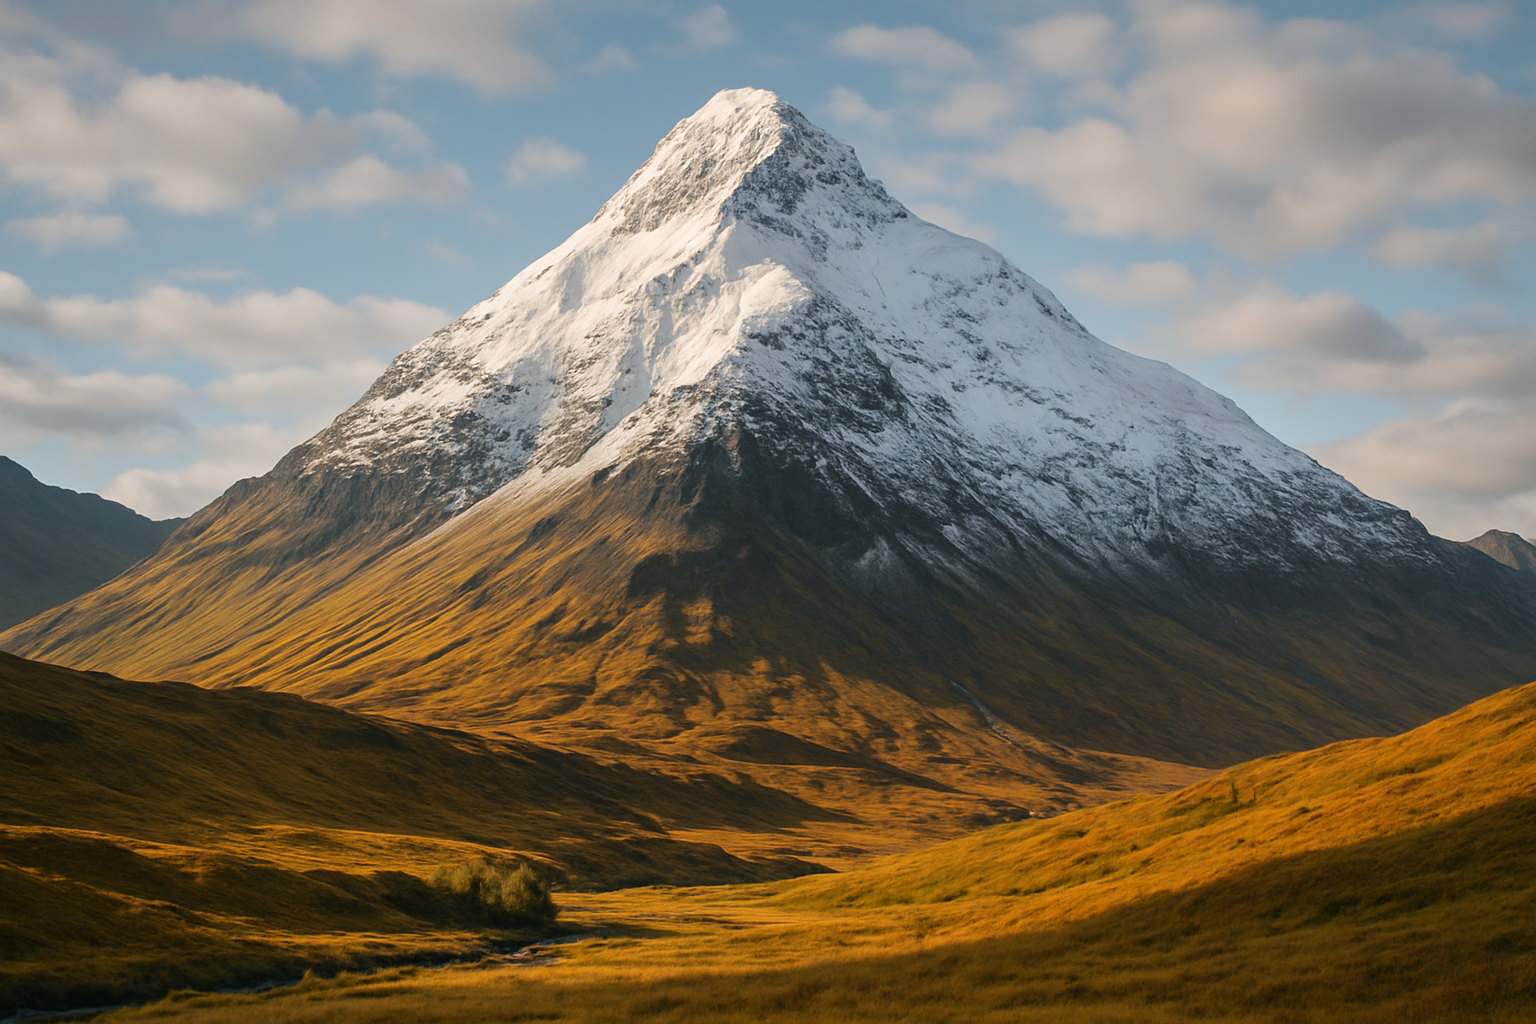
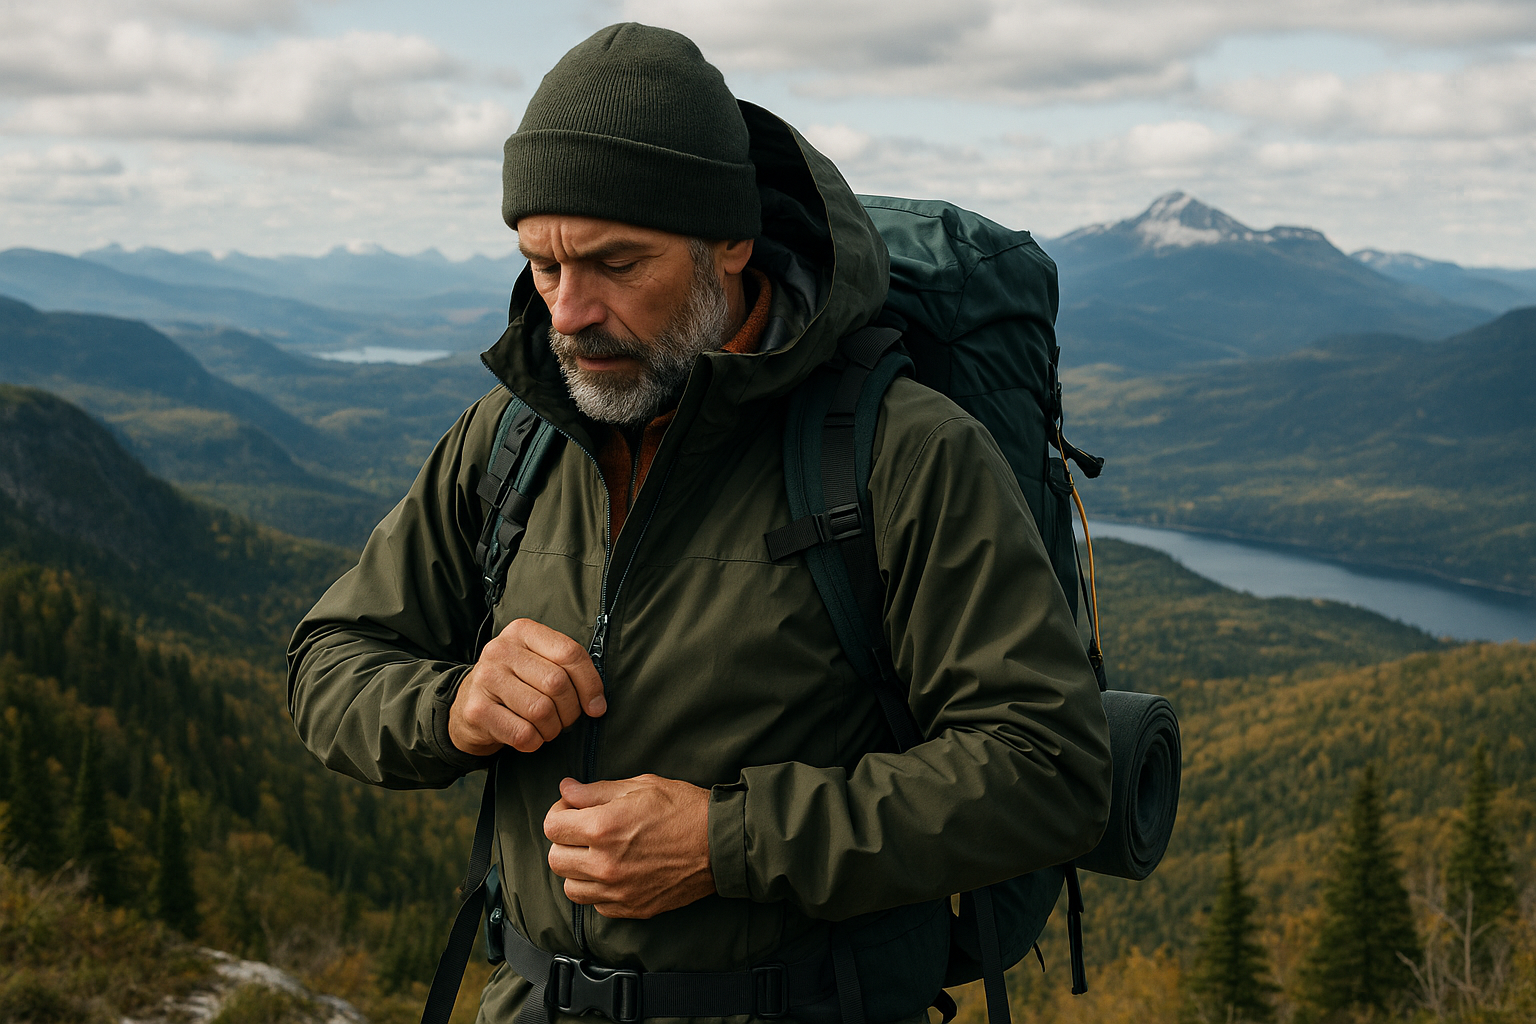
Ah, Quebec spring! That magical season where you can experience four seasons in the same day. After 15 years hiking Quebec's trails, I learned the hard way that knowing how to dress properly for spring hiking makes all the difference between a memorable outing and a frozen ordeal.
I still remember that hike at Mont Yamaska where I started in shorts on a beautiful May day... only to find myself in a blizzard at the summit. Since then, I've developed my foolproof strategy to face spring's whims.
In this guide, you'll discover my proven tricks to dress smartly, stay dry and warm, no matter what Mother Nature decides to throw at you. Because a good day in nature starts with the right clothing!
🌡️ Why is Quebec spring so treacherous for hikers?
Spring in Quebec is nature's organized chaos. In March, you can have -15°C in the morning and +10°C in the afternoon. In April, it still snows regularly. And in May? Well, anything's possible! Spring's unique challenges:
⚠️ Warning — In mountains, count 6°C less per 1000m of altitude. If it's 15°C at the base, it could be near freezing at the summit!
I've seen too many hikers start light on a beautiful sunny morning only to find themselves hypothermic a few hours later. The secret? Always prepare for the worst-case scenario and dress accordingly.
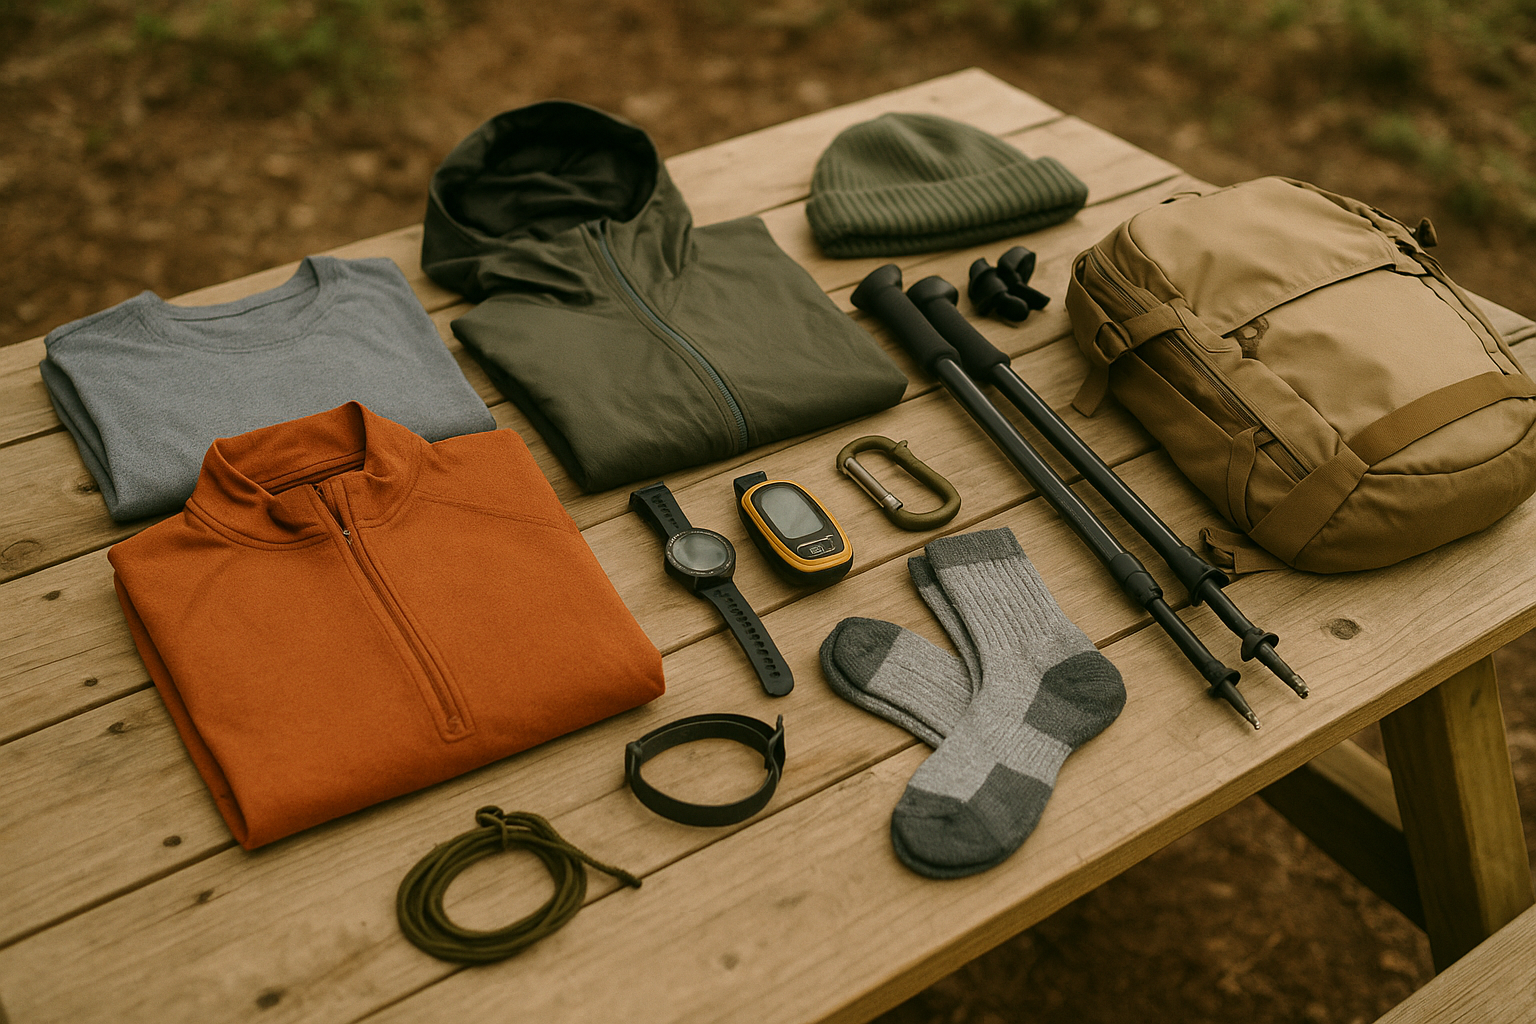
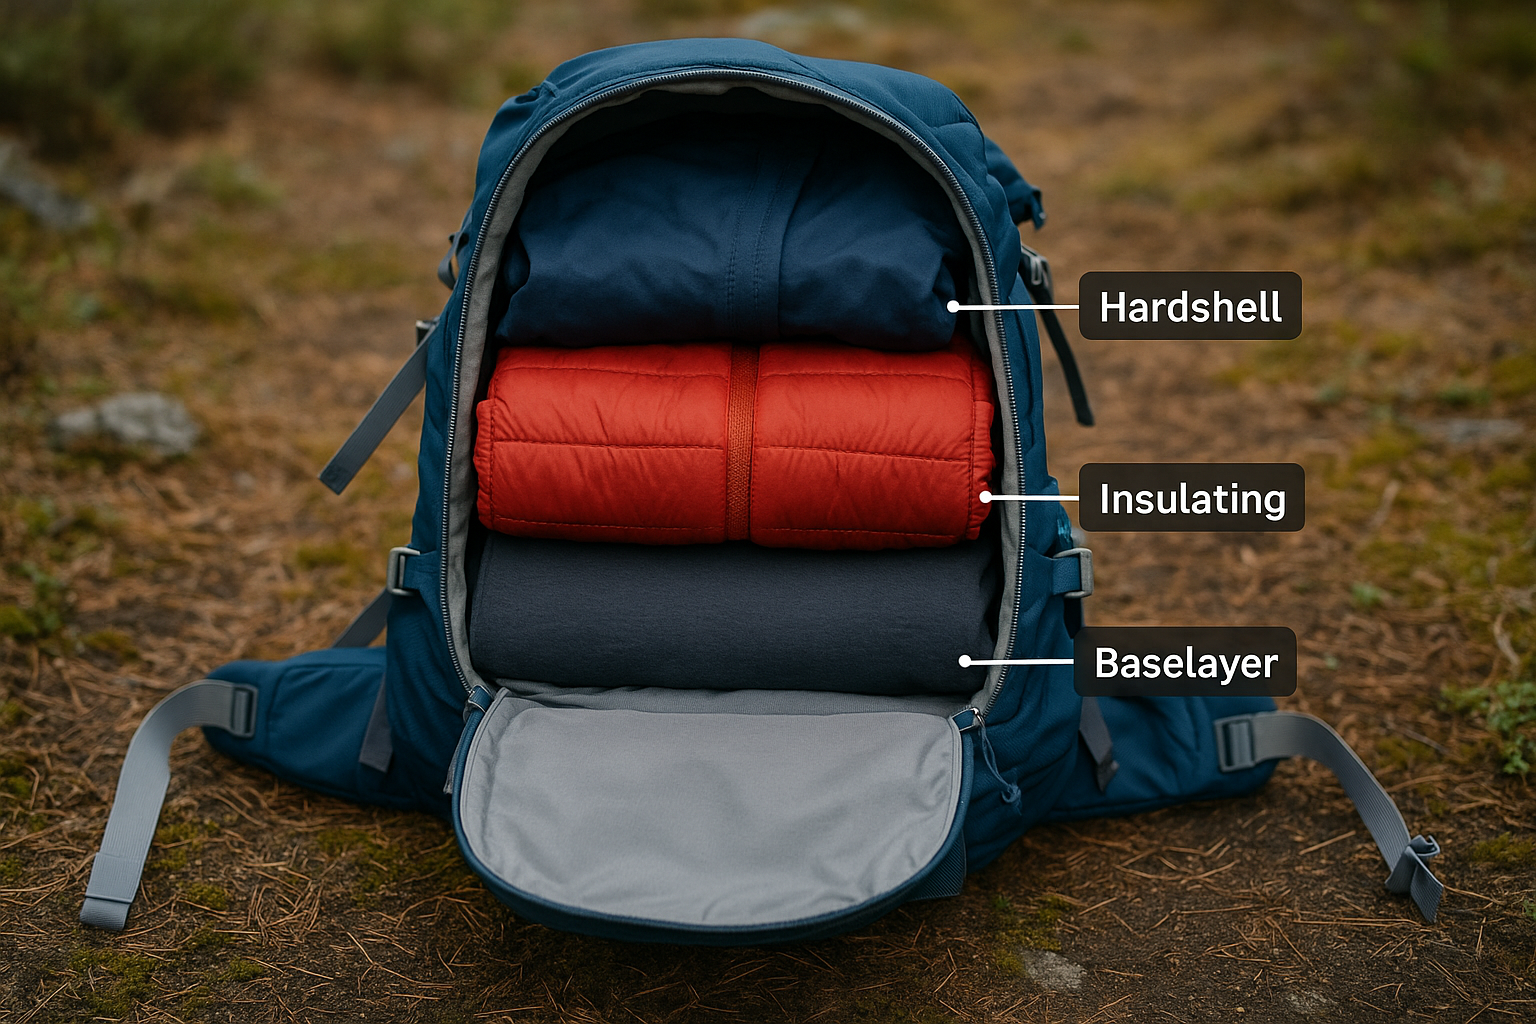
🧅 The 3-Layer System: Your Best Life Insurance
After hundreds of spring outings, I've adopted the three-layer system religiously. It's simple, effective, and has saved my skin more than once.Layer 1: The Base (Moisture Management)
Your first skin, the one that stays glued to you all day:Layer 2: Insulation (Heat Retention)
Your personal thermostat that you add or remove according to your needs:
💡 Pro tip — Always choose a layer 2 with a full zipper. You can open it to ventilate without removing everything when it gets hot on climbs.
Layer 3: Protection (Barrier Against Elements)
Your shield against rain, snow and wind:| Layer | Function | Recommended Material | When to Use |
|---|---|---|---|
| Base | Moisture wicking | Merino, synthetic | Always |
| Insulation | Heat retention | Fleece, down, synthetic | According to temperature |
| Protection | Element barrier | Gore-Tex, eVent | Rain, wind, snow |
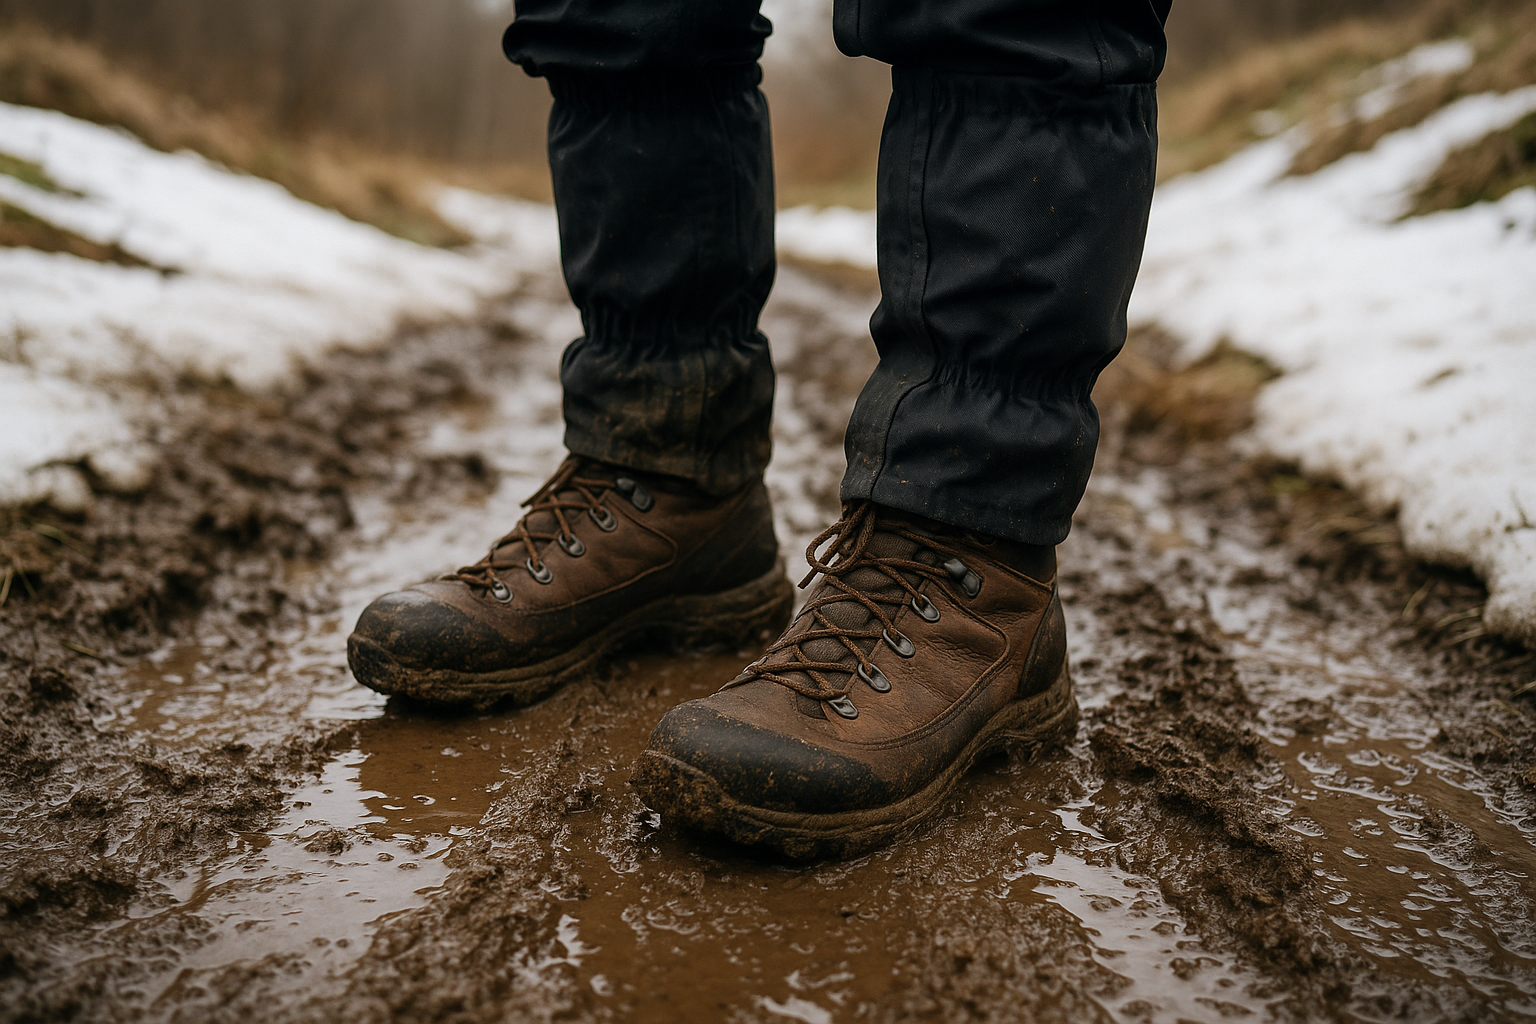
👖 Lower Body: From Feet to Waist, Everything Counts
We often focus on the upper body, but trust me, having wet legs and frozen feet ruins an outing quickly.Pants: Between Protection and Freedom of Movement
My preferred options according to conditions:Shoes: Your Best Allies Against Humidity
Non-negotiable criteria for spring:
💡 Pro tip — Invest in short gaiters. They cost $30 and prevent mud, snow and debris from getting into your boots. Total game changer!
🧤 Spring Accessories: Small Details That Make All the Difference
Accessories are what make the difference between a prepared hiker and someone who's going to have a bad day.Head and Hand Protection
My essentials in the pack:Socks: The Underestimated Element
My magic formula:"There's no bad weather, only bad clothing." — Scandinavian proverb I adopted after my first hypothermia in May!
📦 How to Adapt Your Gear According to Weather
The key is to read forecasts like a pro and adapt your kit accordingly. Here are my proven strategies according to typical Quebec spring scenarios.Scenario 1: Stable Good Weather (15-20°C, sun)
My minimalist setup:Scenario 2: Variable Weather (5-15°C, clouds, possible showers)
My versatile setup:Scenario 3: Difficult Conditions (-5 to +5°C, snow/freezing rain)
My expedition setup:
⚠️ Warning — If conditions are really awful (ice, storm), postpone your outing. No summit is worth an accident or hypothermia.
| Temperature | Base Layer | Insulation | Protection | Key Accessories |
|---|---|---|---|---|
| 15°C+ | Technical t-shirt | Light fleece (pack) | Light rain jacket | Cap, sunglasses |
| 5-15°C | Merino LS | Softshell | Complete waterproof | Toque, light gloves |
| -5 to +5°C | Thick merino | Fleece + down | Mountaineering jacket | Warm toque, mittens |
🎯 My Beginner Mistakes (And How You Can Avoid Them)
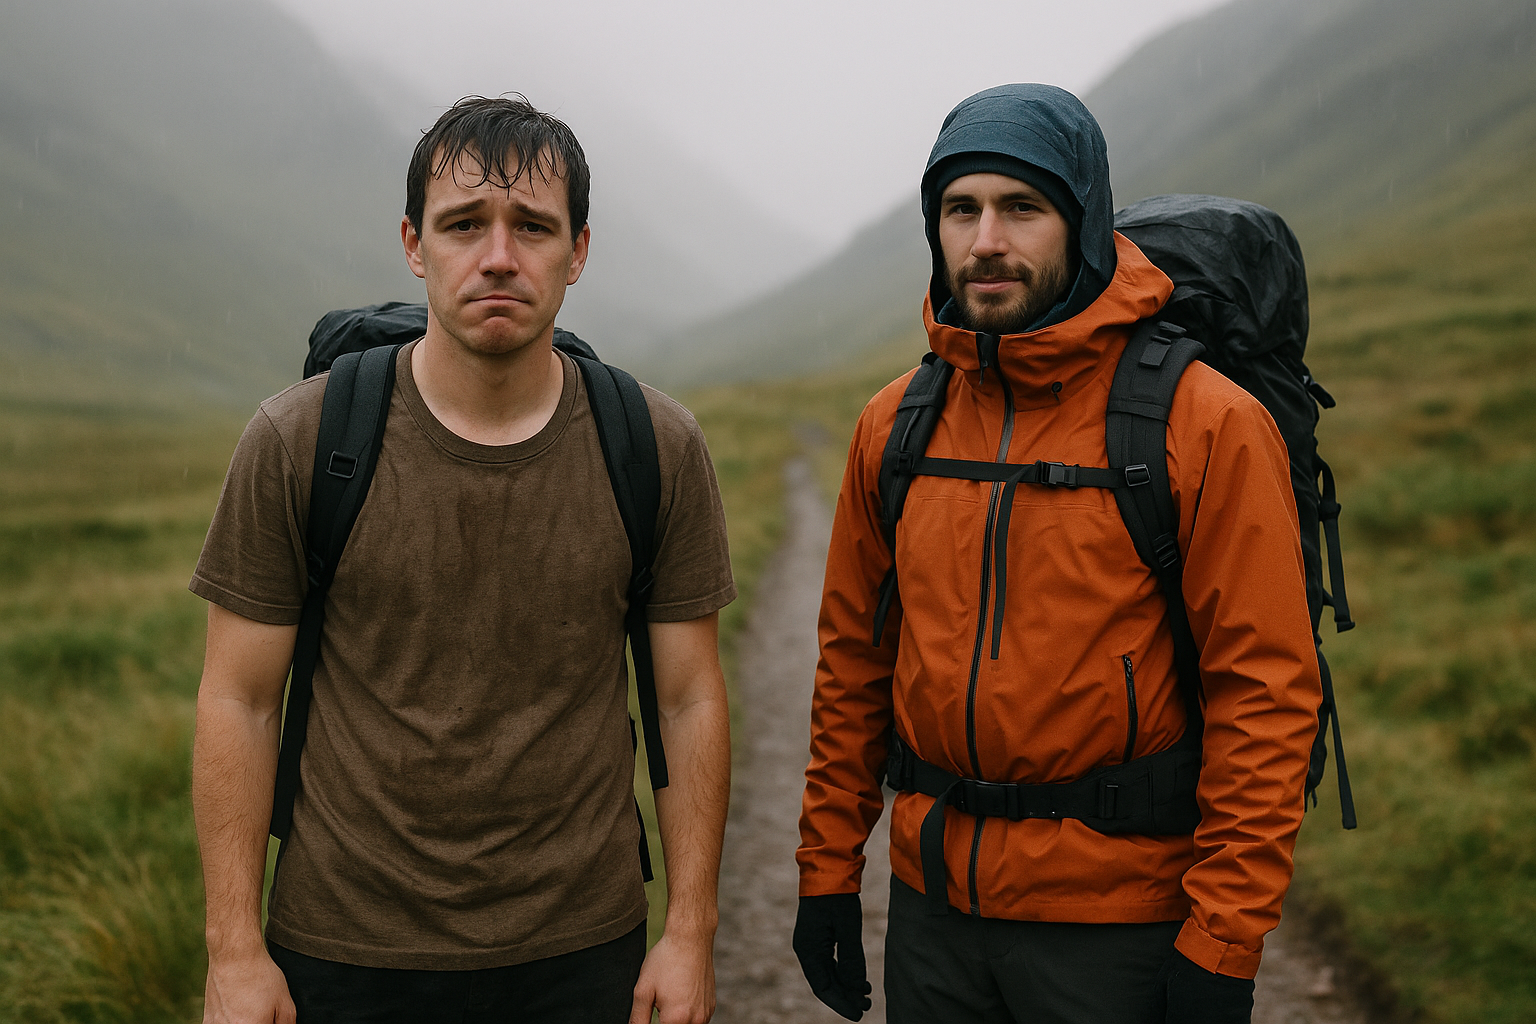
Let me tell you about my biggest clothing failures. It'll save you a few cases of hypothermia!Mistake #1: The Cotton Trap
My mistake: Starting with a cotton hoodie on a day that was "not that cold." The result: Soaked with sweat on the climb, frozen on the descent, total misery. The lesson: Cotton is for the city. Period.Mistake #2: Underestimating Wind
My mistake: Forgetting my windproof layer for a "protected" forest hike. The result: Arrived at the exposed summit with 40 km/h wind and -10°C wind chill. The lesson: Always check wind exposure at the summit, not just the approach.Mistake #3: Neglecting Extremities
My mistake: Starting without toque or gloves on a 10°C day. The result: Frozen hands and painful ears as soon as the sun hid. The lesson: Extremities cool first. Better to have and not use.
💡 Pro tip — Make your checklist the night before. On hike morning, you're excited and will forget something important. My trick: I lay out all my kit on a chair before going to bed.
To avoid these classic mistakes, I highly recommend reading my guide on the 10 mistakes every beginner makes hiking.
🌦️ Managing Temperature Changes On the Go
Quebec spring is the art of adapting in real time. You'll spend your time adding and removing layers. Might as well do it right!The "Stop and Swap" Technique
When to add a layer:My Strategic Spots for Adjustments
Mandatory checkpoints:
📌 Good to know — Your body produces up to 10 times more heat climbing than at rest. What's perfect at the start will be too hot after 15 minutes of climbing!
At Parc du Mont-Arthabaska, for example, the climb through forest warms you quickly, but the exposed summit is often 5-10°C colder with wind.
🎒 Organizing Your Pack for Easy Layer Access
A good layering system is useless if you have to empty your entire pack to access your fleece. Here's how I organize mine for maximum efficiency.My "Quick Access" Method
Easily accessible pockets:The Elastic and Carabiner Trick
I use elastics to compress my layers and small carabiners to easily clip them to my pack straps. Result: I can add or remove a layer in 30 seconds without setting down my pack.
📥 Download our free gifts — Complete spring hiking equipment checklist, weather guide and safety tips for all your Quebec outings.
Get my gifts →
Get my gifts →
🧪 Technical Materials: Decoding Jargon to Make Good Choices
The world of technical textiles is like learning a new language. Let me translate that into plain English!Natural Fibers
Merino wool:Synthetic Fibers
Technical polyester:Waterproof Membranes
Gore-Tex:
💡 Pro tip — For beginners, focus your budget on base layers and outer protection. You can save on insulation by choosing synthetic over down.
If you're looking for specific shoe recommendations, check out my guide on the best hiking shoes for beginners.
💰 Smart Budget: Gear Up Well Without Breaking the Bank
Equipping properly for Quebec spring can be expensive. But with the right priorities and some tricks, you can manage without selling a kidney.My Budget Priority Pyramid
Level 1 - Essential ($300-500):My Money-Saving Tips
End of season:| Category | Tight Budget | Medium Budget | Premium Budget |
|---|---|---|---|
| Base layer | $50-80 | $80-120 | $120-200 |
| Insulation | $60-100 | $100-200 | $200-400 |
| Protection | $100-200 | $200-400 | $400-800 |
| Shoes | $100-150 | $150-300 | $300-500 |
🚀 Level Up: Advanced Techniques
Once you master the basics, here are some pro tricks to optimize your system even more.The "Dynamic Layering" Technique
Instead of wearing all your layers, distribute them strategically:Micro-climatic Adaptation
Learn to read your environment:The "Core vs Extremities" System
Priority 1: keep your core (torso) warm and dry Priority 2: protect your extremities from cold Pro trick: if your hands are cold, add a layer on torso. Circulation improves automatically. At Mont du Lac des Cygnes, I used this technique on a windy day. Result: warm hands in 10 minutes without even putting on warmer gloves.
⚠️ Warning — Advanced techniques require experience. Always test your systems on short, easy outings before using them on demanding terrain.
To go further in your preparation, I suggest consulting my guide on how to prepare your first spring hike in Quebec.
🎯 Summary: Your Keys to Spring Clothing Success
After all these years on the trail, here's what really makes the difference for dressing smartly in Quebec spring: The 5 golden rules: • 3-layer system: technical base + modular insulation + waterproof protection • Never cotton: prioritize merino and technical synthetics in all circumstances • Prepare for the worst: even in good weather, keep warm layers and rain protection • Adjust in real time: monitor your thermal comfort and adapt without waiting • Invest smart: prioritize base layer and protection, save on insulation Quebec spring will always surprise you, it's in its nature. But with the right equipment and techniques, you can transform these surprises into memorable adventures rather than ordeals to endure. Now go test your new system on the trails! Start with something accessible like the top 15 easy trails around Montreal, to break in your equipment before tackling bigger challenges. Nature awaits you, and with the right clothing, you'll be able to enjoy it fully, no matter what it decides to throw at you! 🥾Newsletter
Content that makes you want to go outside
Every week, a trail idea, a reflection on nature, or a tip worth the detour. Zero spam. Only the essentials.
Joined by 12,000+ outdoor enthusiasts
Read next