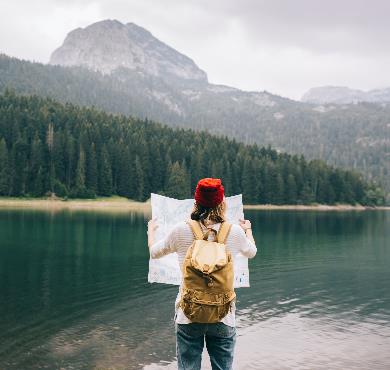

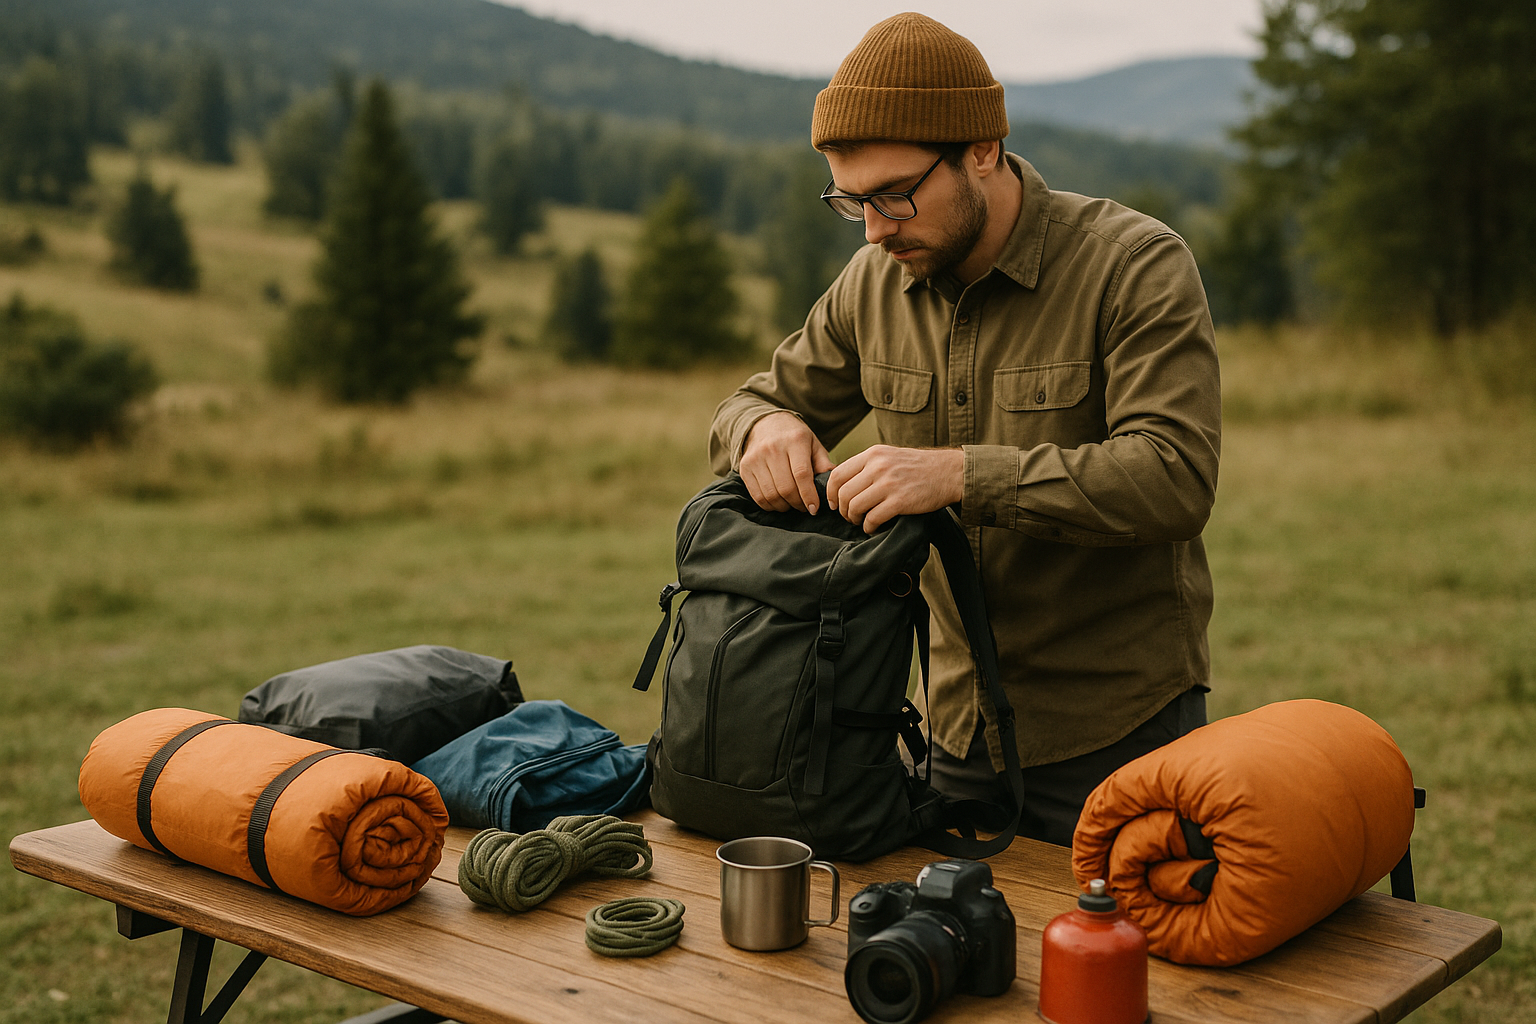
Do you remember your first hike with a poorly organized backpack? I do. I spent 20 minutes completely emptying my pack to find my water bottle at the bottom, while my friends waited for me on the trail. That's when I understood the importance of knowing how to pack your backpack properly. After hundreds of outings and some embarrassing mistakes, I'm going to share my tricks for transforming your pack into a true organized mobile office. You'll discover pro techniques to optimize every cubic centimeter and have everything at hand when you need it.
Get my gifts →
🎒 Why the way you pack your bag changes everything on the trail?
A poorly organized pack is like going hiking with rocks in your pockets. That sounds dramatic, but that's exactly what it is. I've seen too many hikers abandon magnificent outings because their pack was cutting into their shoulders or they could never find what they were looking for.
The difference between a well-organized pack and a catch-all is:
- Comfort: your center of gravity stays stable, your shoulders don't suffer
- Efficiency: you find what you're looking for in less than 30 seconds
- Safety: your first aid equipment is quickly accessible
- Energy savings: you spend fewer calories carrying your equipment
When I guide groups at Mont Yamaska, I immediately spot those who took 5 minutes to organize their pack versus those who threw everything in. The former enjoy the scenery, the latter spend their time rummaging.
🏔️ The golden rule: heavy in the center, light at the extremities
Here's the basic principle I teach all beginners: imagine your pack as a perfect balance. You want the weight to be as close as possible to your back and centered at shoulder blade height.
Bottom zone (the heaviest)
This is where you place your heaviest equipment:
- Water reservoir or full bottles
- Food for the day
- Change of clothes (in a waterproof bag)
- First aid kit
Middle zone (against your back)
Medium weight items you'll use during the day:
- Extra layers (fleece, windbreaker)
- Easily accessible snacks
- Map and compass
- Camera
Top zone (light but accessible)
Everything that's light but important:
- Hat and gloves
- Sunglasses
- Sunscreen
- Tissues and toilet paper
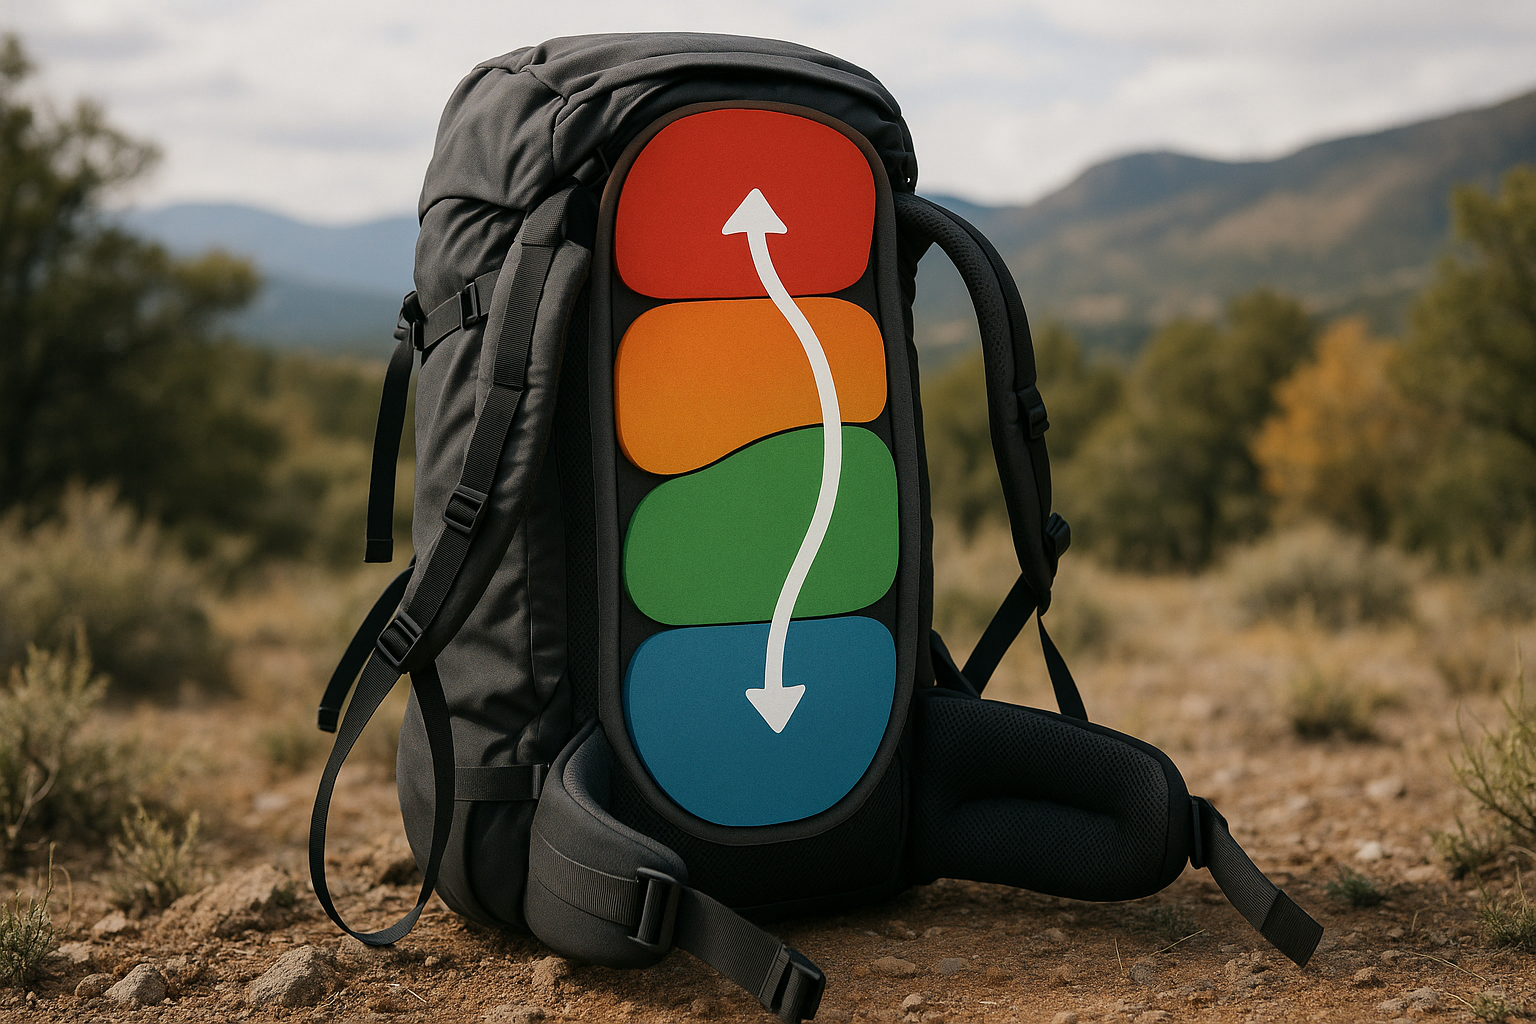
| Pack zone | Equipment type | Recommended weight |
|---|---|---|
| Bottom | Heavy items | 60% of total weight |
| Middle | Medium items | 30% of total weight |
| Top | Light items | 10% of total weight |
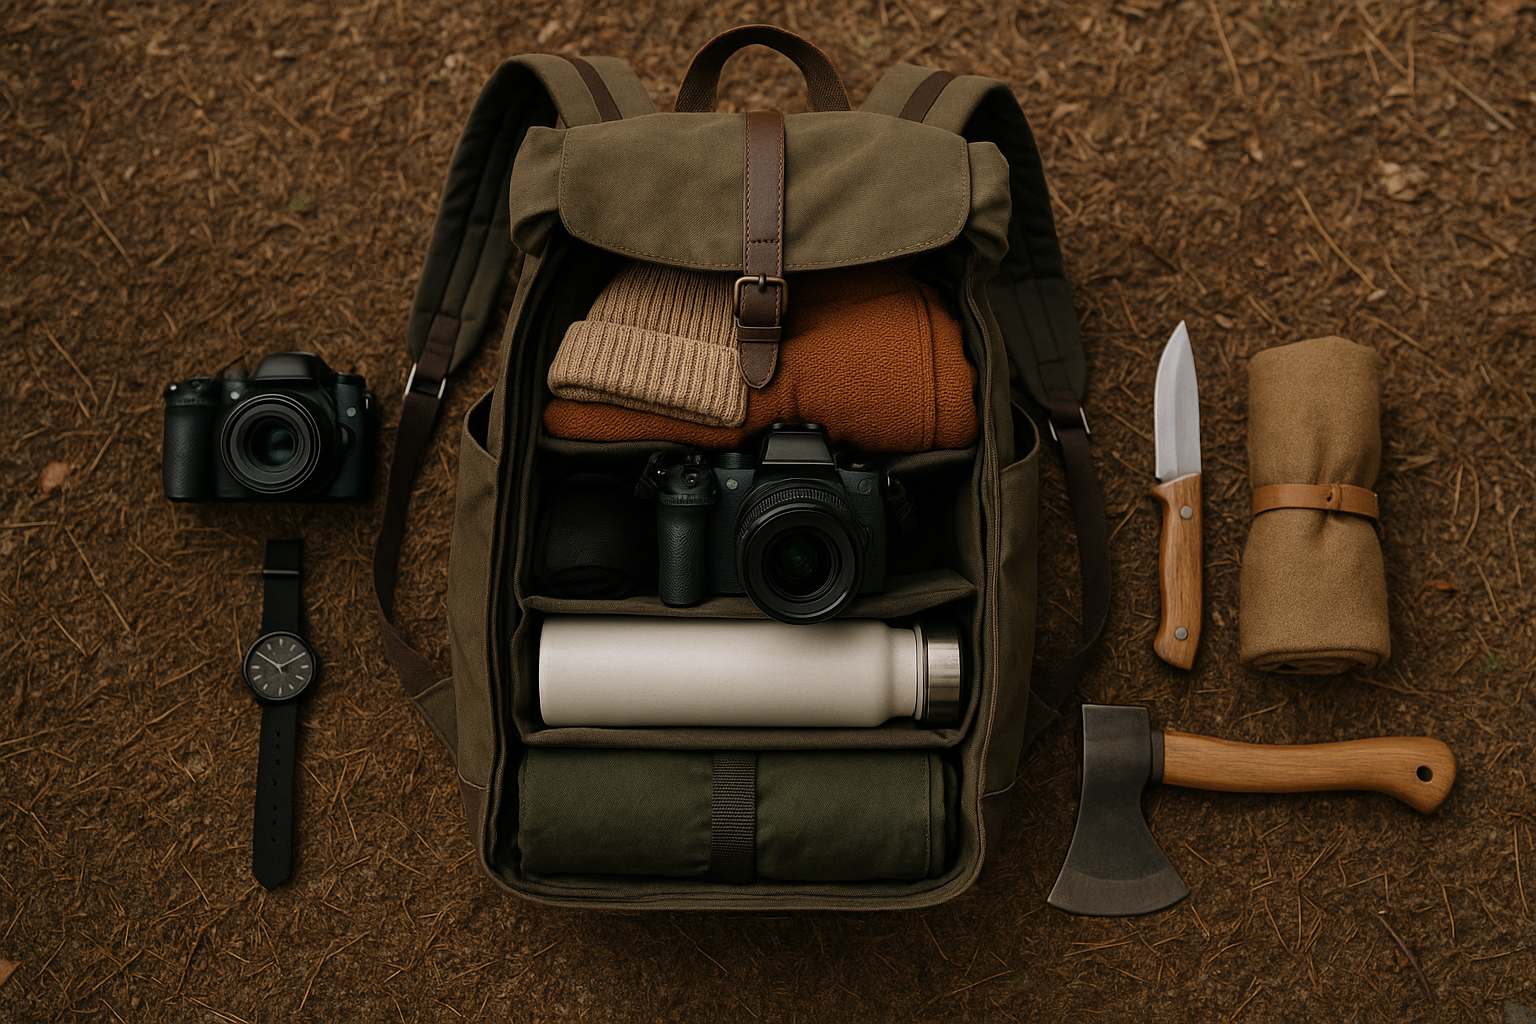
🗺️ Pockets and compartments: everything in its place
A well-organized pack is like a chef's kitchen: everything has its logical place. After 15 years of testing different configurations, here's my foolproof method.
Lid pocket (quick access)
This is your dashboard. You only put what you use often:
- Energy snacks
- Lip balm and sunscreen
- Safety whistle
- Car keys
- A few dollars for parking fees
Side pockets
Perfect for light items you want to keep within reach:
- Water bottle or bottle (dominant side)
- Hiking poles (when not in use)
- Map in waterproof case (non-dominant side)
- Trash (we leave nothing on the trail!)
Hip belt pocket (if your pack has one)
Ideal for items you want to monitor:
- Phone in waterproof case
- Money and ID cards
- GPS or connected watch
I remember an outing at Mont du Lac des Cygnes where a hiker had put his phone in a side pocket. He lost it while taking out his map, and we never found it despite 30 minutes of searching.

💧 Hydration and food: absolute priorities
Water and food are non-negotiable. But their placement in your pack can make the difference between a pleasant day and hell.
Hydration system
You have two main options:
- Hydration reservoir: placed against your back, in the main compartment. The tube exits from the top and clips to your shoulder strap
- Water bottles: in side pockets, but watch the weight that unbalances
Food organization
My favorite technique: the three-meal system
- Quick snacks: in the lid pocket (bars, nuts)
- Main lunch: at the bottom of the pack, in a rigid container
- Emergency reserve: something non-perishable, always in your pack
The mistake I often see: putting all food in one big bag. Result? You have to take everything out to grab a simple snack. Instead, divide into small portions in separate bags.
"A hungry hiker is a dangerous hiker. Hypoglycemia causes more accidents than bears!"
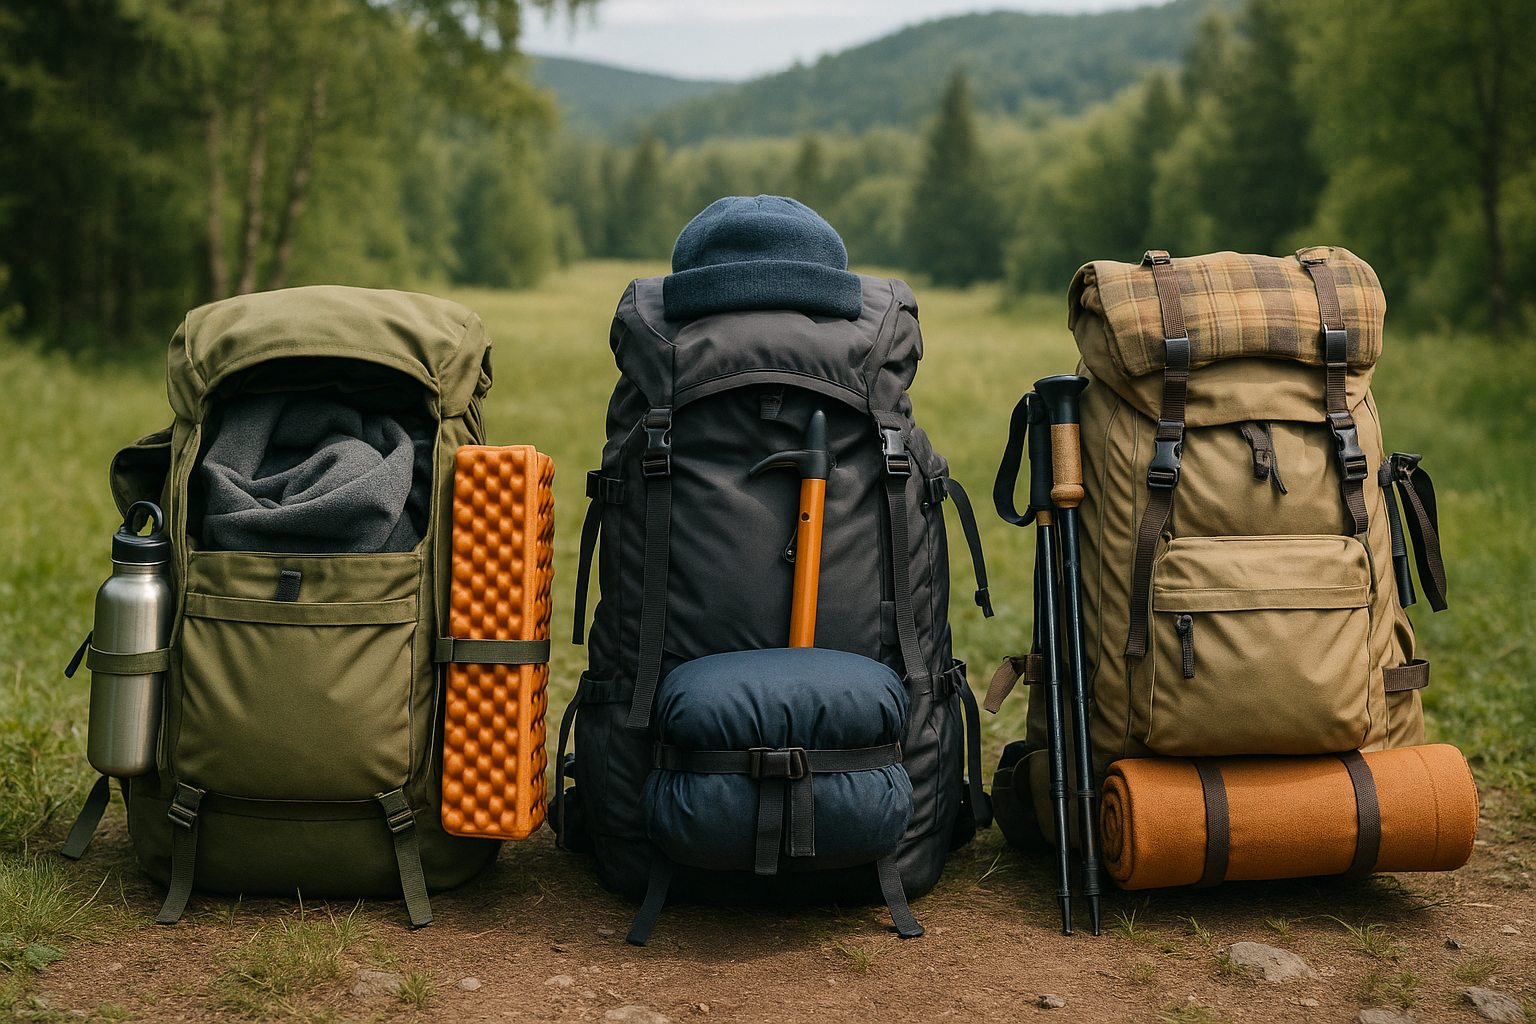
🌡️ Adapting to conditions: summer, winter and between seasons
The way you pack your bag changes completely depending on weather conditions. What works in July at Parc du Mont-Royal will be a disaster in January in the Laurentians.
Summer configuration
In summer, your main enemy is overheating. You want easy access to your layers and hydration:
- More water (at least 2 liters for a full day)
- Easily accessible sun protection
- Change of clothes in case of storms
- Electrolytes to compensate for sweating
Winter configuration
In winter, it's the layering system that dictates organization:
- Extra layer always accessible
- Insulated bottle (or thermos) to prevent freezing
- Crampons or snowshoes attached outside
- Hand warmers in an easily accessible pocket
Between-seasons configuration
Spring and fall mean unpredictable weather. Your pack must be ready for anything:
- Waterproof layer always on top
- Light gloves and hat easily accessible
- Mud protection (gaiters, waterproof bags)
- More spare clothes
🔧 Beginner mistakes that ruin your outing
I've made all these mistakes, and I still see experienced hikers repeat them. Learning from my blunders will save you hours of frustration.
Mistake #1: Putting everything in plastic bags
Plastic bags slip, tear and make noise with every step. Invest in compression sacks or packing cubes. It's life-changing.
Mistake #2: Not testing your pack before the outing
How many times have I seen someone realize in the parking lot that their pack was too small or poorly adjusted! Do a test at home, walk 15 minutes with your full pack.
Mistake #3: Forgetting access to essentials
Putting your car keys at the bottom of the pack guarantees frantic searching at the end of the hike. Critical items always go in accessible places.
Mistake #4: Underestimating water weight
One liter of water = one kilogram (2.2 lbs). If you take 3 liters for a long outing at Parc des Hautes-Gorges, that's already 3 kilograms (6.6 lbs). Plan accordingly.
Mistake #5: Neglecting left-right balance
A pack that leans to one side will tire you twice as fast and can cause injuries. Distribute weight evenly on each side of the center line.
📏 Advanced techniques to optimize every centimeter
Once you master the basics, here are my veteran tricks to maximize your pack's space and efficiency.
The "nesting" technique
Nest your items inside each other like Russian dolls:
- Socks inside spare shoes
- Underwear inside cup or bowl
- Cables and chargers inside first aid kit
The elastic system
A few elastics can transform your organization:
- Group similar items
- Attach light items outside
- Keep loose straps in place
The "layers" rule
Organize your pack by usage layers:
- Morning layer: what you'll use first (snack, map)
- Midday layer: lunch and spare clothes
- Safety layer: emergency equipment, always at the bottom
When I do technical outings like at Canyon Sainte-Anne, this organization allows me to never waste time looking for my equipment.
| Technique | Advantage | Best use |
|---|---|---|
| Nesting | Space saving | Multi-day hikes |
| Elastics | Stability | Technical terrain |
| Layers | Efficiency | Long hikes |
🎯 Final checklist: your perfect pack in 10 minutes
Here's my pre-hike routine that I've perfected over the years. It takes me exactly 10 minutes and guarantees a perfectly organized pack.
Step 1: Empty and inspect (2 minutes)
- Completely empty your pack
- Check zipper condition
- Shake to remove crumbs and debris
Step 2: Organize by categories (3 minutes)
- Group 1: Safety and navigation
- Group 2: Hydration and nutrition
- Group 3: Clothing and protection
- Group 4: Comfort and accessories
Step 3: Fill according to weight (3 minutes)
- Bottom: heavy items, low center of gravity
- Middle: medium items, against the back
- Top: light items, easy access
Step 4: Test and adjustments (2 minutes)
- Lift your pack: it should be balanced
- Put it on your shoulders
- Adjust the straps
- Check access to essential pockets
For my outings at Parc du Mont Arthabaska, this checklist allows me to leave with peace of mind, knowing I have everything I need exactly where I need it.
🌲 Ready for your next adventure?
Organizing your backpack is much more than just a practical matter. It's the difference between enduring your hike and savoring it. With these techniques I've refined on hundreds of trails, you'll transform your outdoor outings.
Here are the key points to remember:
- Weight in center: heavy near the back, light at extremities
- Logical access: what you use often should be easy to reach
- Perfect balance: equal left-right distribution
- Systematic testing: always try before leaving
- Seasonal adaptation: different configuration depending on weather
Next time you head out to explore a trail like those at Parc National du Mont-Saint-Bruno, you'll rediscover the pleasure of hiking with a pack that works for you rather than against you.
Don't forget: a well-organized pack means more time to admire the scenery and less time rummaging through your stuff. And that's worth all the advice in the world. Now go test these techniques on your next trail!
Newsletter
Content that makes you want to go outside
Every week, a trail idea, a reflection on nature, or a tip worth the detour. Zero spam. Only the essentials.
Joined by 12,000+ outdoor enthusiasts
Read next