
📸 Why Nature Photography While Hiking Changes Everything
I started carrying my camera on trails by chance, after meeting a photographer at the summit of Mont Yamaska. He told me: "François, you see this light? It will never come back exactly like this." That hit me. Nature photography while hiking isn't just about capturing images — it's learning to truly see. After 15 years exploring Quebec's trails with my camera, I can tell you that photography completely transforms how you hike. You notice details you missed before: that dew on a spider web, that play of shadows between the spruces, that golden light hitting just right on a waterfall. In this guide, I'll share my field techniques for capturing Quebec's wild beauty, equipment that's actually worth it (and what just clutters your pack), and most importantly, how to develop your photographer-hiker's eye.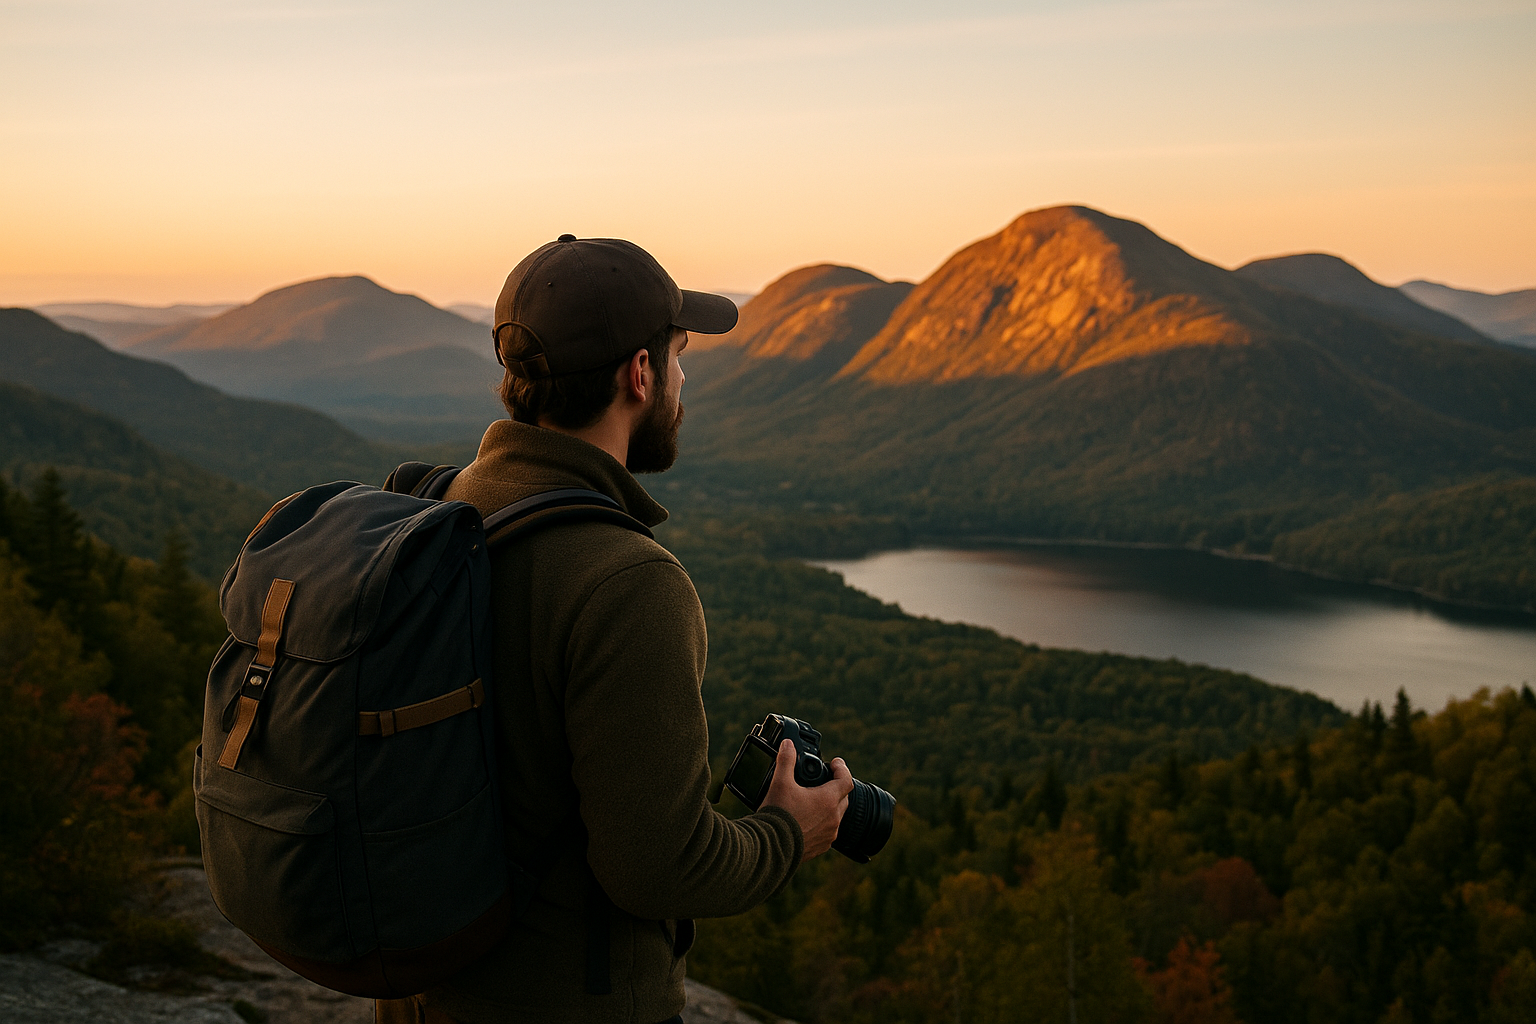
🎒 What Photo Equipment to Bring Hiking?
The classic beginner trap? Leaving with half the camera store on your back. I made this mistake at Parc des Hautes-Gorges — 8 kg (17.6 lbs) of photo equipment for a 12 km (7.5 miles) hike. My shoulders still remember!The Camera: DSLR, Mirrorless or Smartphone?
For beginners, your smartphone already works miracles. Recent iPhones and Google Pixels would rival my first DSLRs. The advantage? You always have it with you, it's more weather-resistant, and you can share your photos instantly. Mirrorless cameras are my favorites for hiking. Lighter than DSLRs, excellent image quality, and batteries that last. I recommend the Sony A7C or Fuji X-T4 for their weight/performance ratio. DSLRs remain champions for wildlife photography thanks to their telephoto lenses, but they're heavy. If you're targeting bears in Gaspésie park, it's worth it. For classic landscapes, it's overkill.
💡 Pro tip — Whatever camera you choose, protect it with a weatherproof case. I lost a DSLR in a surprise downpour at Mont-Tremblant. Since then, never without protection!
Essential Lenses
| Lens Type | Primary Use | Approximate Weight |
|---|---|---|
| Wide angle (14-24mm) | Landscapes, panoramas | 500-800g |
| Standard (24-70mm) | Versatile, portraits | 600-900g |
| Telephoto (70-200mm) | Wildlife, distant details | 1-1.5kg |
📥 Download our free gifts — Photo equipment checklists, composition guides and tips for successful nature photos in all seasons.
Get my gifts →
Get my gifts →
Accessories That Make the Difference
Ultralight tripod: Essential for sunrises/sunsets and long exposure waterfalls. Look for a carbon model under 1.5 kg (3.3 lbs). Expensive, but your knees will thank you. Polarizing and ND filters: Polarizing eliminates reflections on water and intensifies colors. ND (neutral density) filters allow long exposures for those silky effects on waterfalls. Extra batteries: Quebec cold devours batteries. I always carry 2-3 spares, kept warm against my body.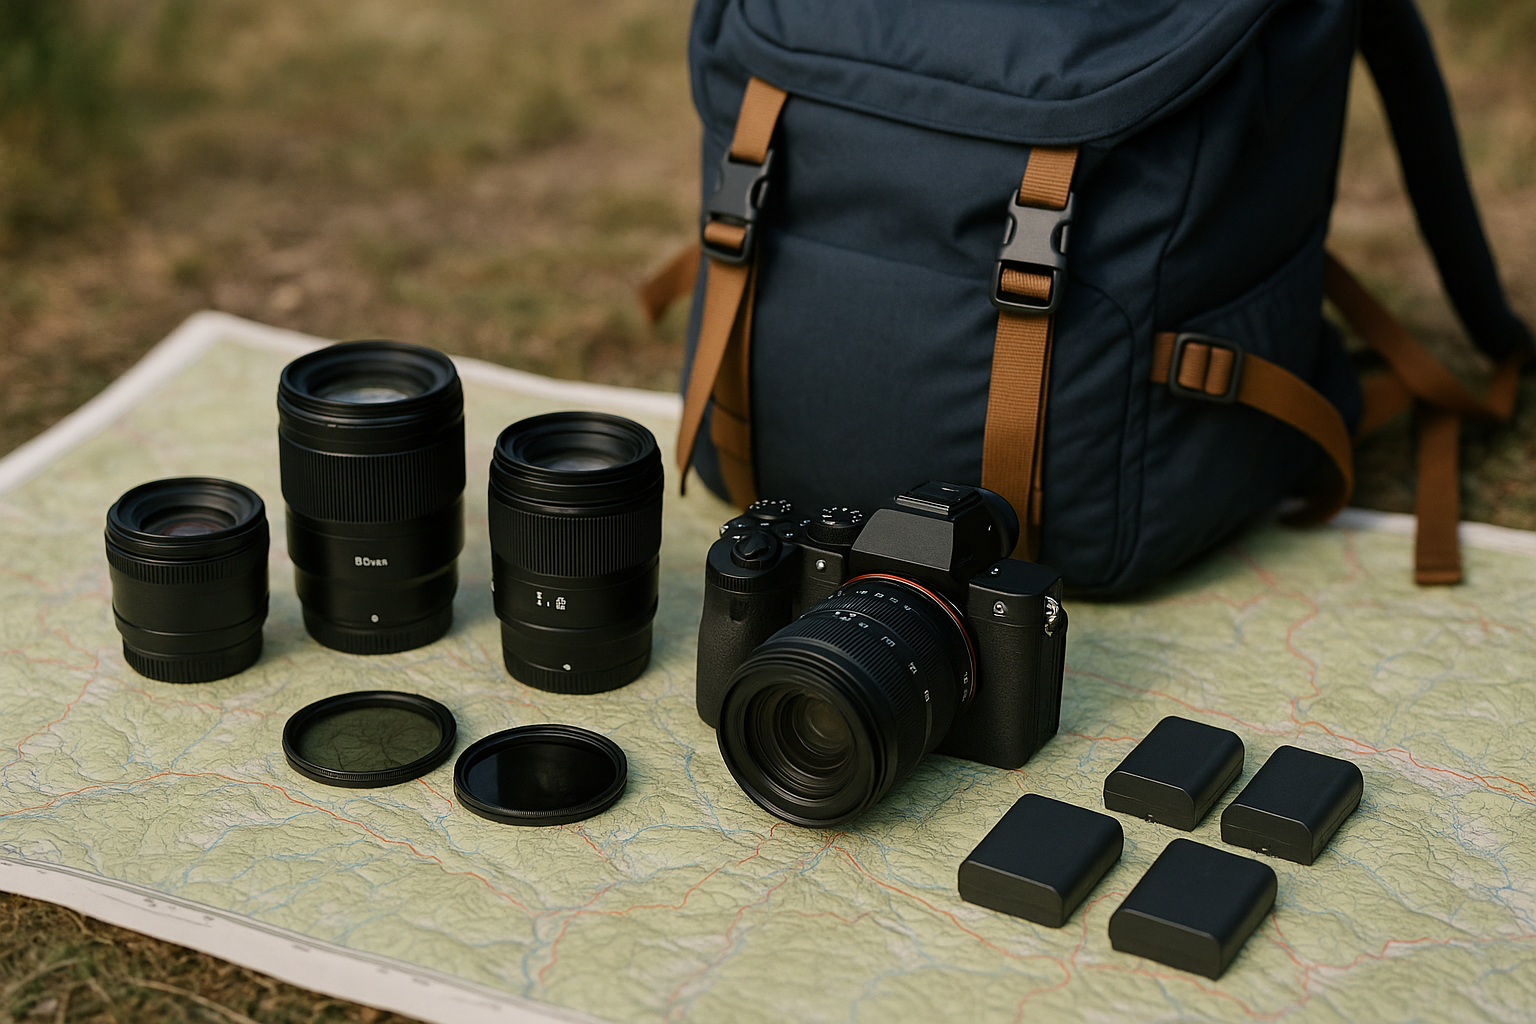
📷 Mastering Photo Techniques in the Wild
Nature is unpredictable. Unlike the studio, you control nothing: not the light, not the weather, not when the moose will show up. Nature photography while hiking means constantly adapting.Playing with Natural Light
Golden hour (first hour after sunrise and last before sunset) remains magical. But that means leaving early or finishing late. At Canyon Sainte-Anne, I often arrive at 5:30 AM to capture that golden light on the falls. Diffused light from cloudy days is perfect for forests and details. No harsh shadows, saturated colors. Those "flat" days everyone avoids? They're my favorites for macro! Backlighting can create dramatic effects. Place your subject between you and the sun, underexpose slightly, and boom — spectacular silhouettes.
⚠️ Warning — Never look directly at the sun through your viewfinder, especially with a telephoto lens. It can damage your eyes and your camera's sensor.
Composing Your Photos Like a Pro
Rule of thirds: Divide your image into 9 equal sections. Place important elements on the lines or intersections. Horizon on the lower third to emphasize the sky, on the upper third to highlight the foreground. Leading lines: Use trails, rivers, ridges to guide the eye toward your main subject. This technique works wonderfully on trails winding toward a summit. Foreground, middle ground, background: Create depth by including elements at different distances. A branch in the foreground, a lake in the middle, mountains in the background.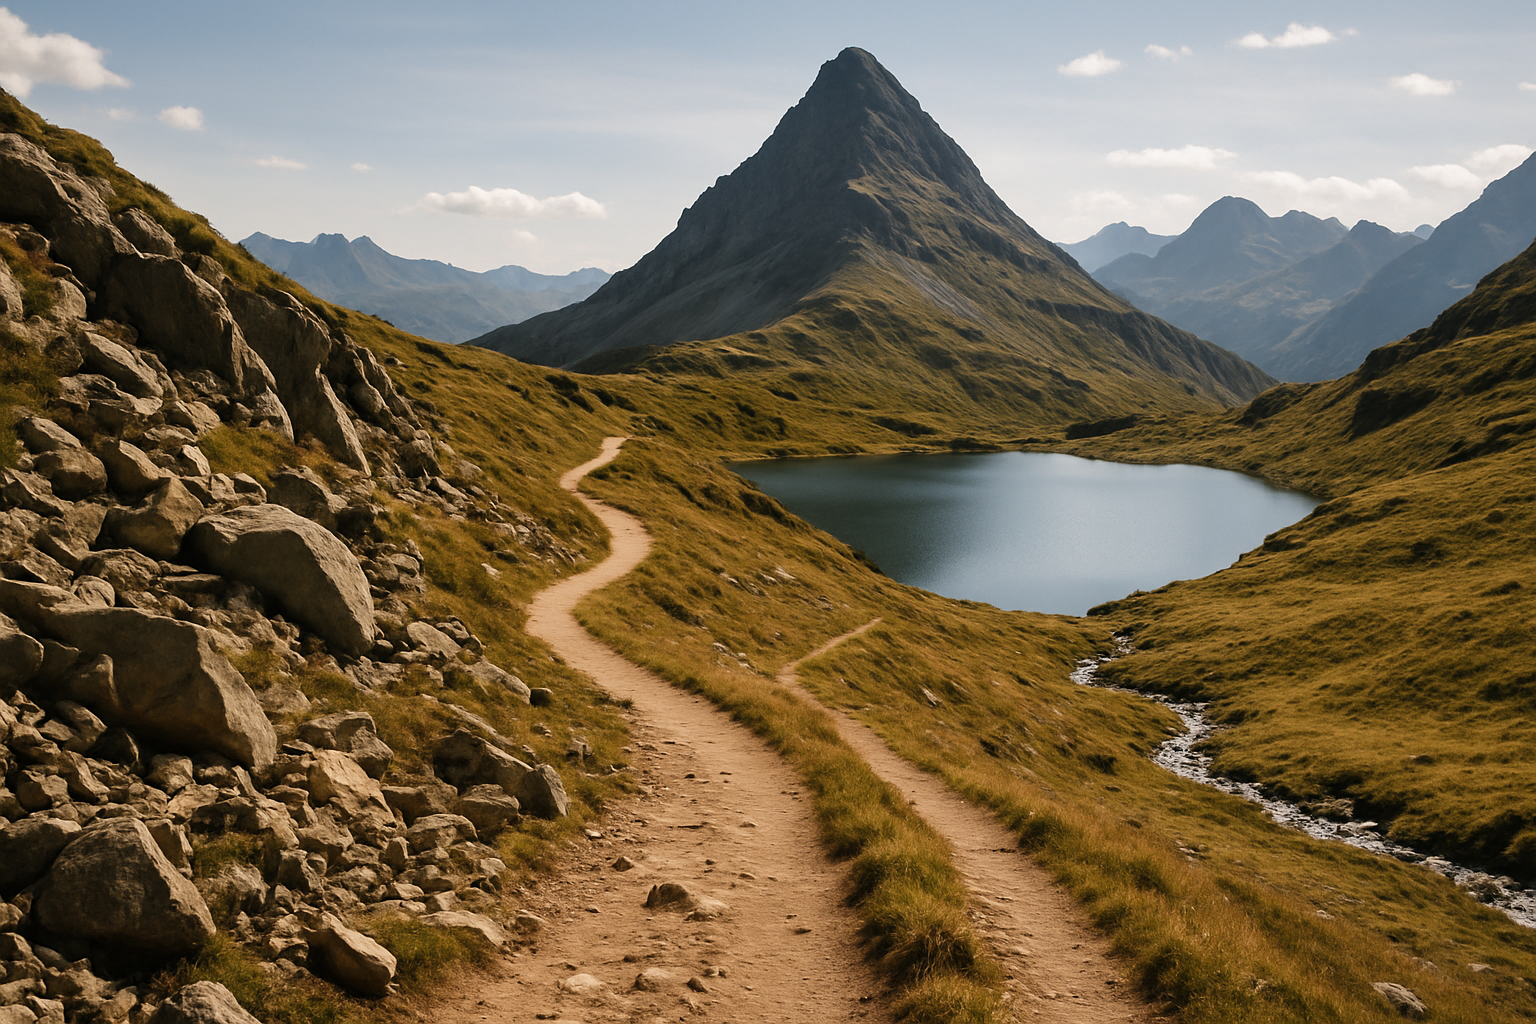
Technical Settings for Nature
Aperture Priority Mode (A/Av): My favorite mode 80% of the time. I control depth of field, the camera manages speed.🦌 Capturing Wildlife: Patience and Technique
Wildlife photography while hiking is 90% patience and 10% technique. I spent 4 hours motionless near a pond at Parc Michel-Chartrand to photograph a great heron. Result? 3 usable photos, but what satisfaction!Approaching Wildlife Without Disturbing
Stay at distance: Use a telephoto lens rather than getting closer. 200mm minimum for large mammals, 400mm ideally for birds. Move slowly: No sudden movements. If the animal stares at you, freeze. If it returns to its activities, you can continue your approach. Use natural blinds: Rocks, trees, bushes. Break up your human silhouette. I once hid 45 minutes behind a spruce to photograph a moose family.
📌 Good to know — In Quebec, always keep 100m (328 ft) distance from bears and moose, 25m (82 ft) from deer. It's not just for your safety, it's the law in several parks.
Specific Settings for Wildlife
Sport/Action Mode: Fast shutter speed (1/500s minimum), higher ISO if necessary. Burst mode: Activate burst mode. Animals move fast, and often the best photo is between two "perfect" poses. Eye focus: If your camera allows it, use animal eye detection. Otherwise, always aim for the eye closest to you.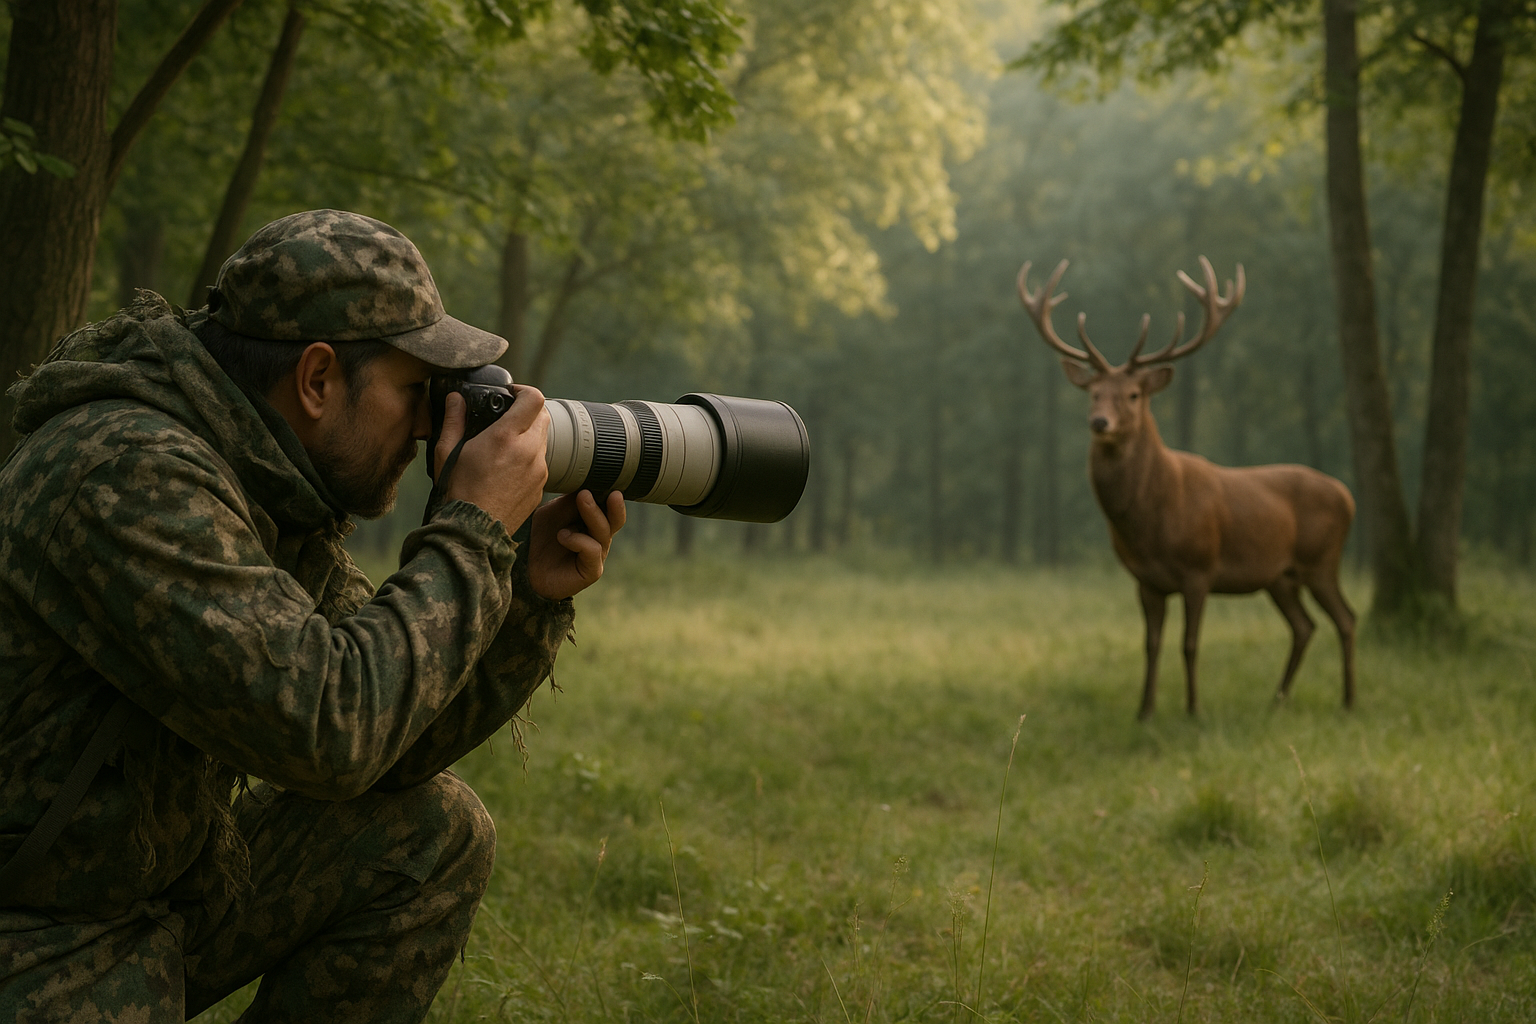
🏔️ Enhancing Quebec's Mountain Landscapes
Quebec mountains have their own character. Not the Rockies, but a more intimate, more accessible beauty. Nature photography while hiking in our Laurentians or Charlevoix requires a different approach.Playing with Seasons
Fall: The obvious choice, but be careful not to fall into cliché. Look for contrasts: red maples against green spruces, golden leaves on black rock. Winter: My favorite photos! Natural black and white, clean lines, photogenic silence. At Mont du Lac des Cygnes in February, it's magical. Spring: Short window, but intense. Melting snow, swollen torrents, first buds. Dynamic and full of life. Summer: Lush greenery, long days, access to distant summits. Perfect for multi-day hiking-photo trips.Landscape-Specific Techniques
Focus stacking: To have everything sharp from foreground to background, take several photos with different focus points, then assemble them in post-processing. Exposure bracketing: Landscapes often have huge contrast between sky and earth. Take 3-5 photos with different exposures, then create an HDR. Long exposures: With an ND filter, transform clouds into streaks, water into silk. 30 seconds to 2 minutes, depending on the desired effect."In the mountains, the best light often comes when others are heading down. Stay a little longer, you'll be rewarded."
💧 Photographing Waterfalls and Streams
Moving water is hypnotic to photograph. But technically, it's tricky. Between Chutes Jean-Larose and the countless streams in our forests, we're spoiled for choice in Quebec.The Silk Effect: Mastering Long Exposure
Necessary equipment: Stable tripod and ND filter to reduce incoming light. Recommended speeds:
💡 Pro tip — To avoid vibrations, use the timer or a remote control. Even your finger on the shutter can create blur on a 10-second exposure.
Managing Difficult Conditions
Spray and humidity: Protect your lens with a lens hood and wipe regularly. I always have a microfiber cloth within reach. Extreme contrast: The difference between white water and dark rocks can fool your light meter. Use spot metering on a medium-toned area. Safety: Wet rocks are treacherous. Take your time, test each step. No photo is worth a broken ankle.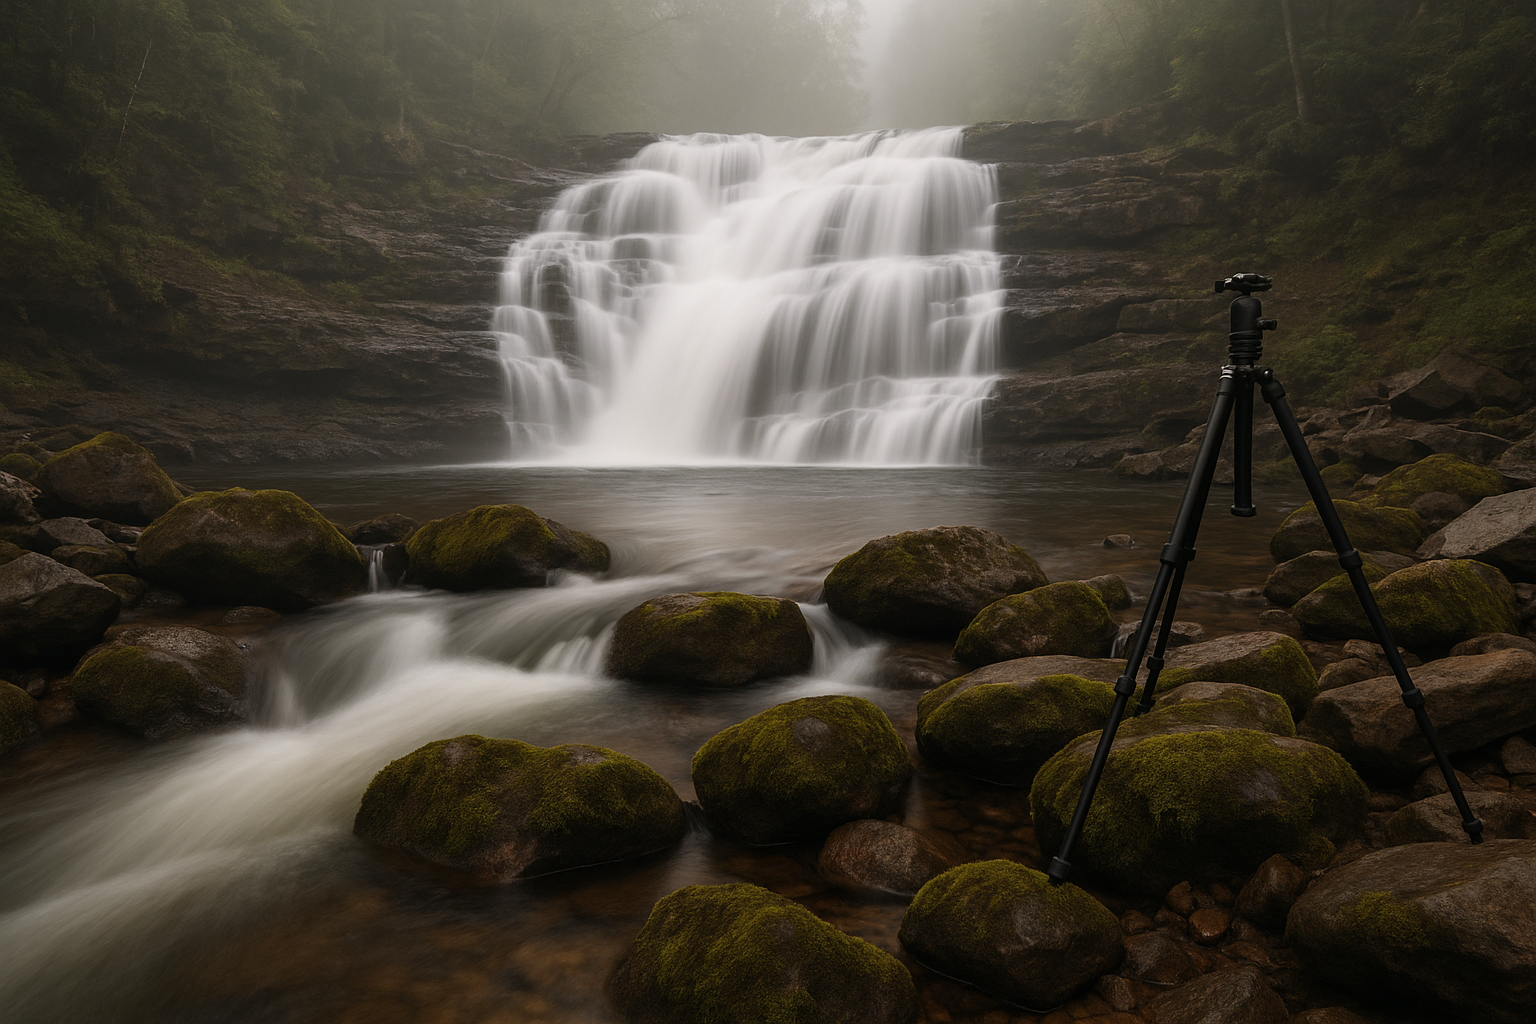
🌲 Macro and Details: The Hidden Beauty of Our Forests
Sometimes, the most beautiful photos are hiding at your feet. That moss on a dead trunk, those dewdrops on a fern, that mushroom perfectly lit by a sunbeam. Nature photography while hiking also means knowing when to look away from the horizon.Equipping for Macro
Dedicated macro lens: Ideal but heavy and expensive. A 100mm macro f/2.8 is perfect but adds 600g to your pack. Extension tubes: Lightweight and economical alternative. They fit between your lens and camera body to reduce minimum focusing distance. Close-up filters: Filters that screw onto your lens. Lower quality but ultra-compact and affordable.Field Techniques
Stabilization: In macro, the slightest movement shows. Tripod recommended, otherwise brace yourself against a tree or rock. Depth of field: It becomes ultra-thin in macro. f/8-f/11 minimum to have your entire subject sharp. Lighting: Direct sunlight is often too harsh. Prefer open shade or use an improvised diffuser (your jacket, a leaf).
📌 Good to know — Respect nature even in macro. Don't pick, don't move, don't trample. Follow the "Leave No Trace" principle down to the details.
To deepen your field preparation, check out our guide to essential questions before leaving — it also covers photo aspects.
📱 Field Post-Processing
With current smartphones and a few well-chosen apps, you can enhance your photos directly on the trail. Handy for sharing your discoveries in real time or quickly correcting a missed exposure.Essential Applications
Lightroom Mobile: Lightweight but powerful version of Lightroom. Cloud sync with your computer, customizable presets, RAW corrections. VSCO: Cinema-quality filters, intuitive interface. Perfect for giving a particular mood to your landscapes. Snapseed: Free, complete, and works offline. Ideal for basic corrections: exposure, contrast, sharpness.Essential Corrections
Exposure and contrast: Recover blown highlights, lift blocked shadows. Our cameras capture more information than they display. Vibrance vs Saturation: Vibrance only increases dull colors, saturation pushes everything. Prefer vibrance for a natural look. Sharpness and noise: Add a bit of sharpness if needed, reduce ISO noise on photos taken in poor conditions.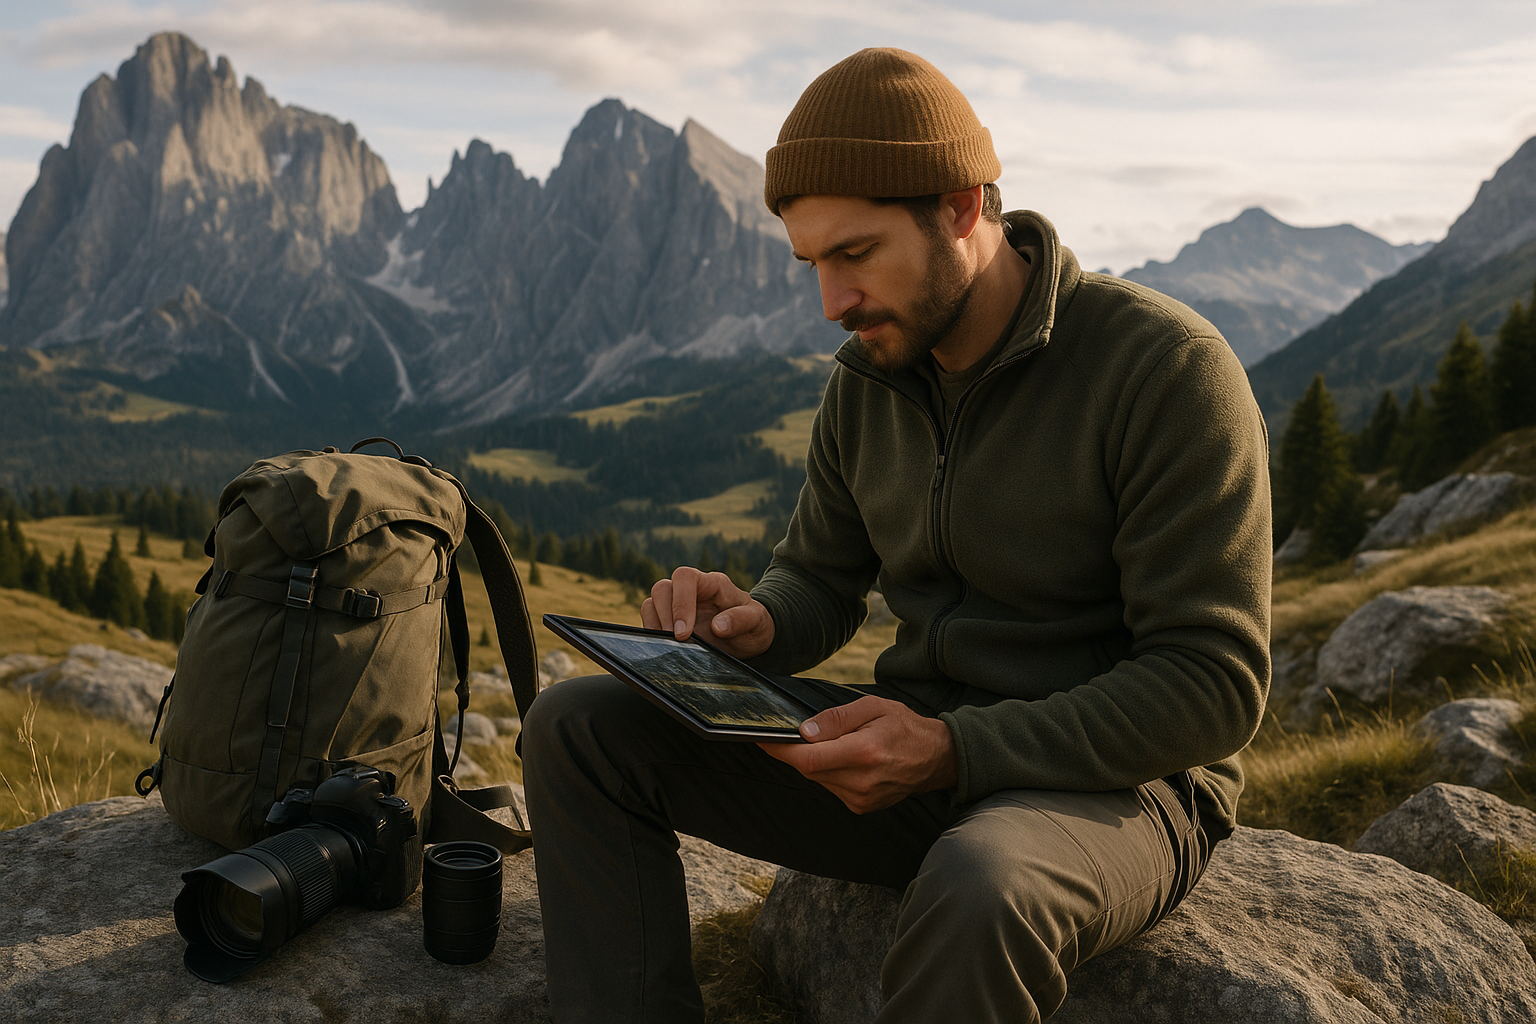
🎯 Developing Your Photographer-Hiker's Eye
After 15 years walking trails with my camera, I can tell you that technique can be learned. But developing your eye is long-term work. Nature photography while hiking transforms how you see the world.Observe Before Photographing
Take time: When you reach a spot, put down your pack, observe for 5-10 minutes before taking out the camera. You'll see details that escaped you at first glance. Change angles: Crouch down, climb on a rock, walk around the subject. The obvious photo isn't necessarily the best. Wait for the right moment: That light will change, that cloud will pass, that bird might come back. Patience is 50% of the job.Study the Masters
Ansel Adams for black and white landscapes, Marc Adamus for dramatic color landscapes, Art Wolfe for wildlife. Analyze their compositions, their use of light. Quebec photographers: Discover the work of our local talents who capture our landscapes better than anyone. They know our light, our seasons, our particularities.Practice Regularly
One camera per outing: Even for a small hike at Parc du Mont-Royal, bring your camera. The eye develops through practice. Personal challenges: A macro outing, a black and white outing, a telephoto-only outing. It forces you to see differently. Share and critique: Show your photos, ask for constructive feedback. Join nature photography groups on social media.🌟 Your First Steps Toward Nature Photography
There you have it, you now have all the keys to start nature photography while hiking like a pro. But remember: the most important thing is to get out and practice. Essential points to remember: • Start simple: your smartphone and passion are enough to begin • Master light: get up early, stay late, observe how it changes • Compose with intention: rule of thirds, leading lines, depth • Respect nature: your photo should never harm the environment • Practice regularly: every outing is a chance to learn Nature photography is much more than a technique — it's a way to connect deeply with our environment. Every click teaches you to see better, to better appreciate these wild territories we're lucky to have in Quebec. So grab your camera (or phone), choose a trail like Parc du Mont Arthabaska, and go create your first images. Nature is waiting, and it has a thousand stories to tell you through your lens. If you're completely new to hiking, our ultimate beginner's guide will give you all the basics to leave safely with your photo equipment.Newsletter
Content that makes you want to go outside
Every week, a trail idea, a reflection on nature, or a tip worth the detour. Zero spam. Only the essentials.
Joined by 12,000+ outdoor enthusiasts
Read next